OSU
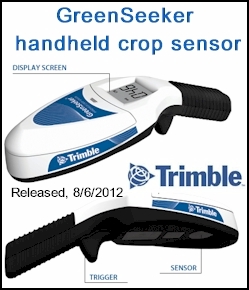
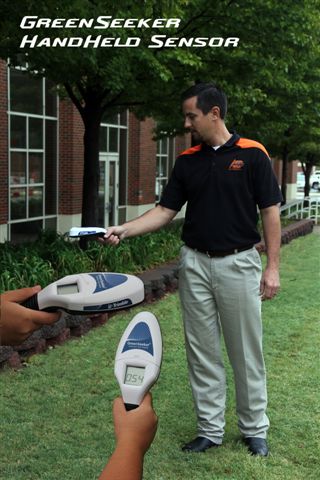
Hand Held Greenseeker Sensor
OSU
Hand Held Greenseeker Sensor 
 Sensor Specifics:
Greenseeker:
Multi-spectral, Two-band,
Optical reflectance sensor (Optical reflectance ratios (NDVI) at two
wavelengths: 656 nm and 774 nm)
Active illumination, Remote sensing
(PURCHASE ON LINE)
Spad:
Multi-spectral, Two-band, Optical
transmittance sensor (Optical Density Difference at two wavelengths: 650
nm and 940 nm)
Active illumination, non-remote sensing
Both:
Ground based, Active, Two-band Optical
sensors
YouTube Release on the new Pocket Sensor, Dr. Brian Arnall
Colorado State University - Greenseeker - GS2 - Pocket Sensor Calibration/Comparison
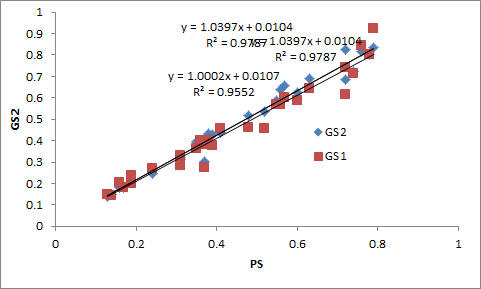
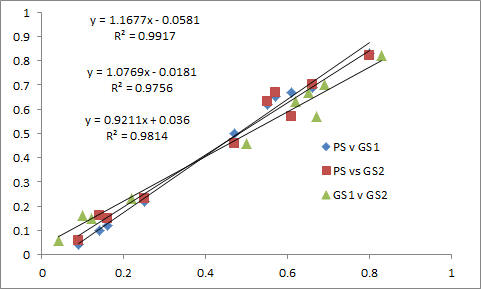
Comparison of the GreenSeeker (1 and 2) and Hand held sensors (PS) manufactured by Trimble. Co. Cali Colombia, February 2013

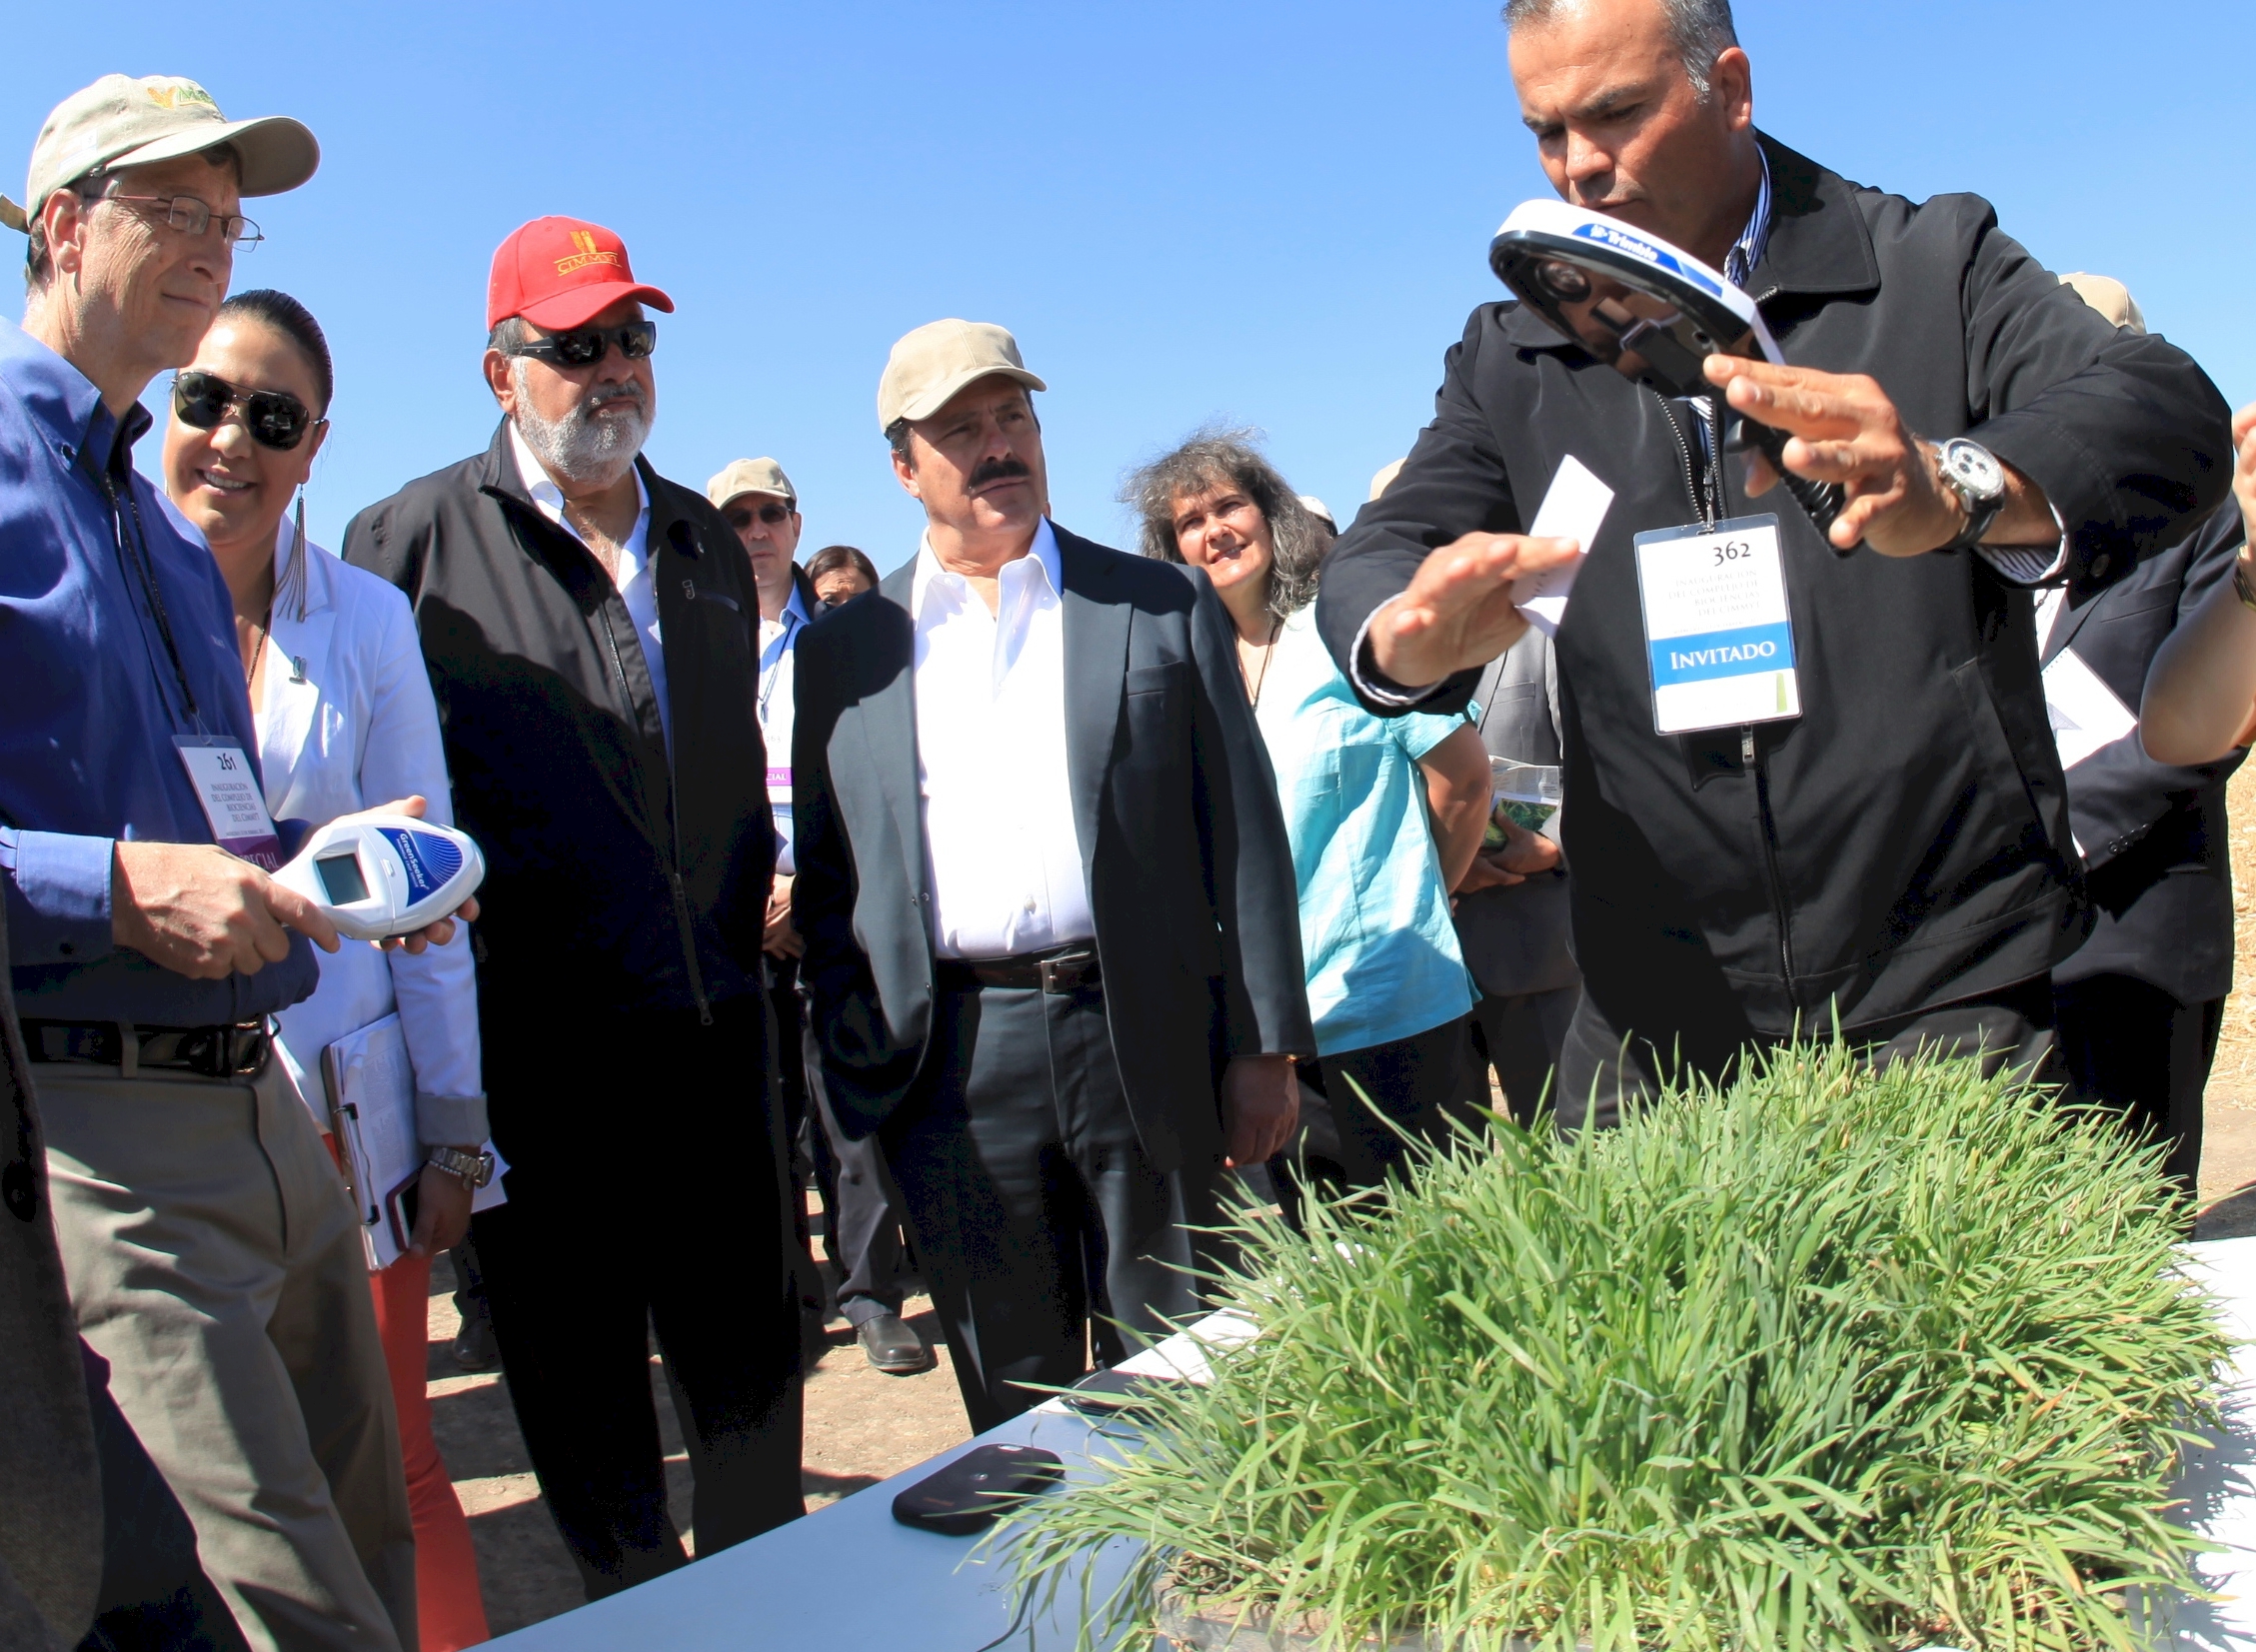
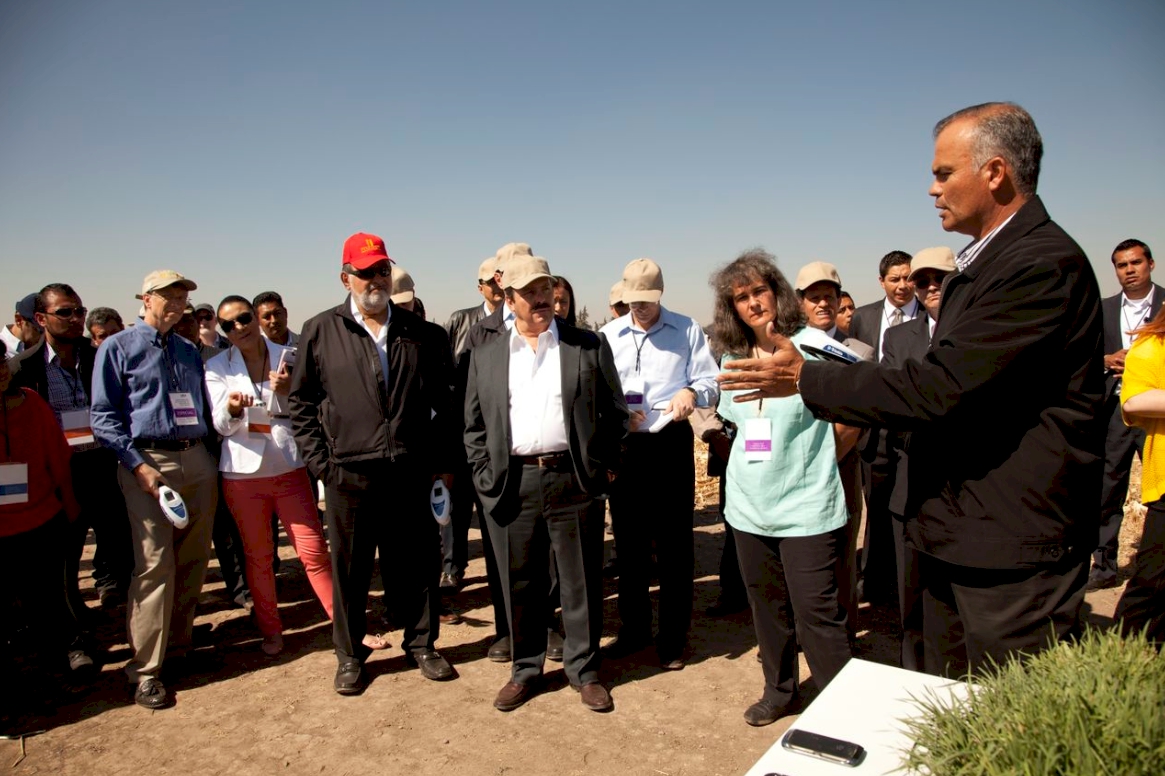
Bill Gates and Carlos Slim, Greenseeker Sensor, CIMMYT, Mexico
info:
http://www.farmworks.com/products/greenseekerhandheld
Trimble LINK for those
looking to purchase;
info:
http://www.trimble.com/agriculture/gs-handheld.aspx
purchase:
http://dealerlocator.trimble.com/locator.aspx (Enter “GreenSeeker” for
product + Country/zip)
This commercially available sensor was the product of work from many at OSU, Mike Thralls with the Oklahoma Conservation Commission, the Soil Fertility Research and Education Advisory Board with oversight from Joe Neal Hampton, and the Oklahoma Agricultural Experiment Station.
Report from Dr. Eric Miller and Dr. Jake Bushong
Also report from Mariana del Corso
Manual de Operación en Español (OSU Pocket Sensor Manual in Spanish)
Pocket Sensor Tips (English power point, from J. Crain) Pocket Sensor Tips (Spanish)
Pocket Sensor Questions/Answers (Jared Crain, June 2011)
 The importance of N Rich Strips has never been more apparent as farmers
drive across the country side and visualize N response. Please read
this brochure.
The importance of N Rich Strips has never been more apparent as farmers
drive across the country side and visualize N response. Please read
this brochure. On the cover is a producer in Ciudad Obregon, MX who has now used N Rich Strips and the GreenSeeker sensor for many years.
Pocket Sensor Interests
Kansas State University
CIMMYT, Nepal
CIMMYT, Ivan Ortiz-Monasterio, Mexico
CIMMYT, Fred Kanampiu, Kenya
Colorado State University, Raj Khosla (China project)
Sasakawa Foundation,
Helena Chemical Company
Noble Foundation, Ardmore, OK
Monsanto, St Louis, MO
Mosaic, MN
Texas A&M University, Linda Cleboski (Rwanda project)
Tanika O'Connor-Dennie, AJ Foster
Ministry of Agriculture and Fisheries, Jamaica
Holland
CropQuest, Dodge City, KS
Boulder County Colorado NRCS
County OCES educators, OK
IPNI, AL
Many OK Junior Colleges
Oklahoma NRCS and Conservation Districts
SESACO
Cotton Inc and Cotton Council
Producers in and around Oklahoma
Many private crop consultants

Pictured are Dr. Marvin Stone (designer and inventor of the pocket sensor, Natasha Macnack, Jared Crain, and Millor Mondini.
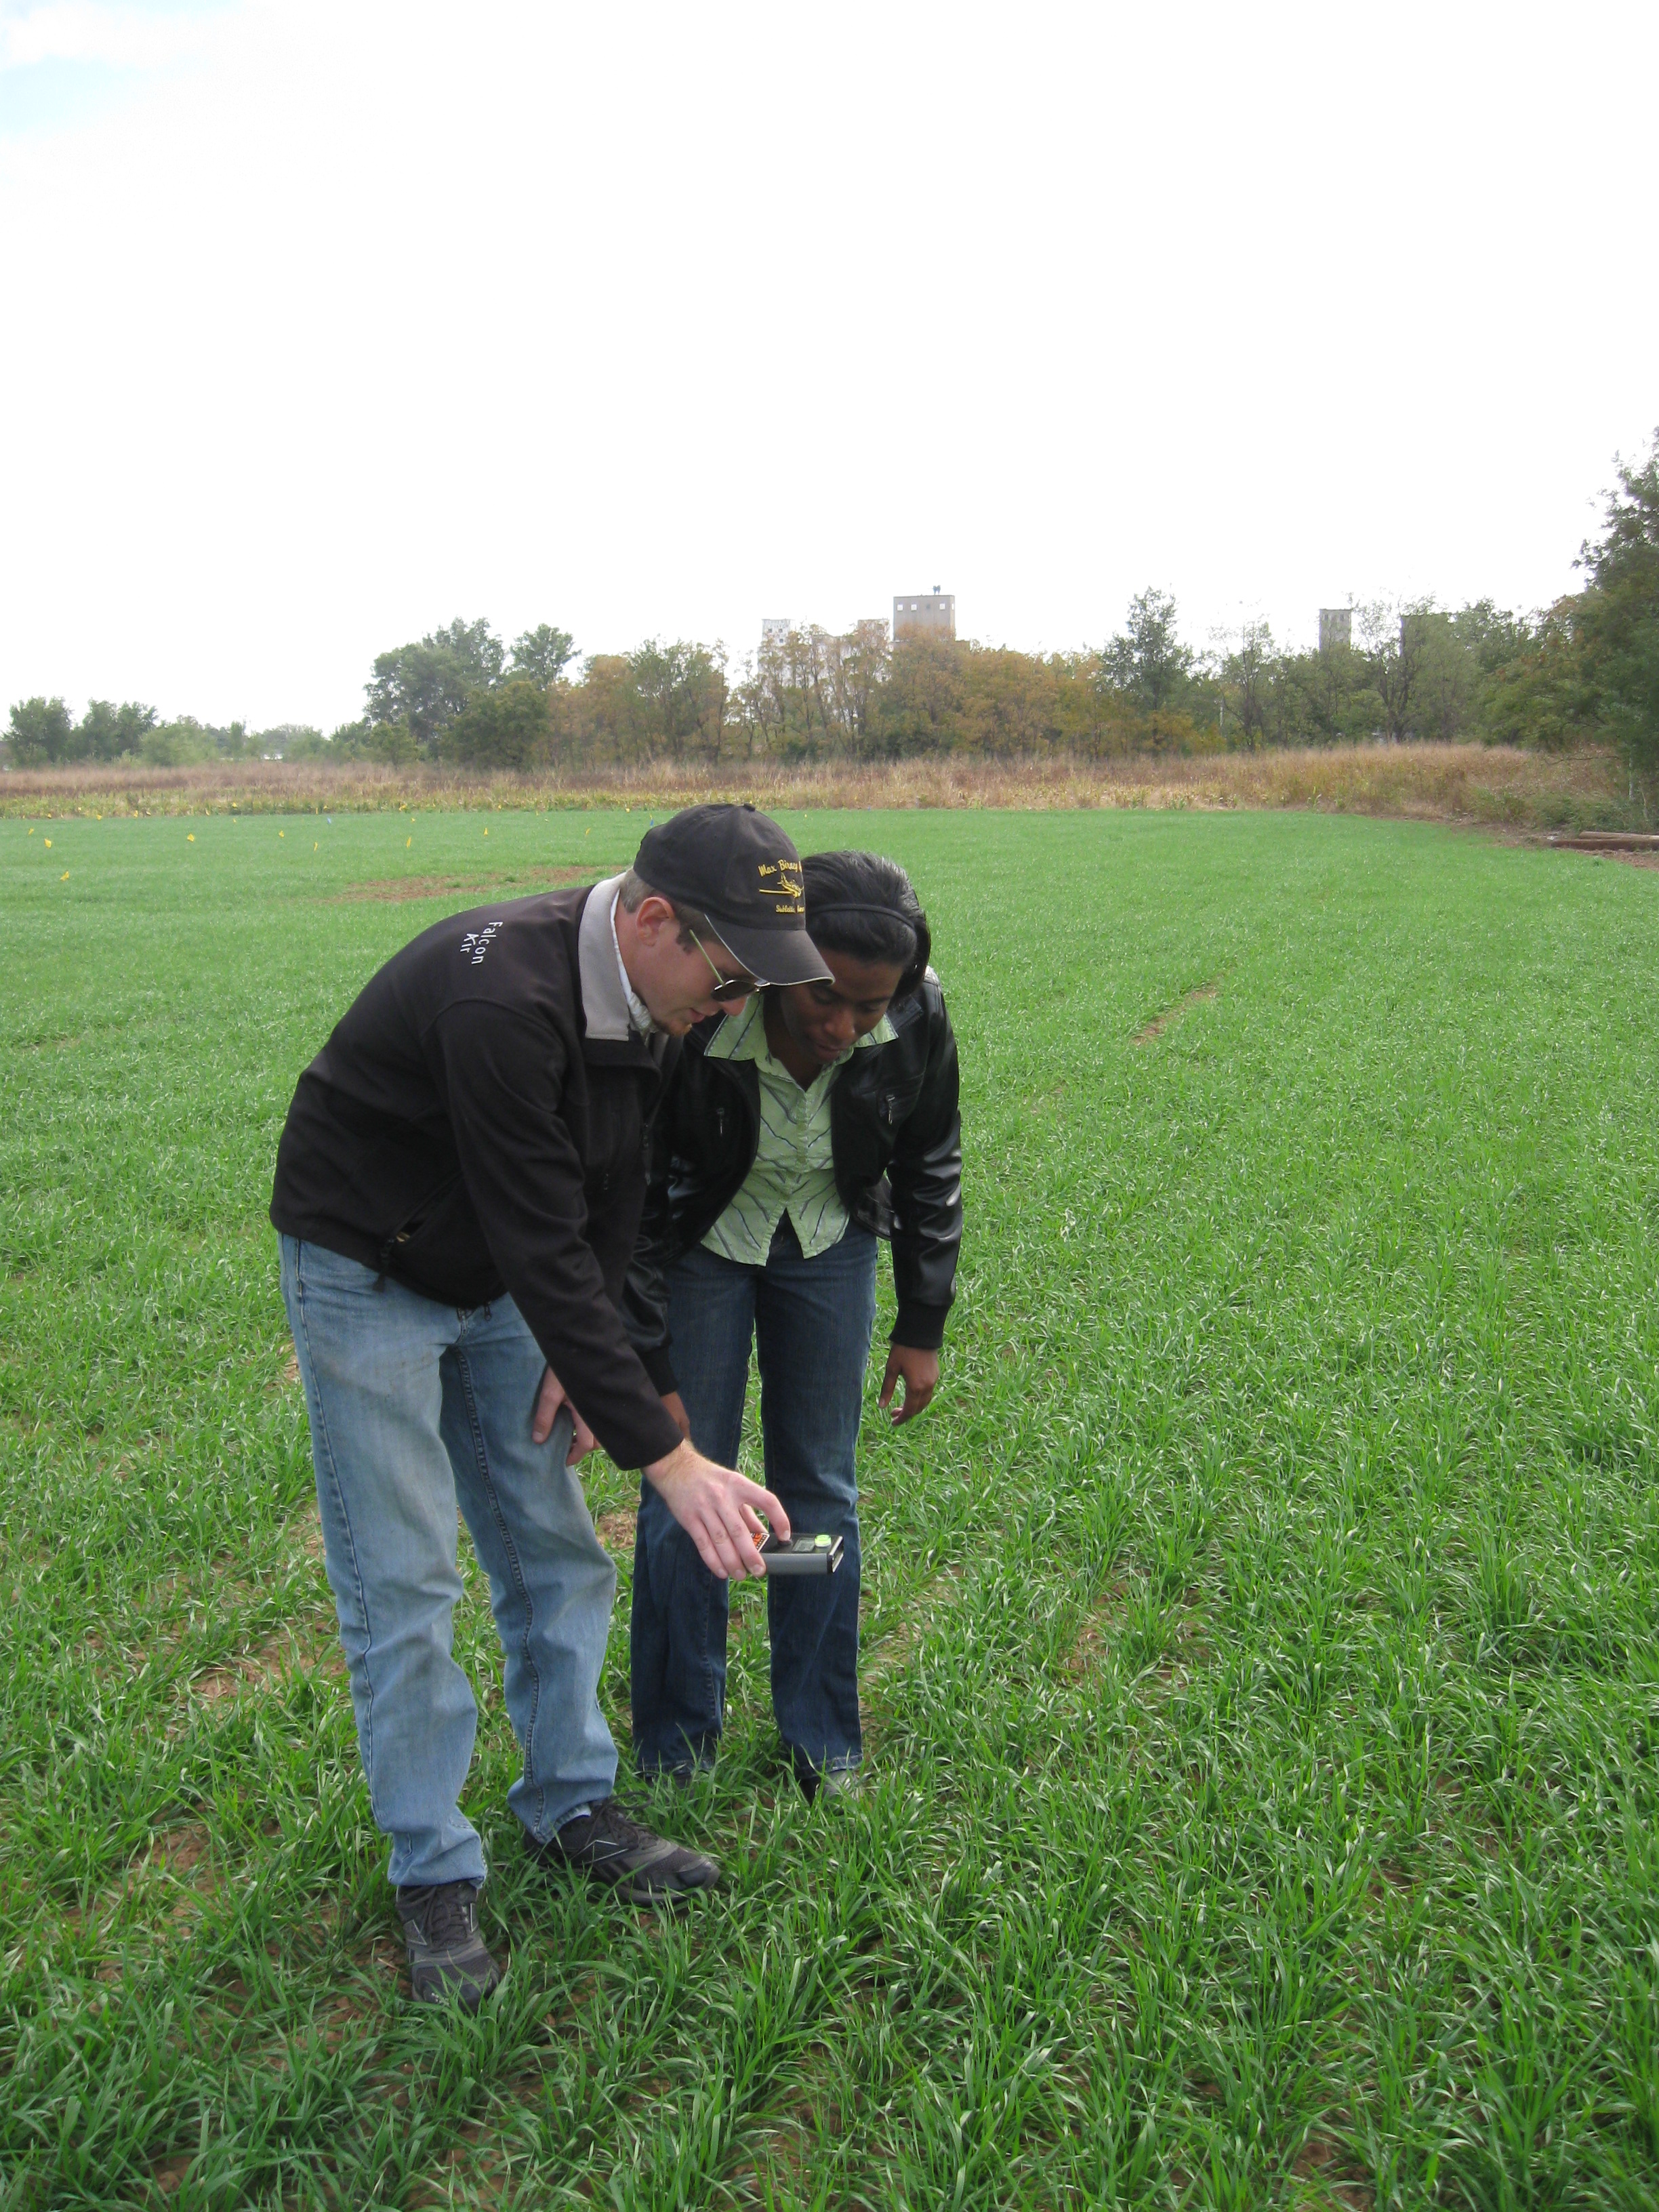
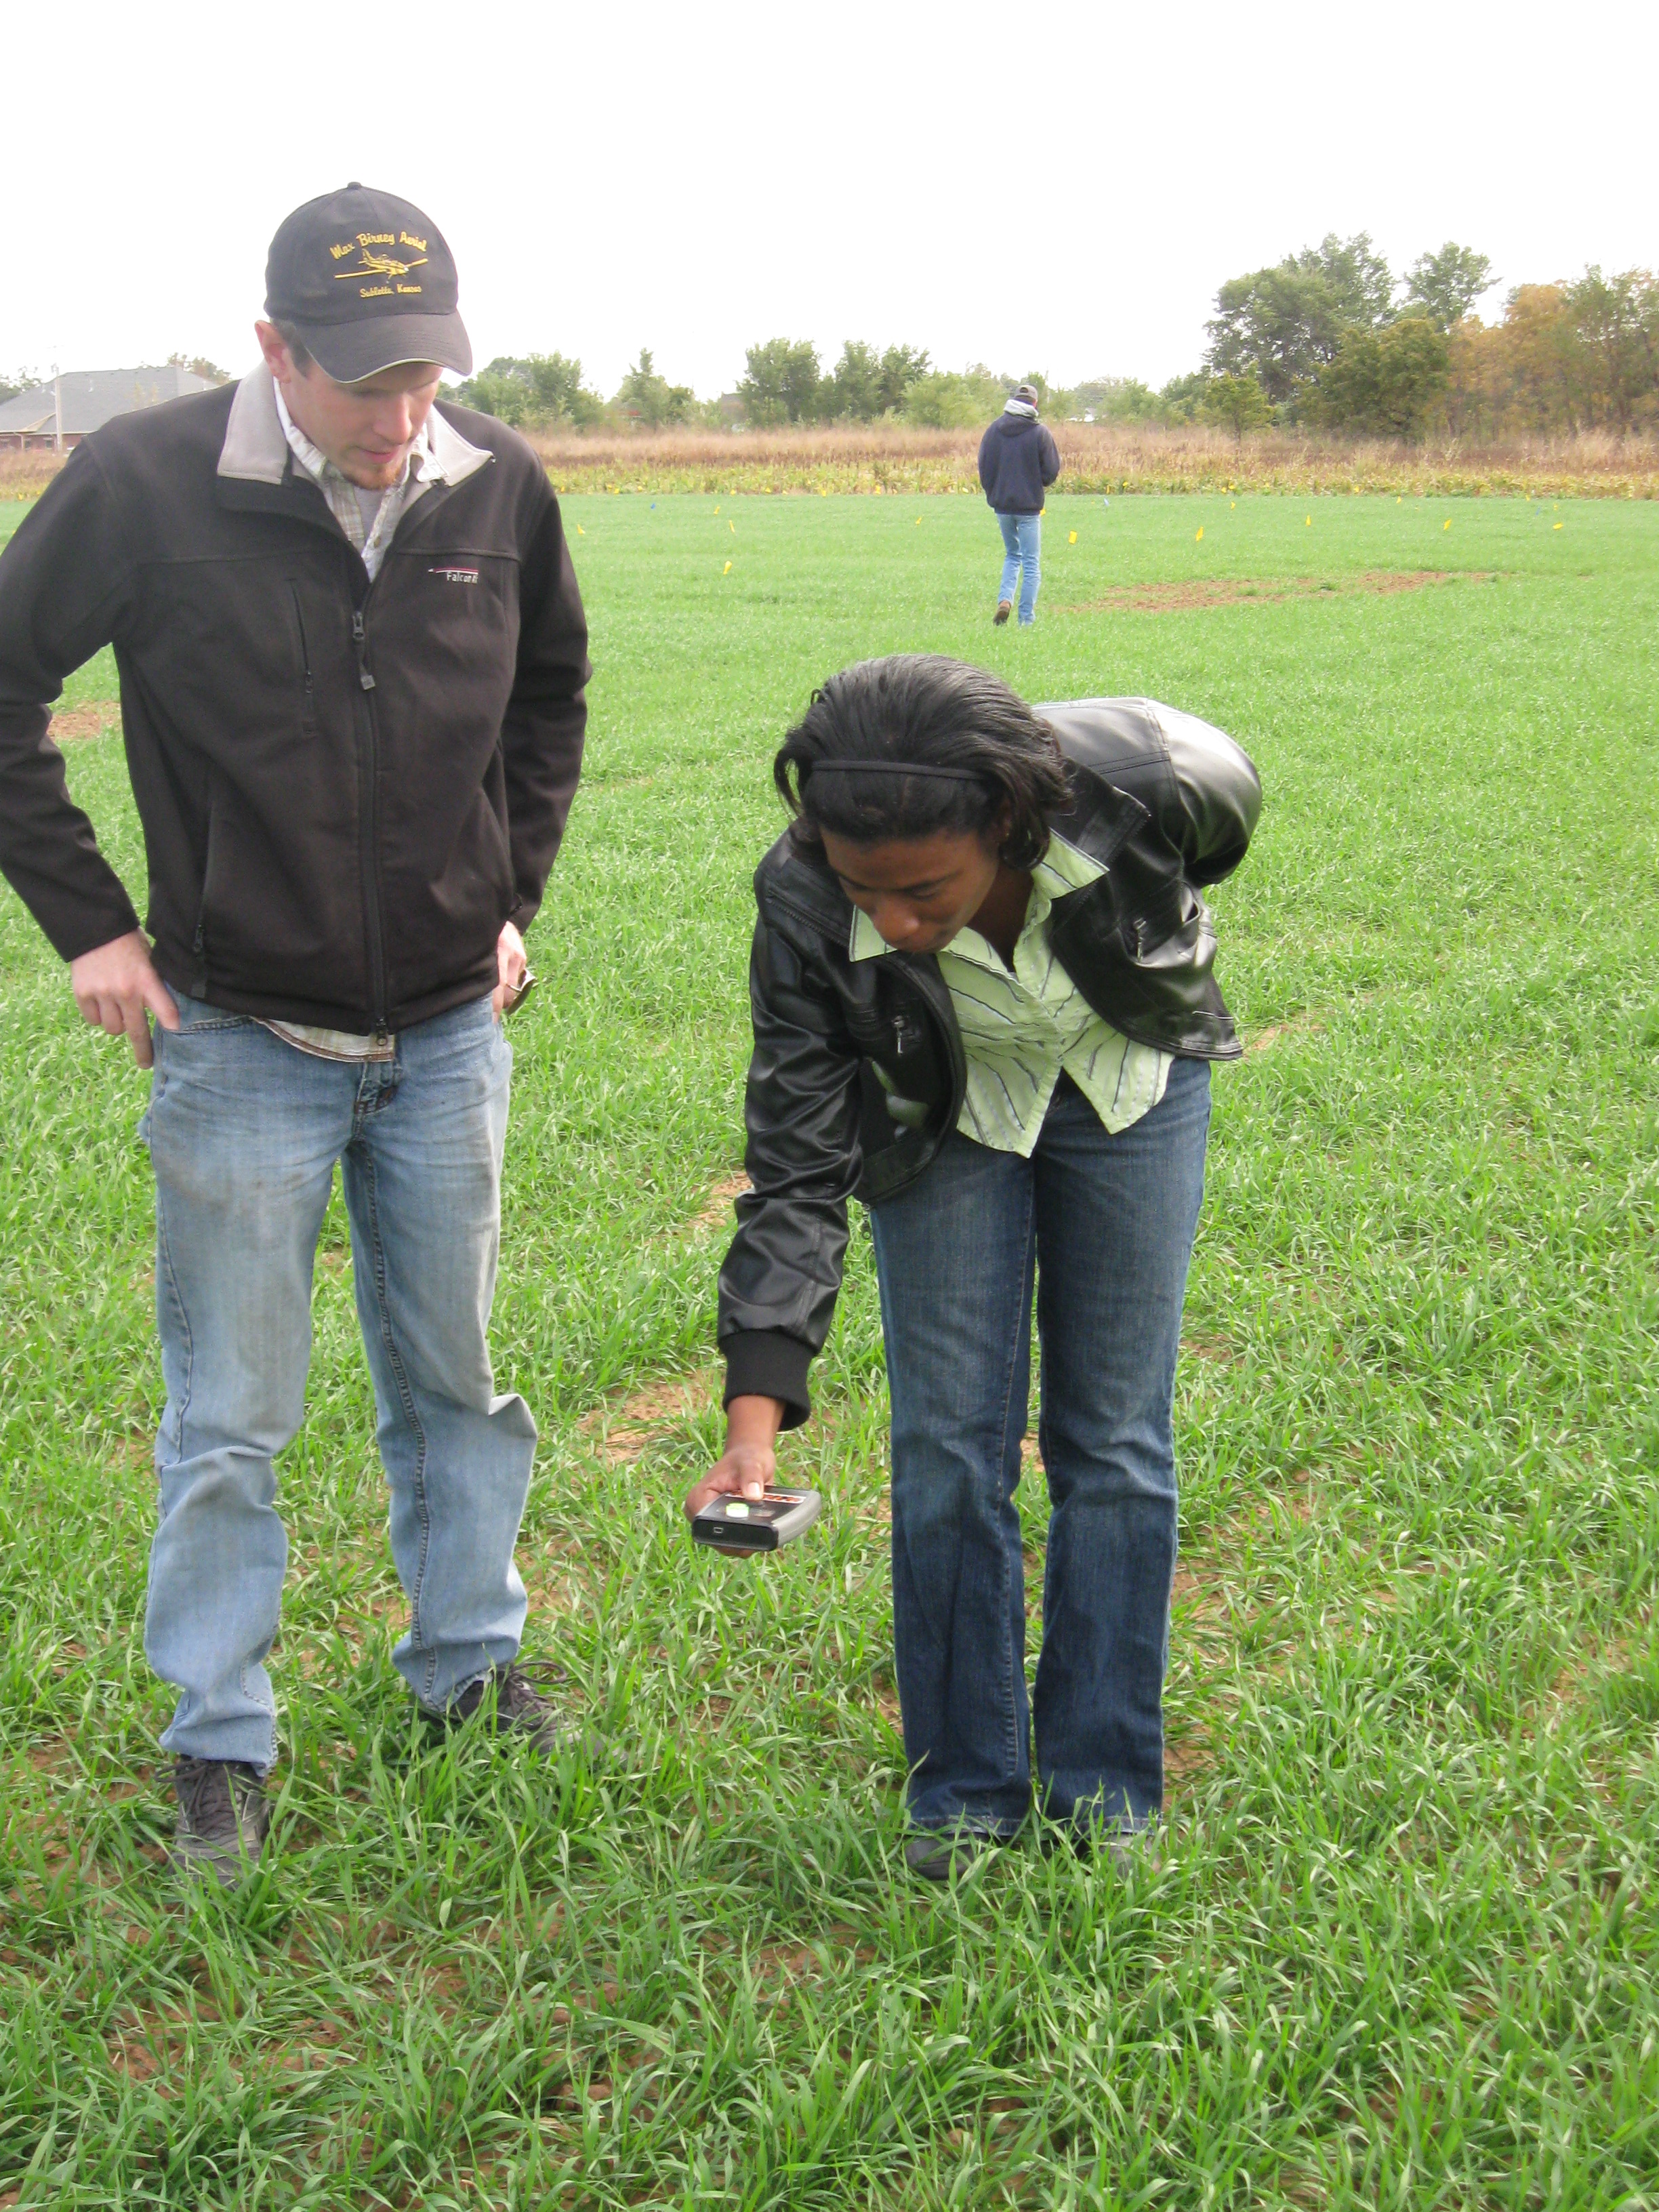
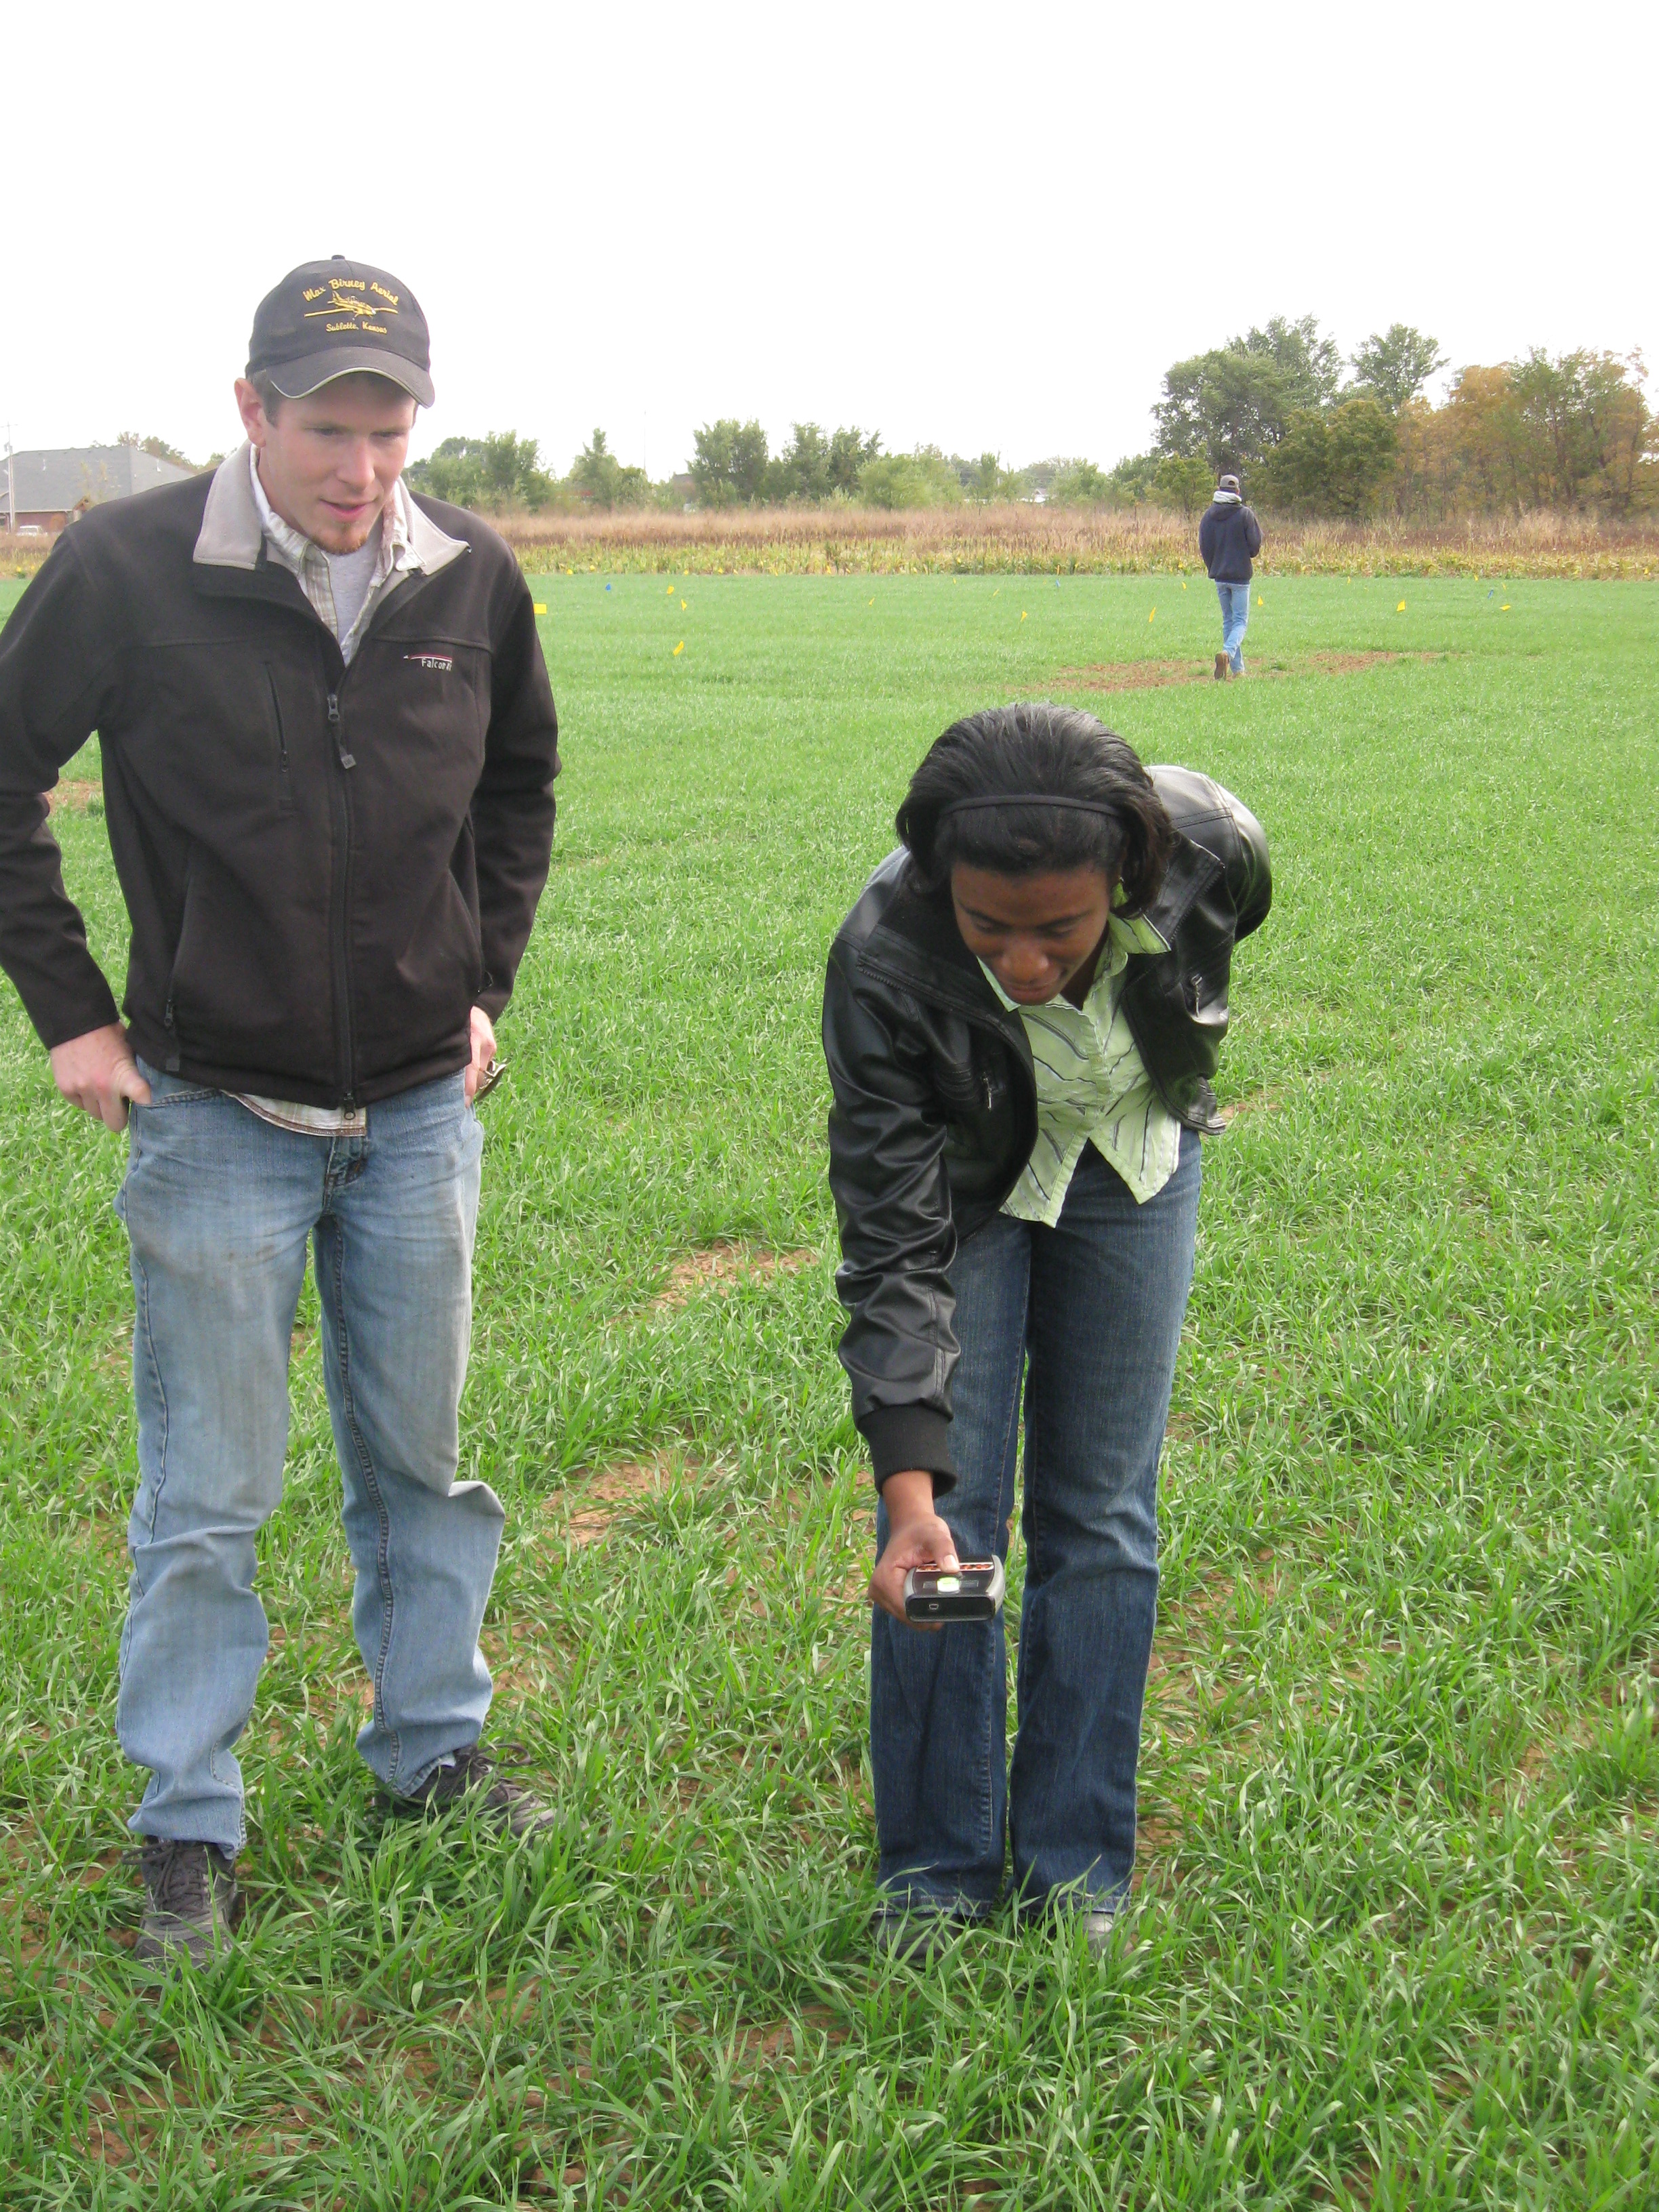
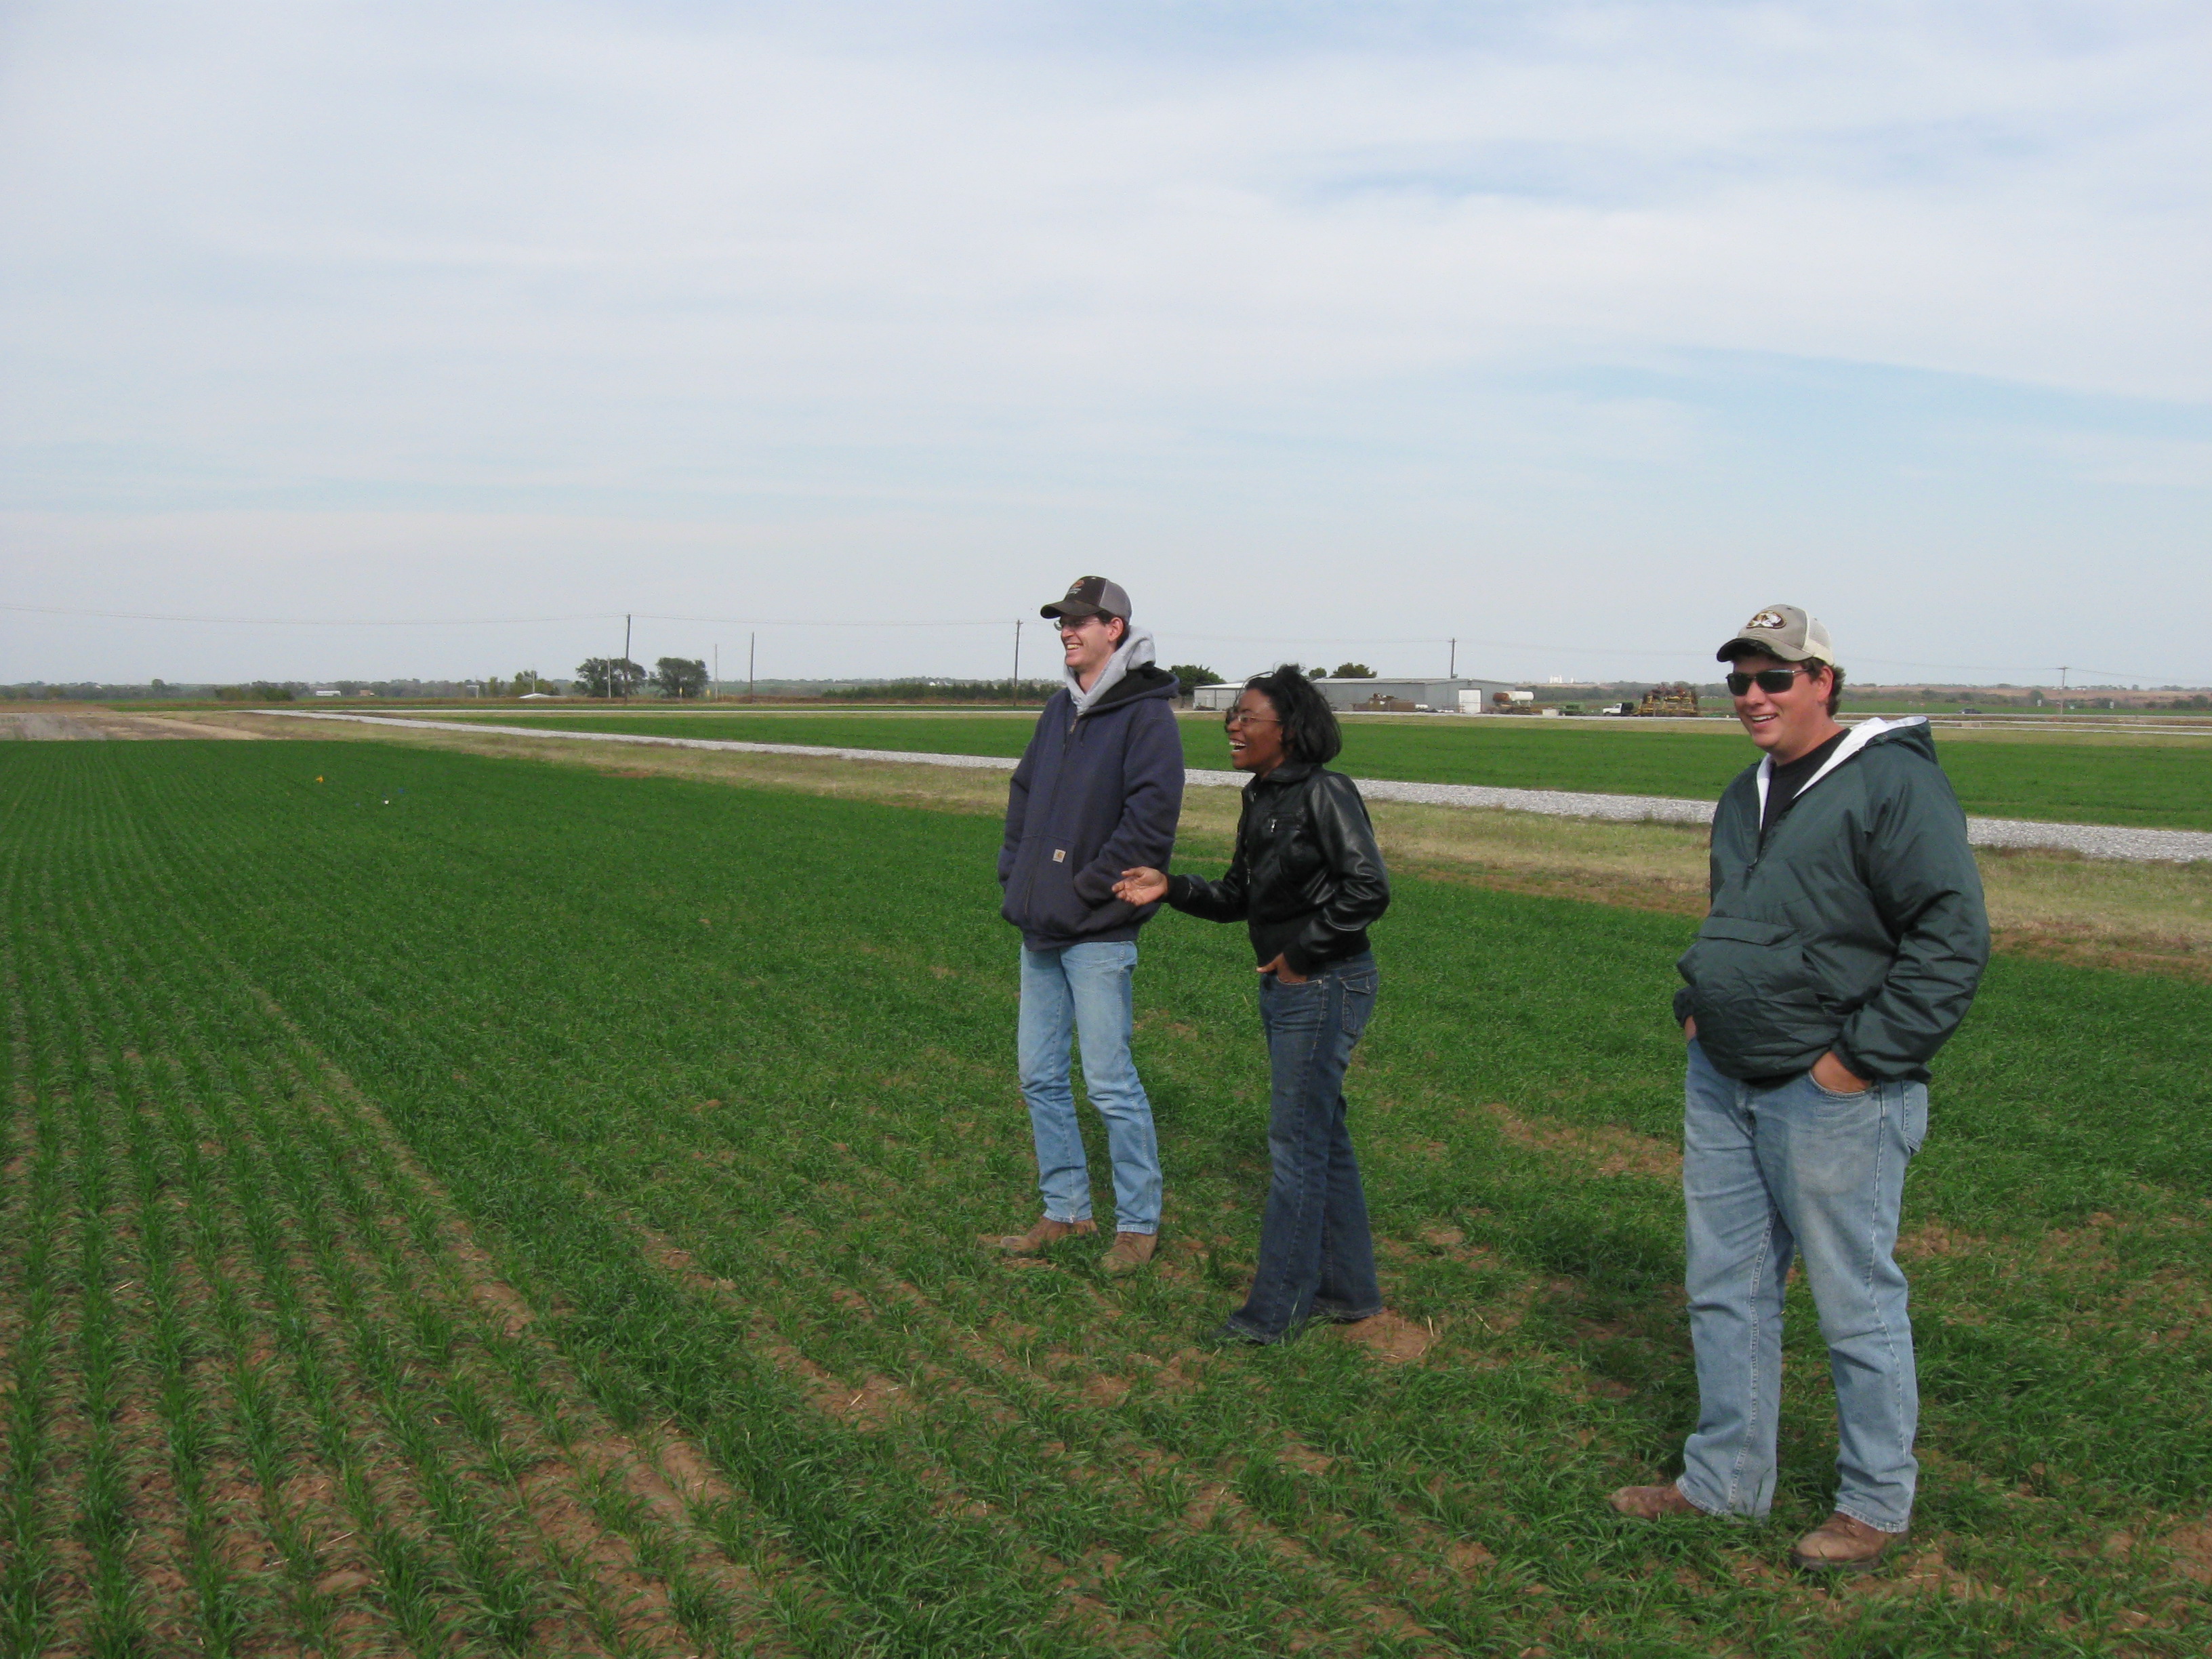
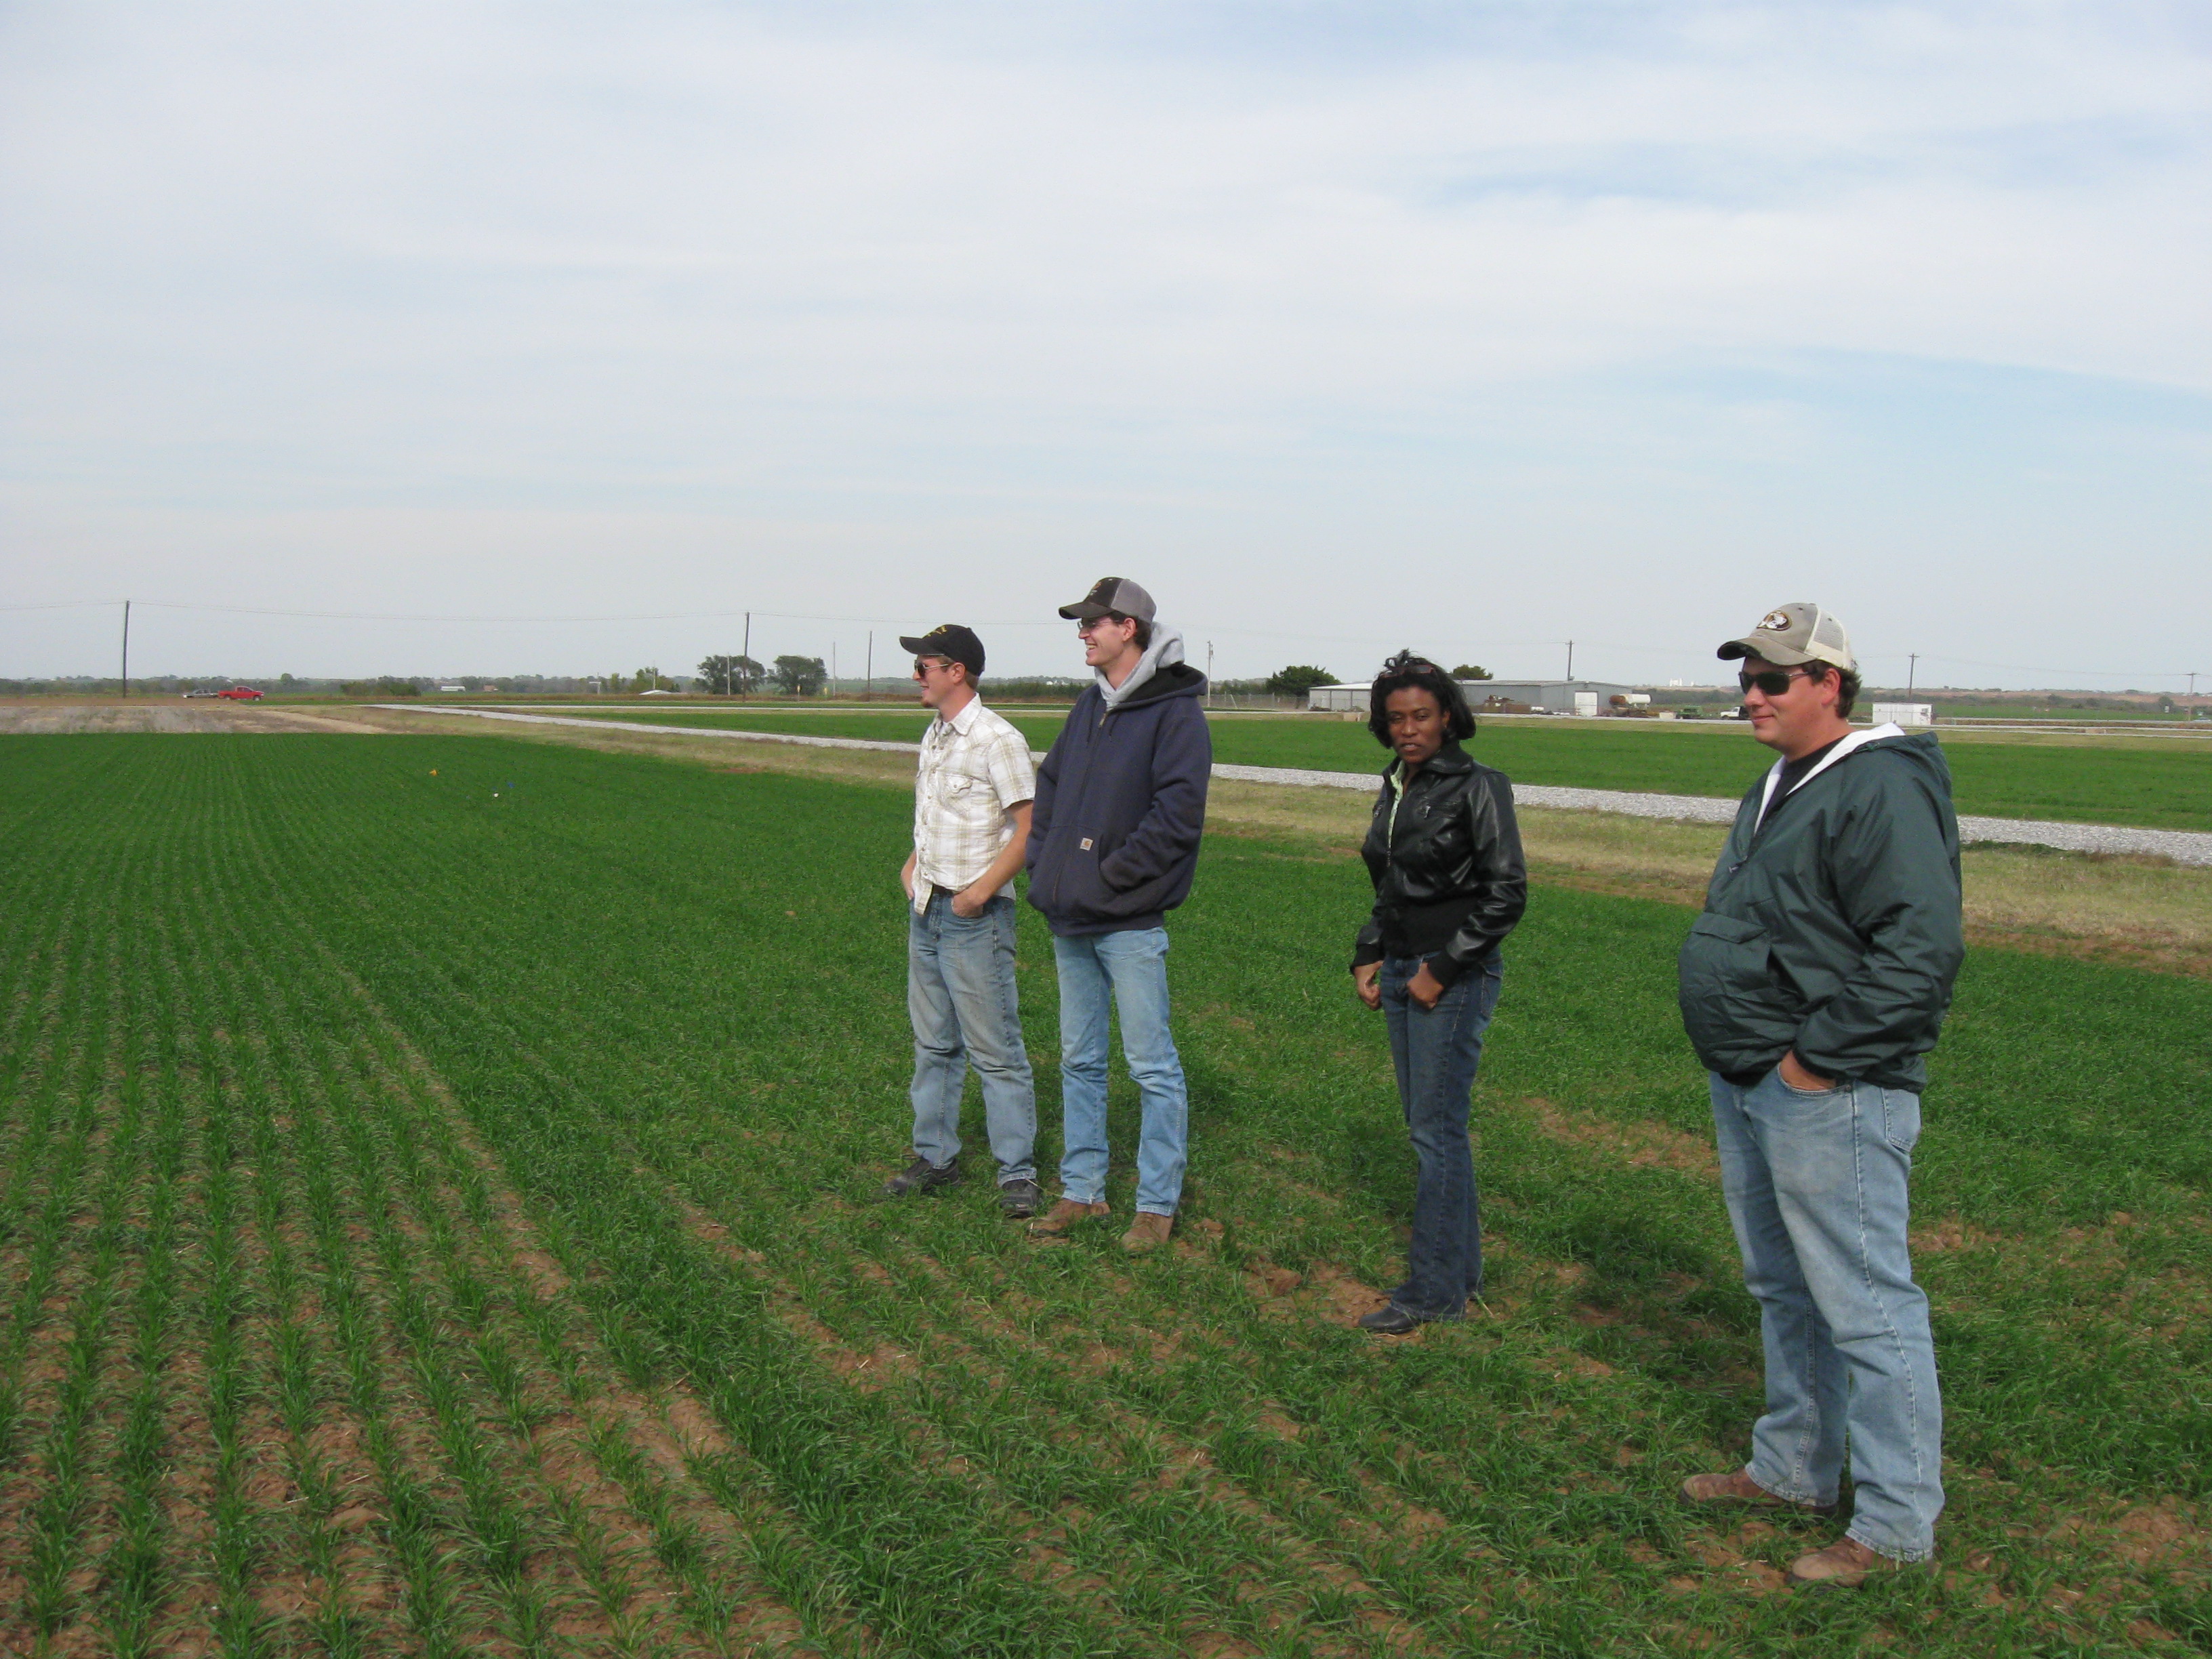
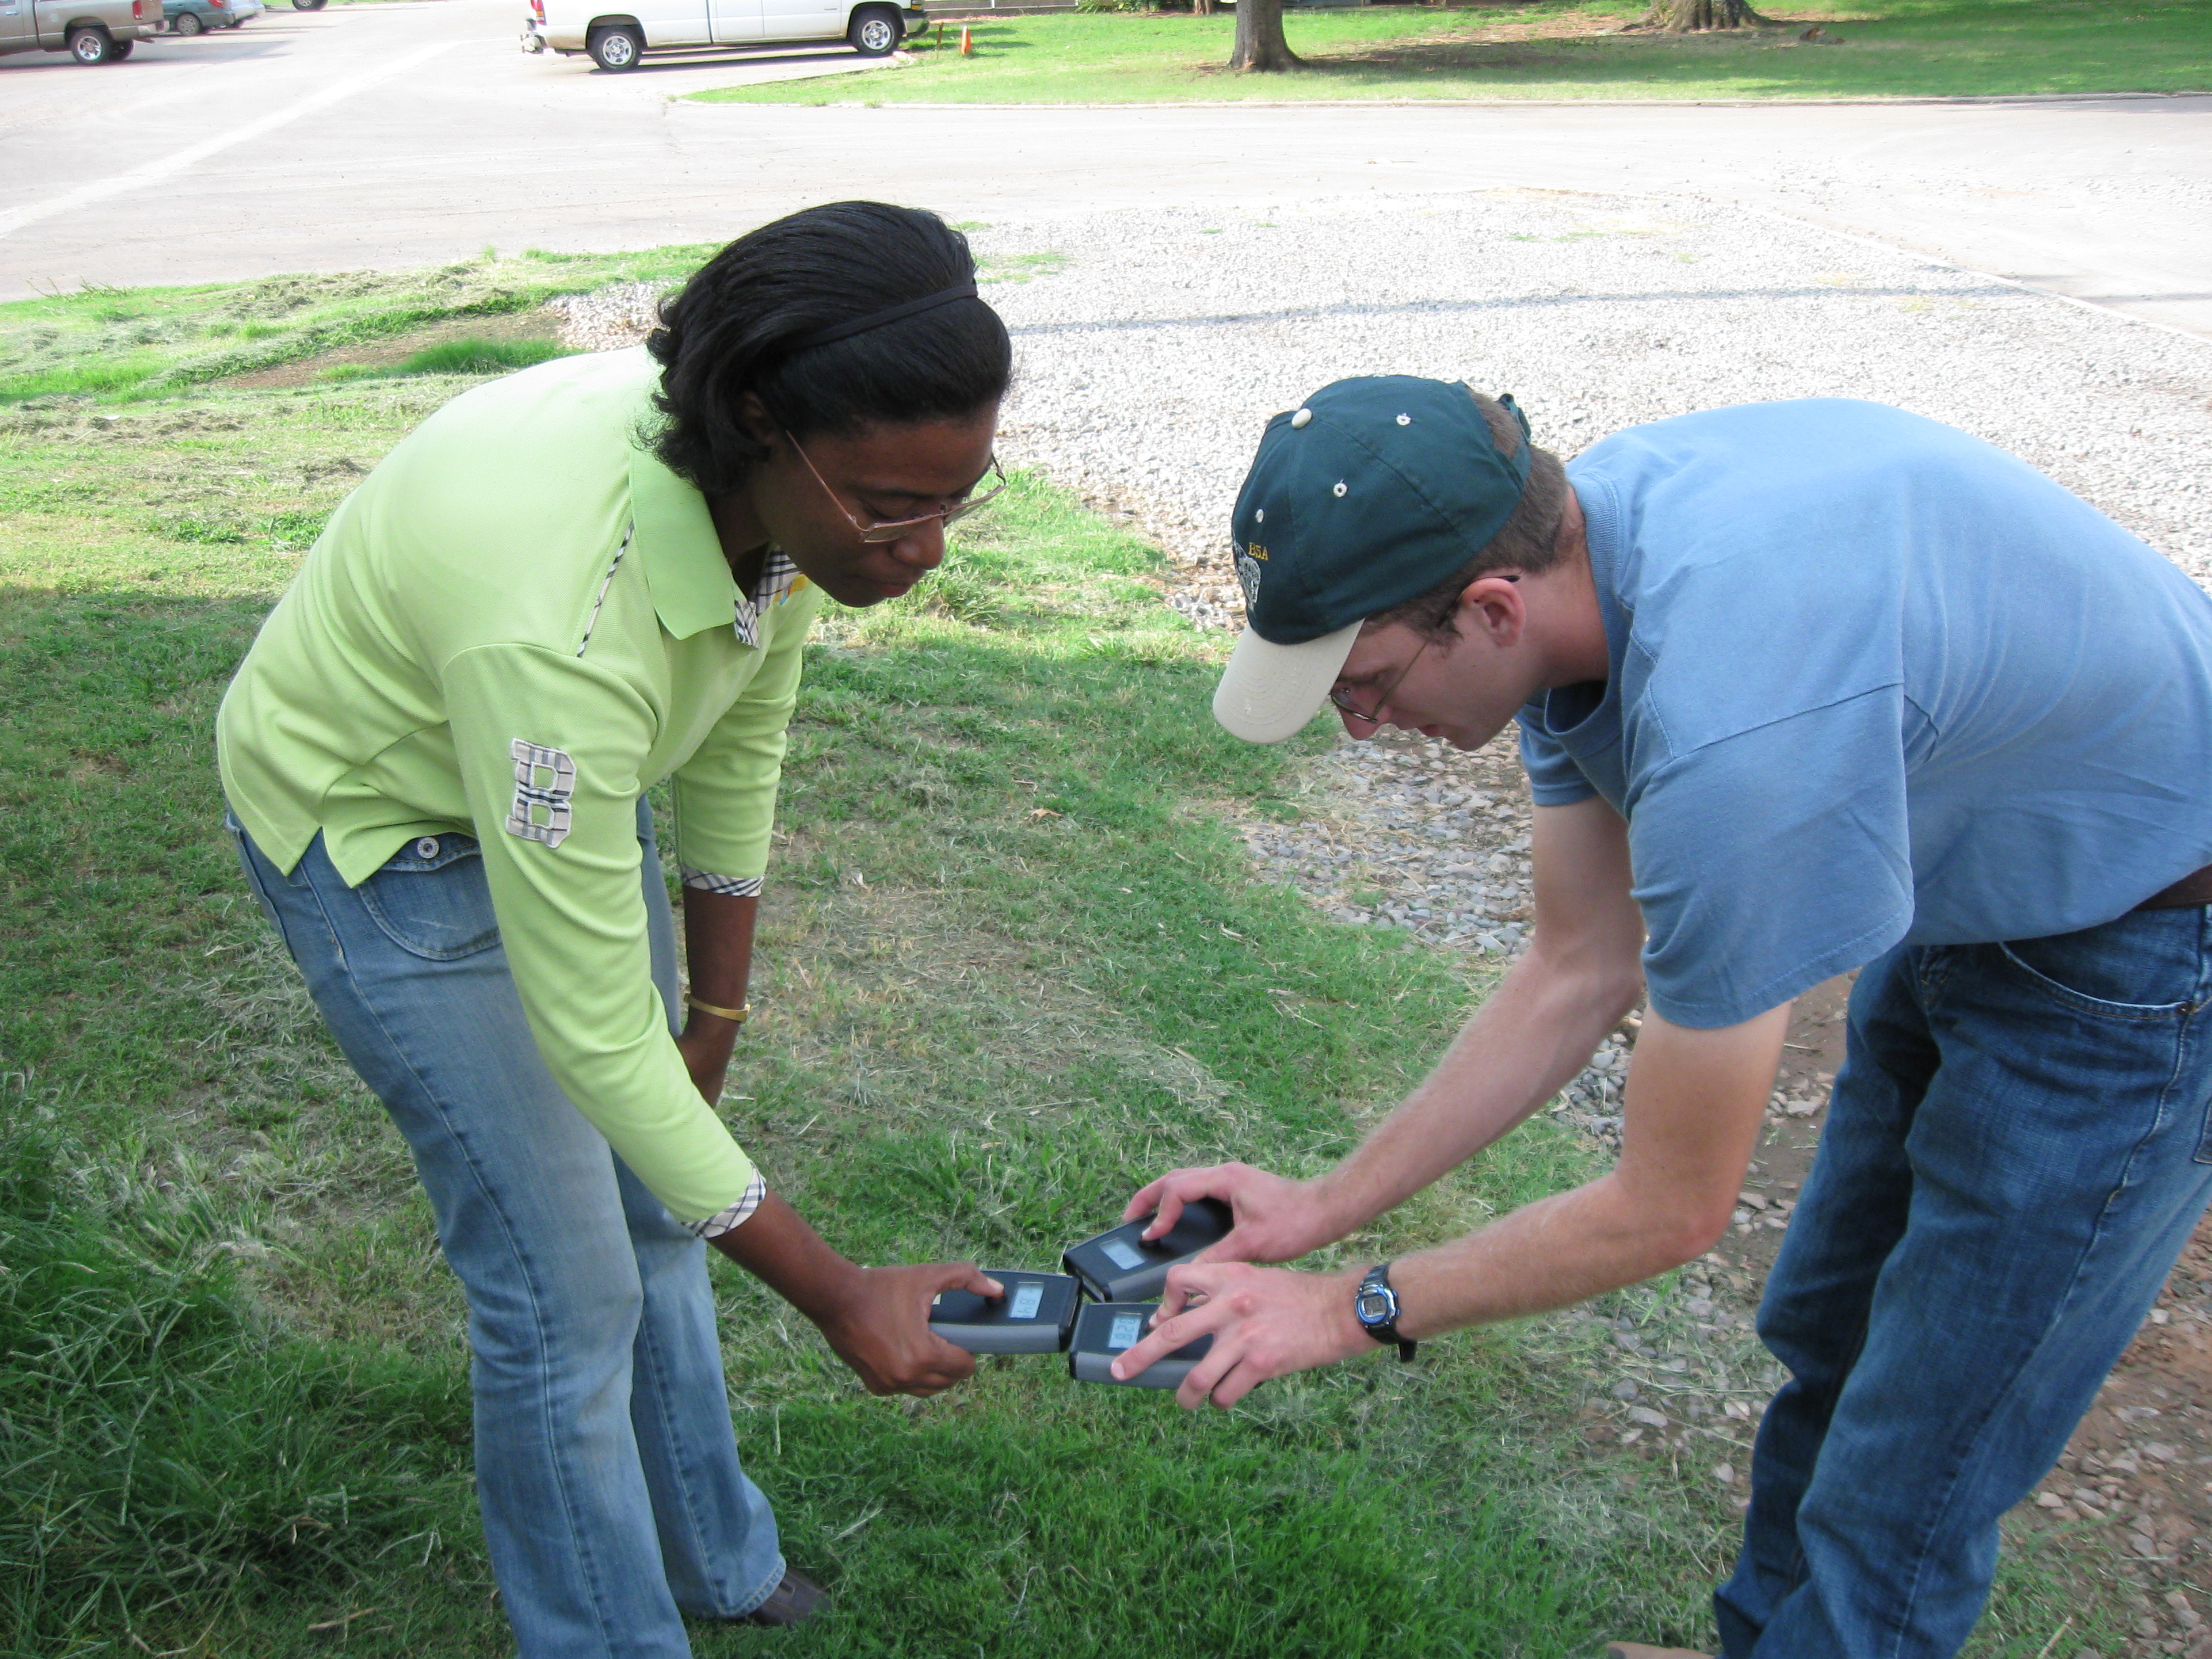
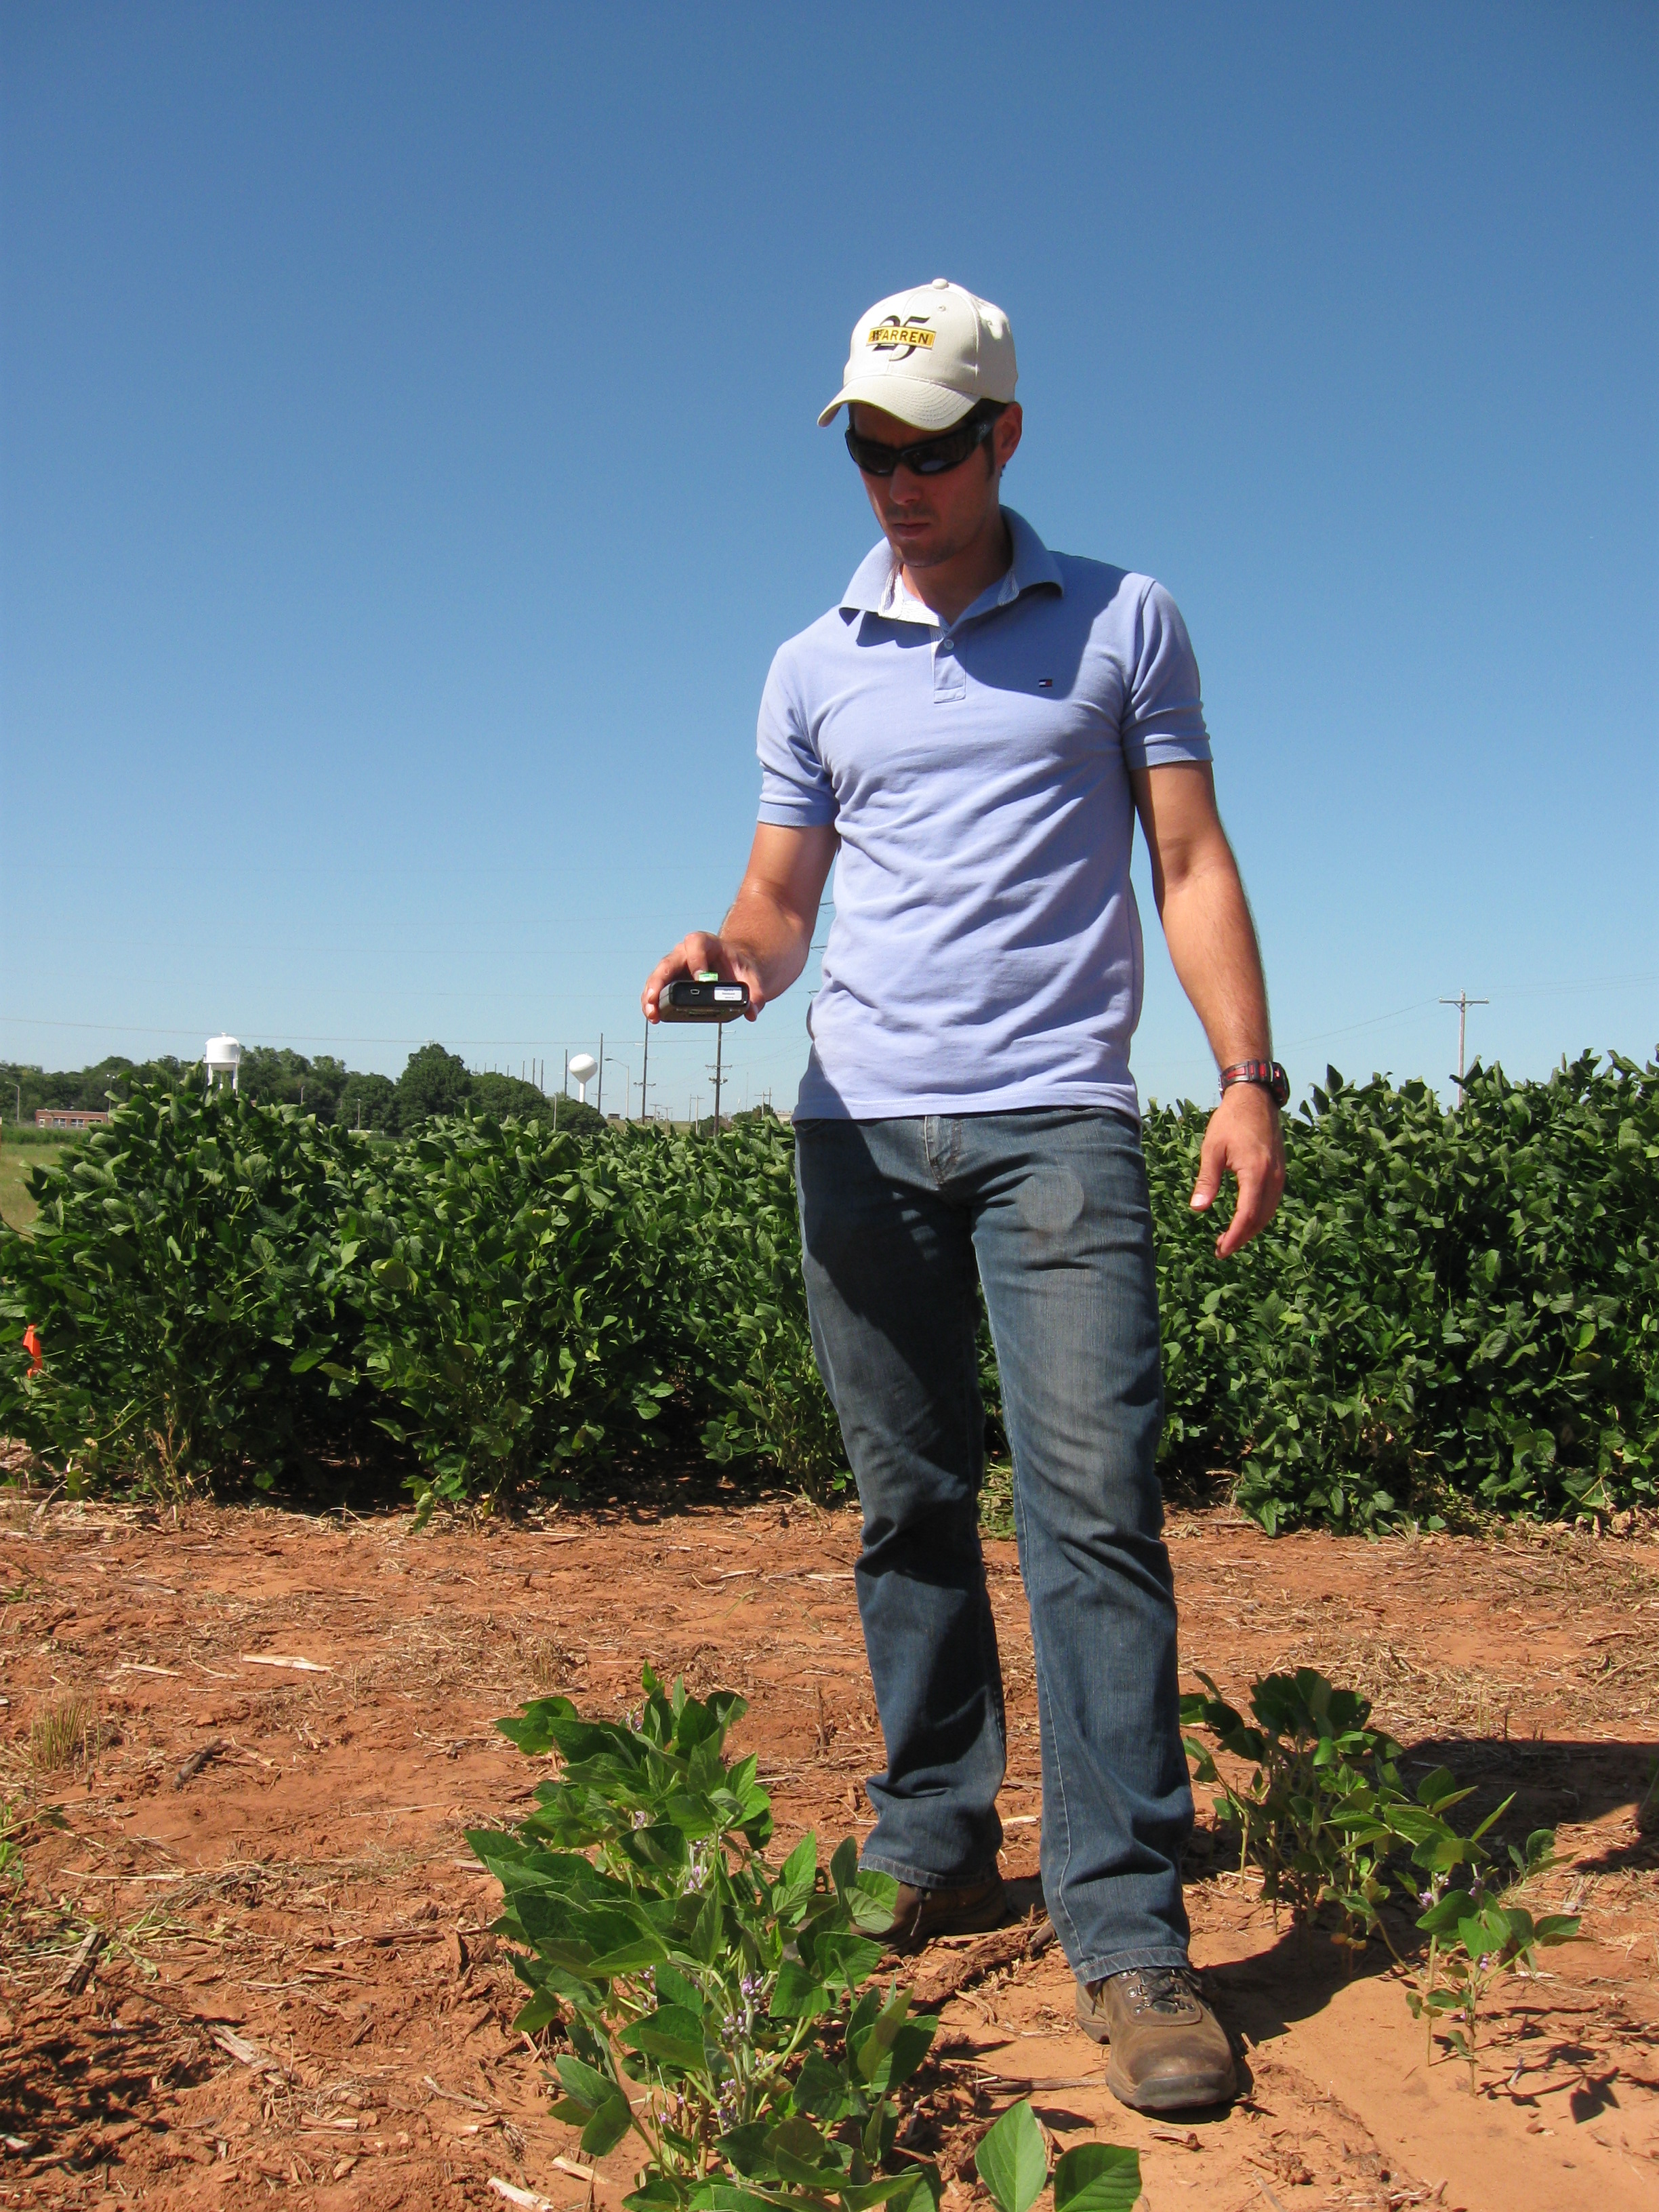
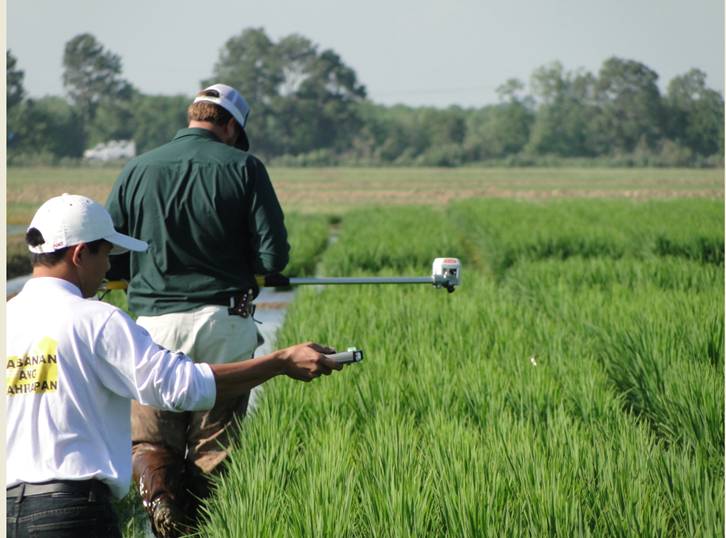
Jonathan Kelly, Natasha Macnack, Jeremiah Mullock, and Kevin Waldschmidt use the NDVI Pocket Sensor near Hennessey, OK
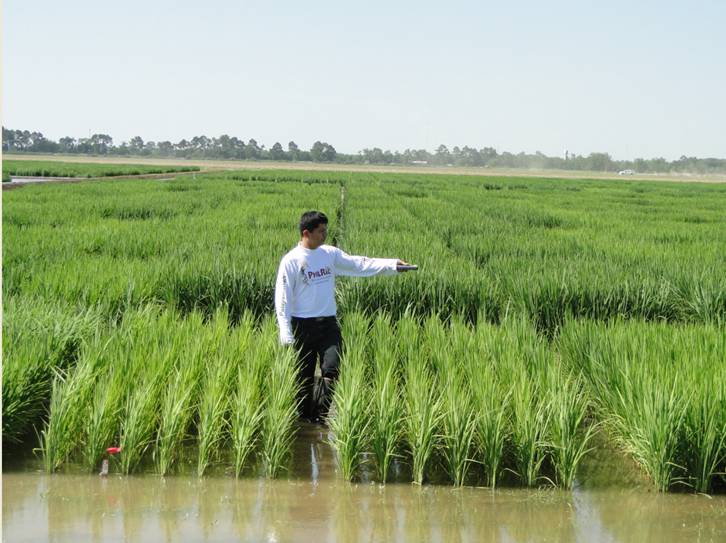
Pocket Sensor use, LSU, Dr. Brenda Tubana
June 4, 2012
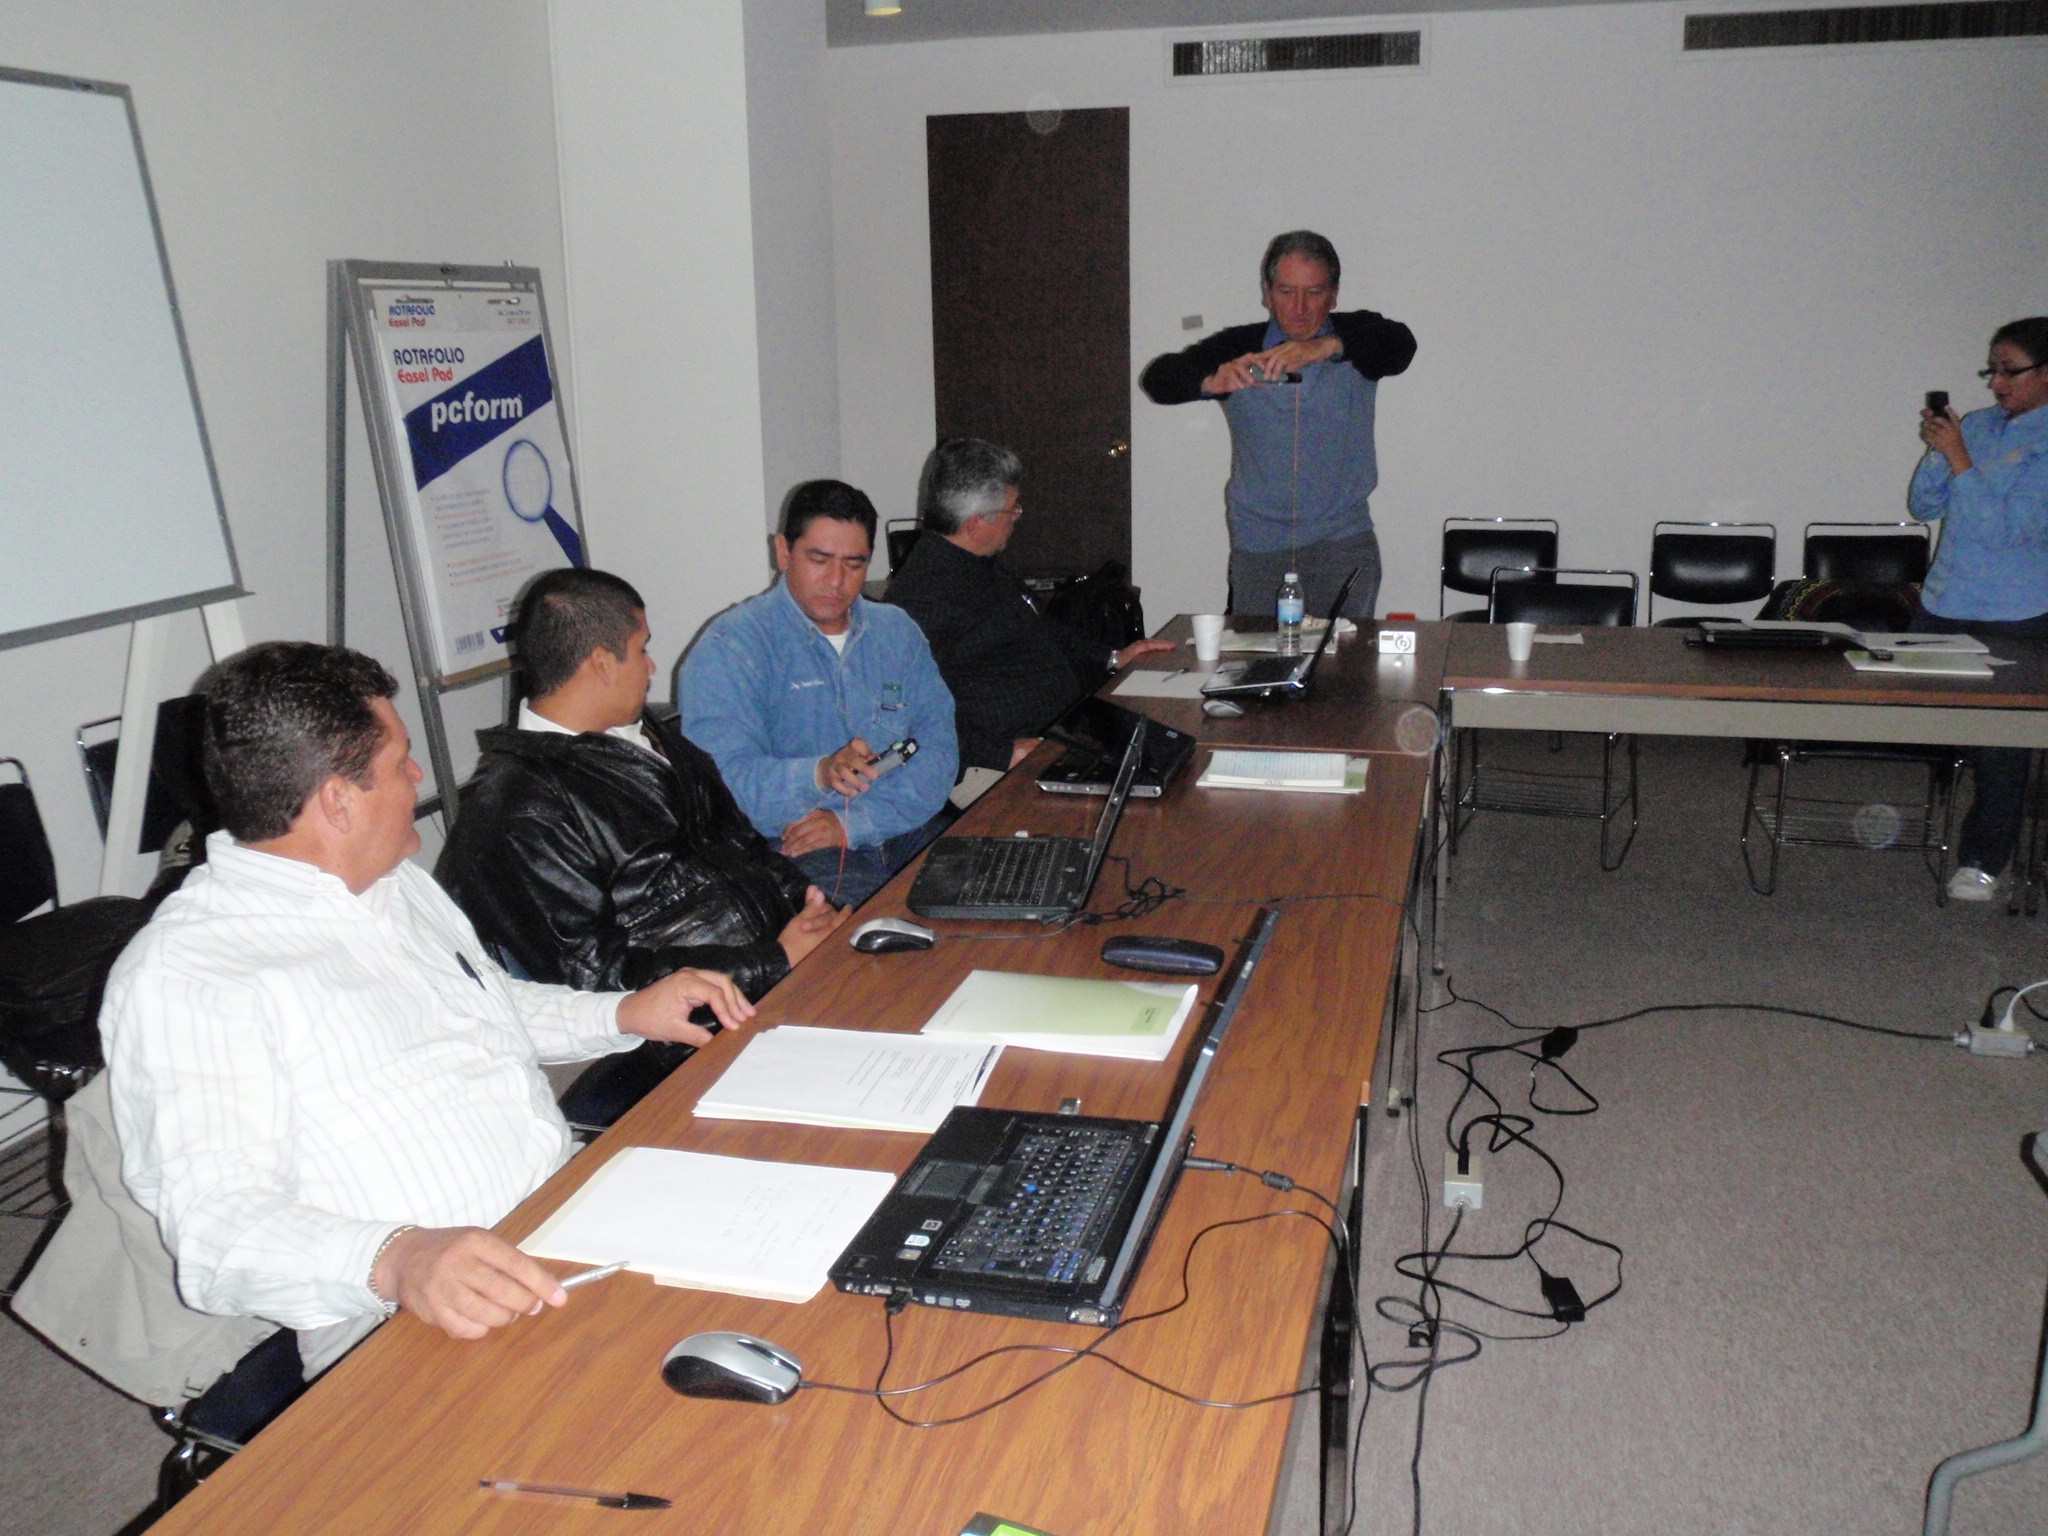
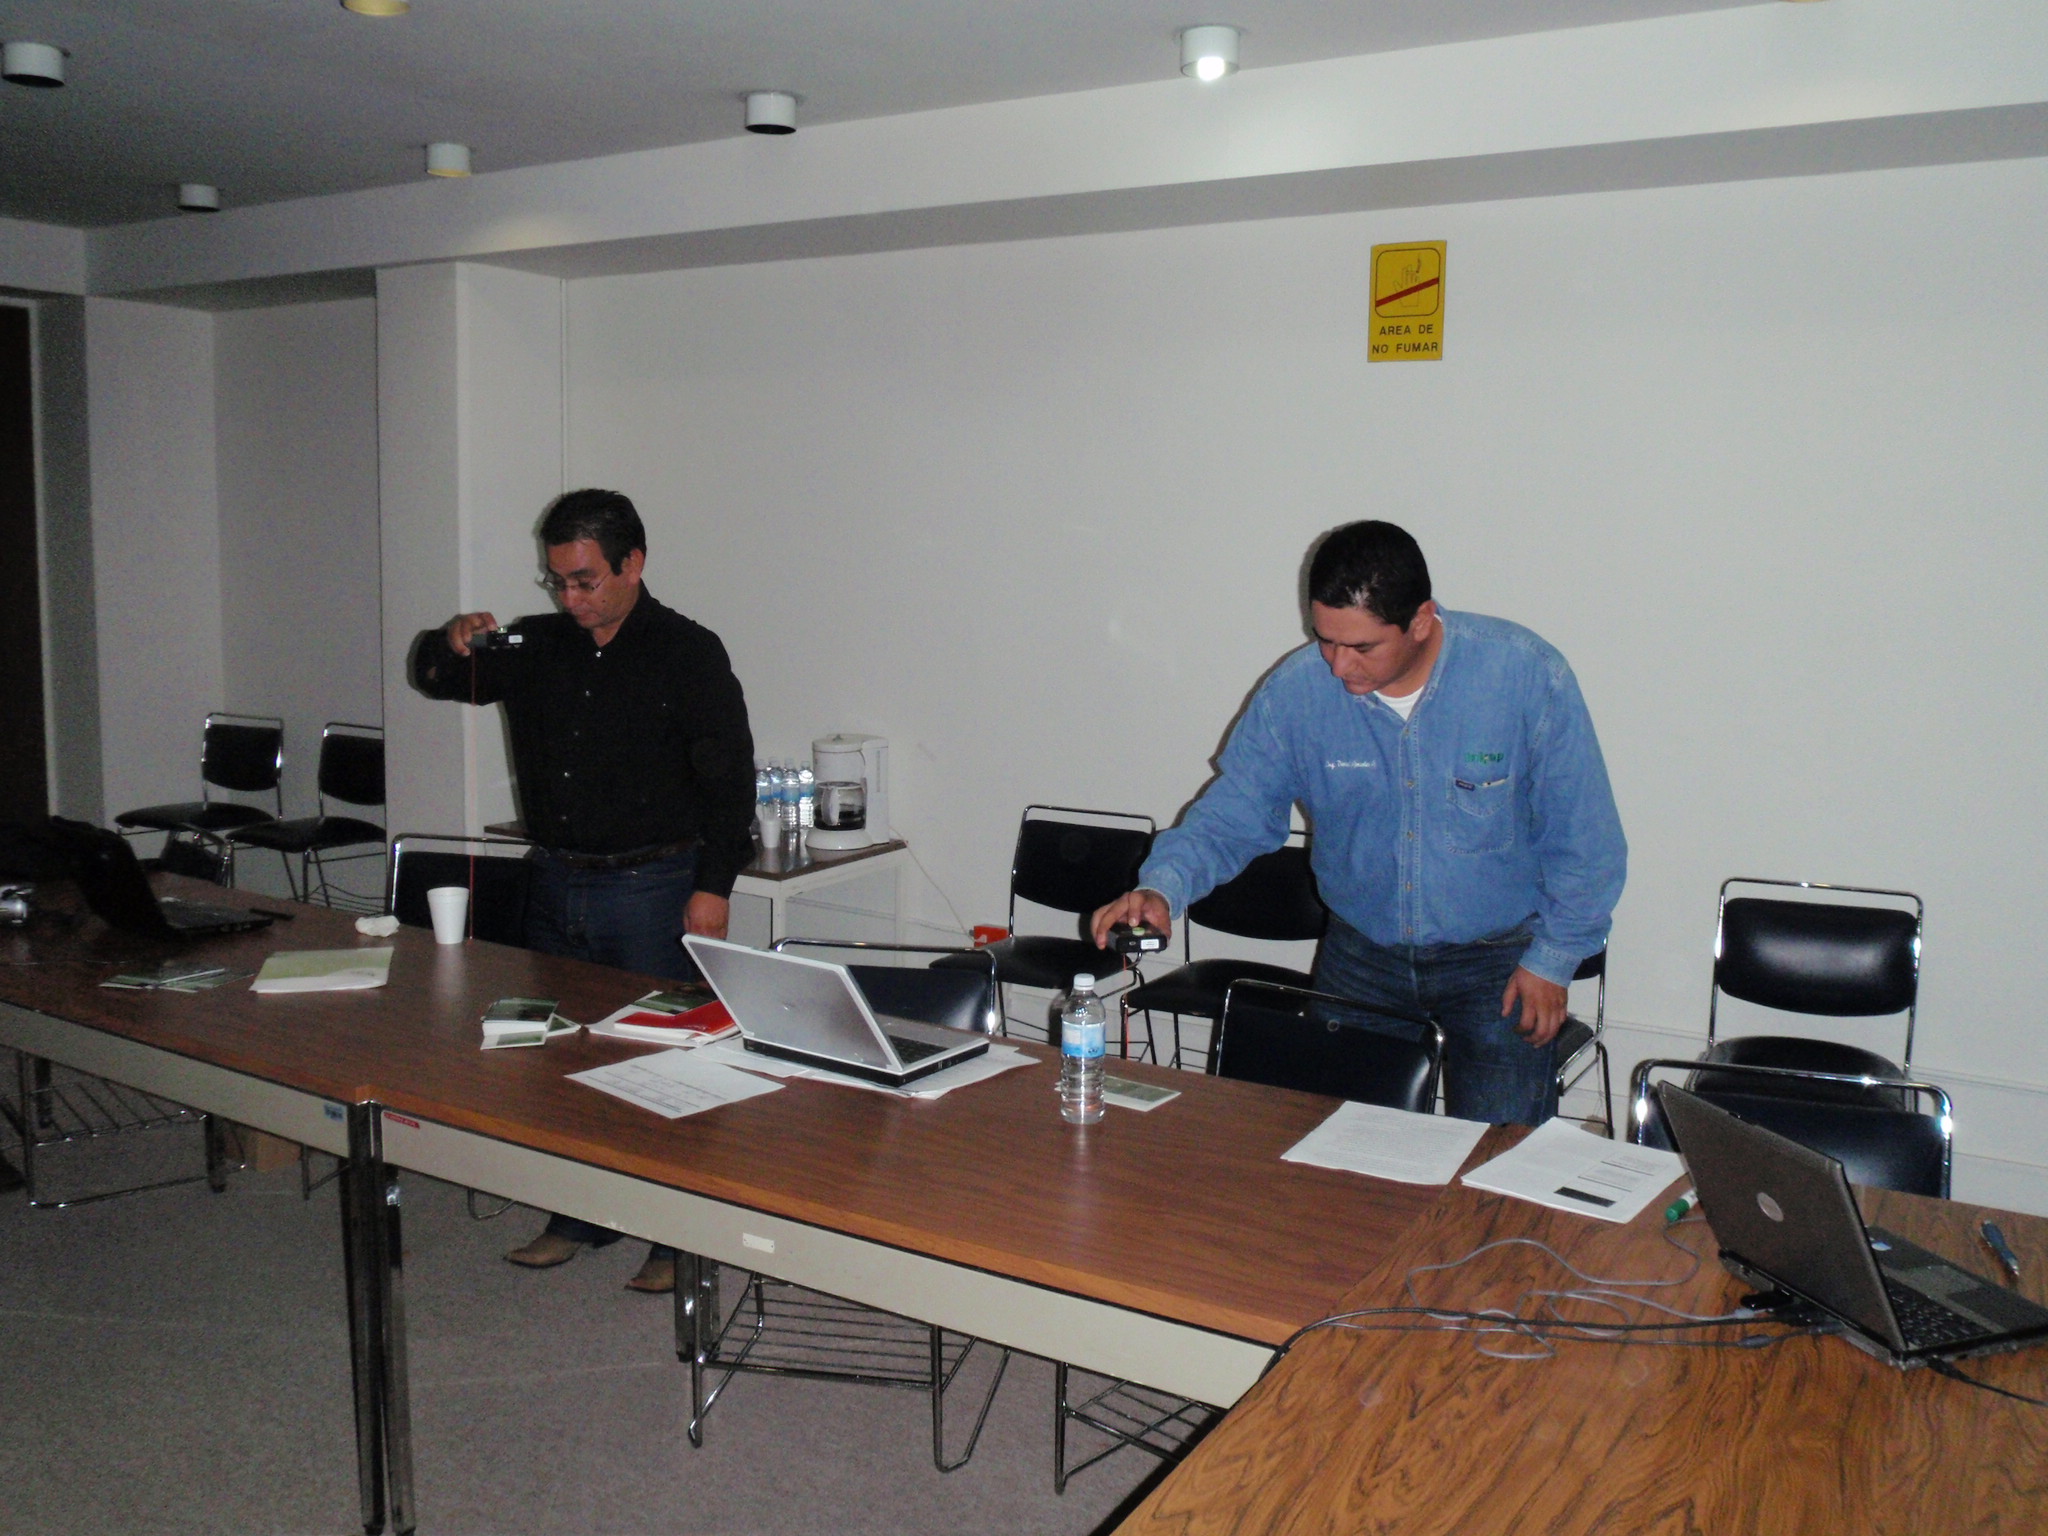
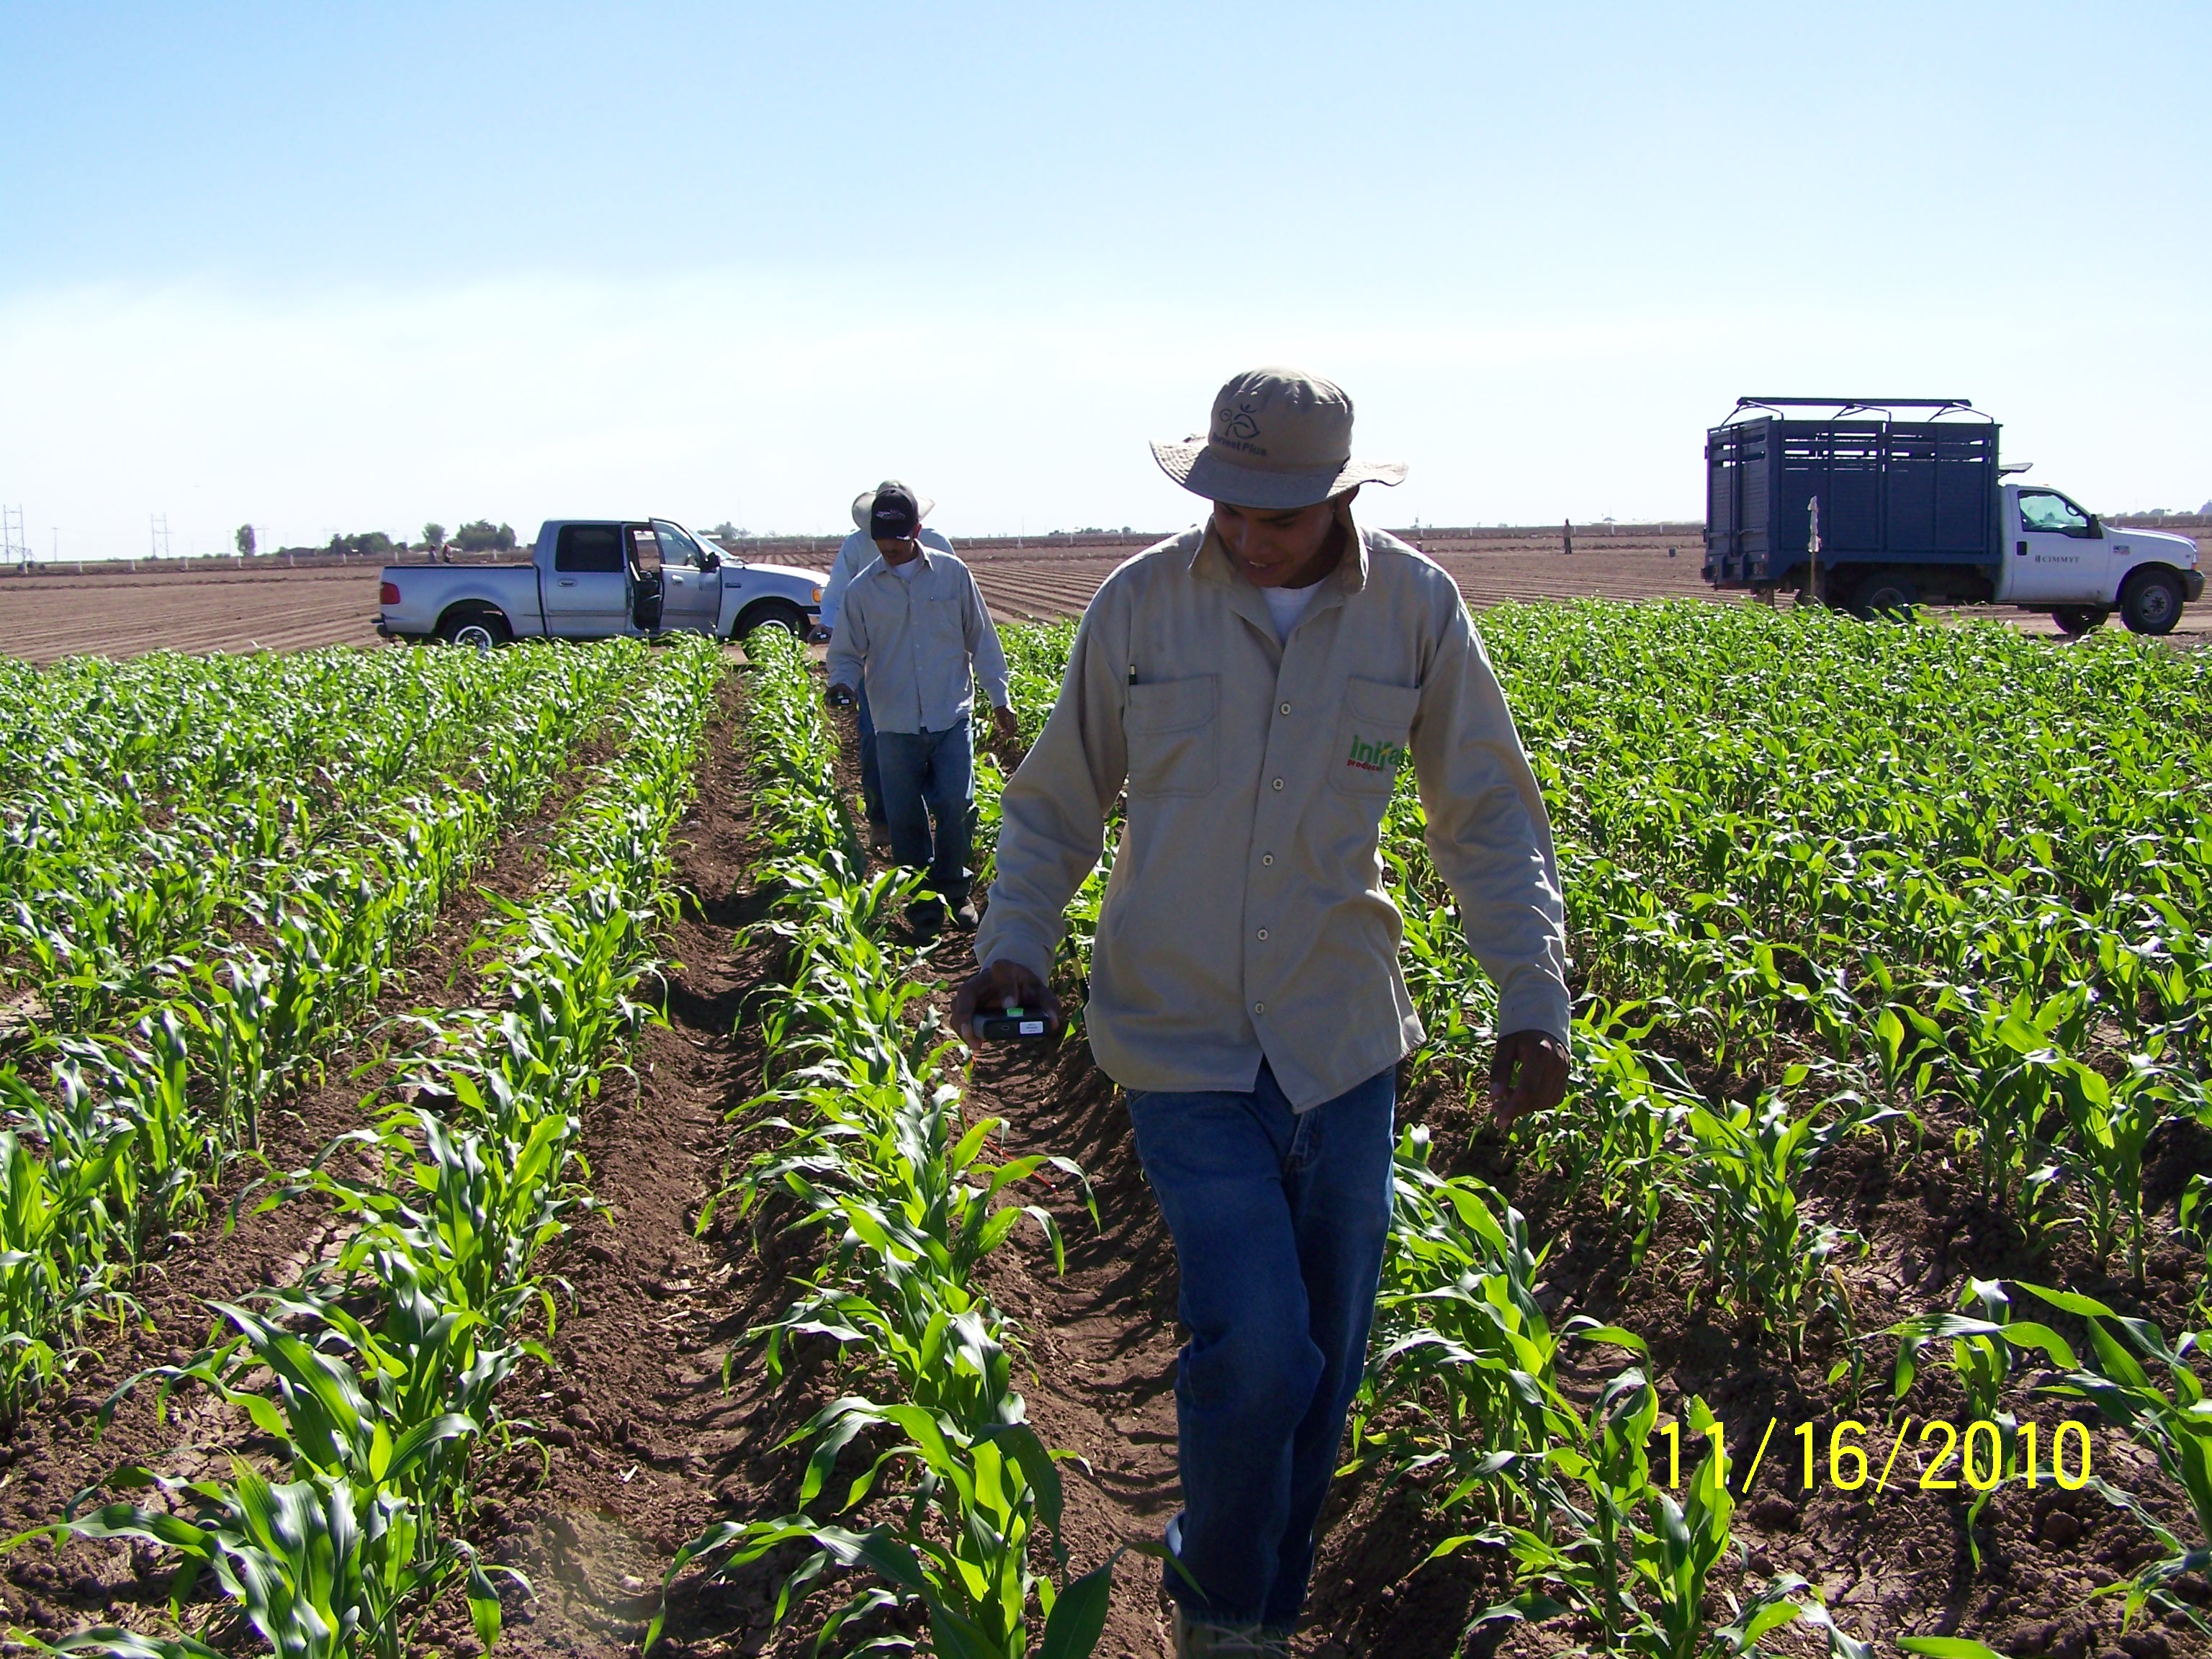
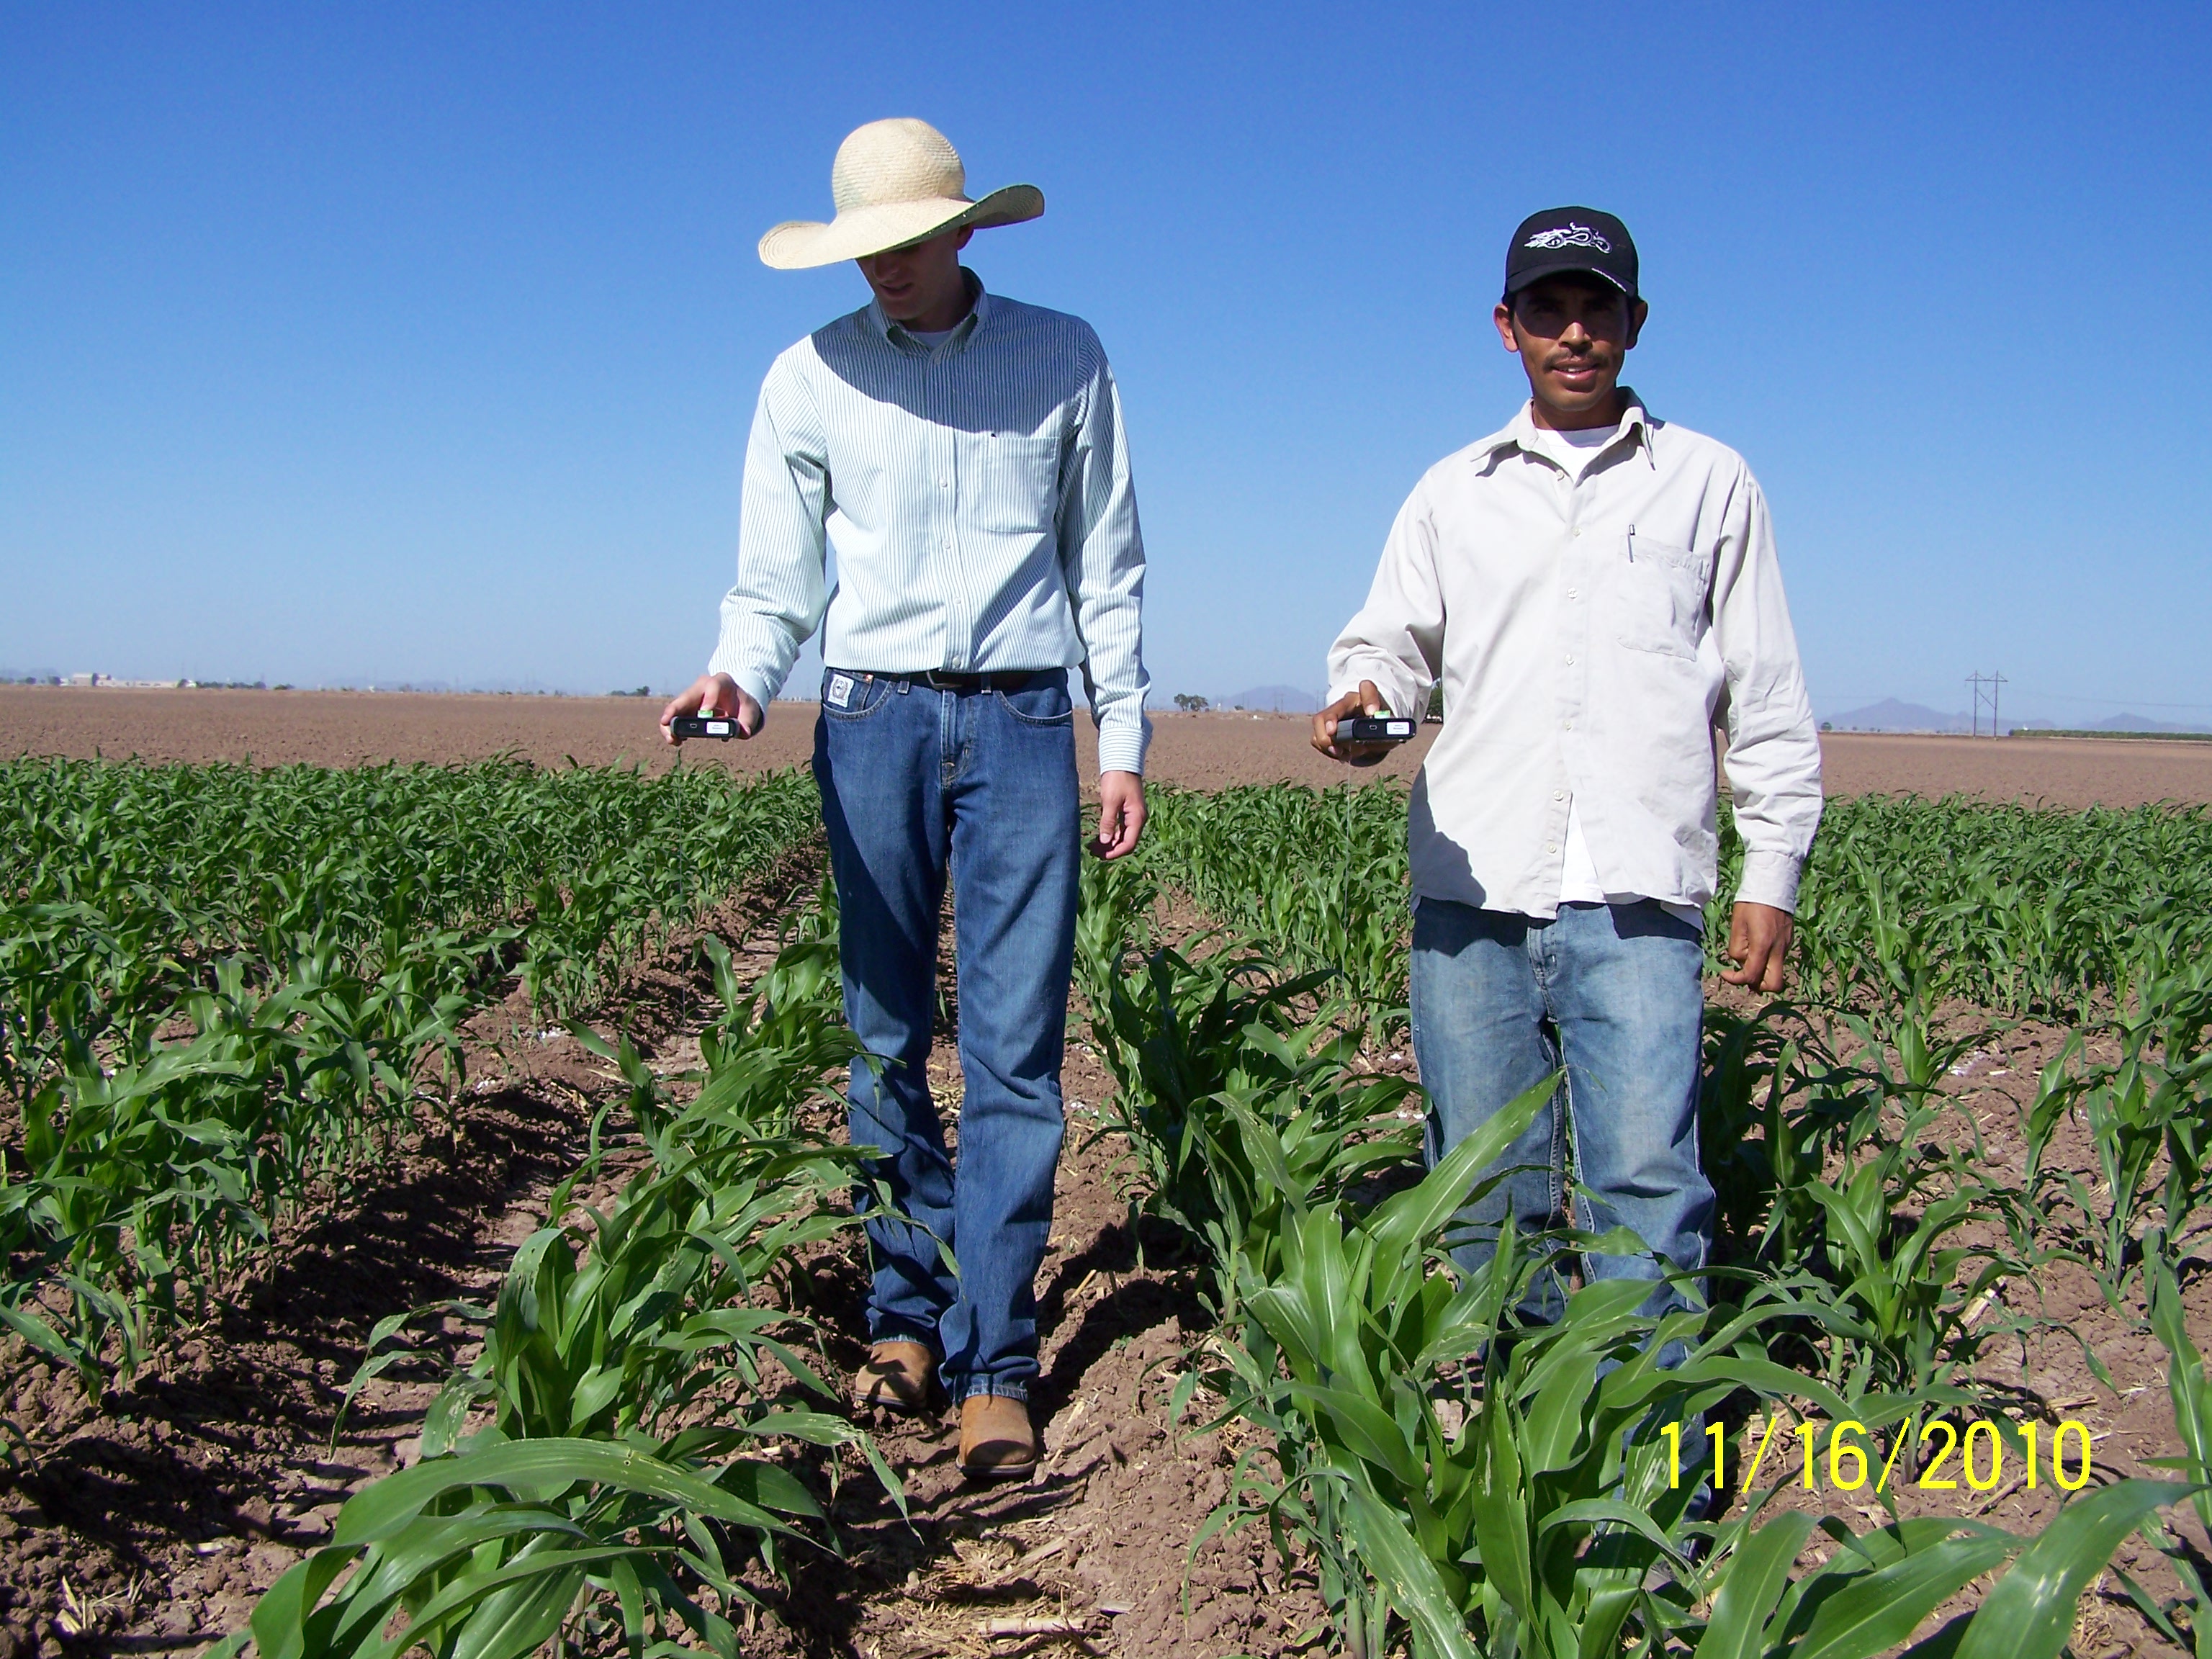
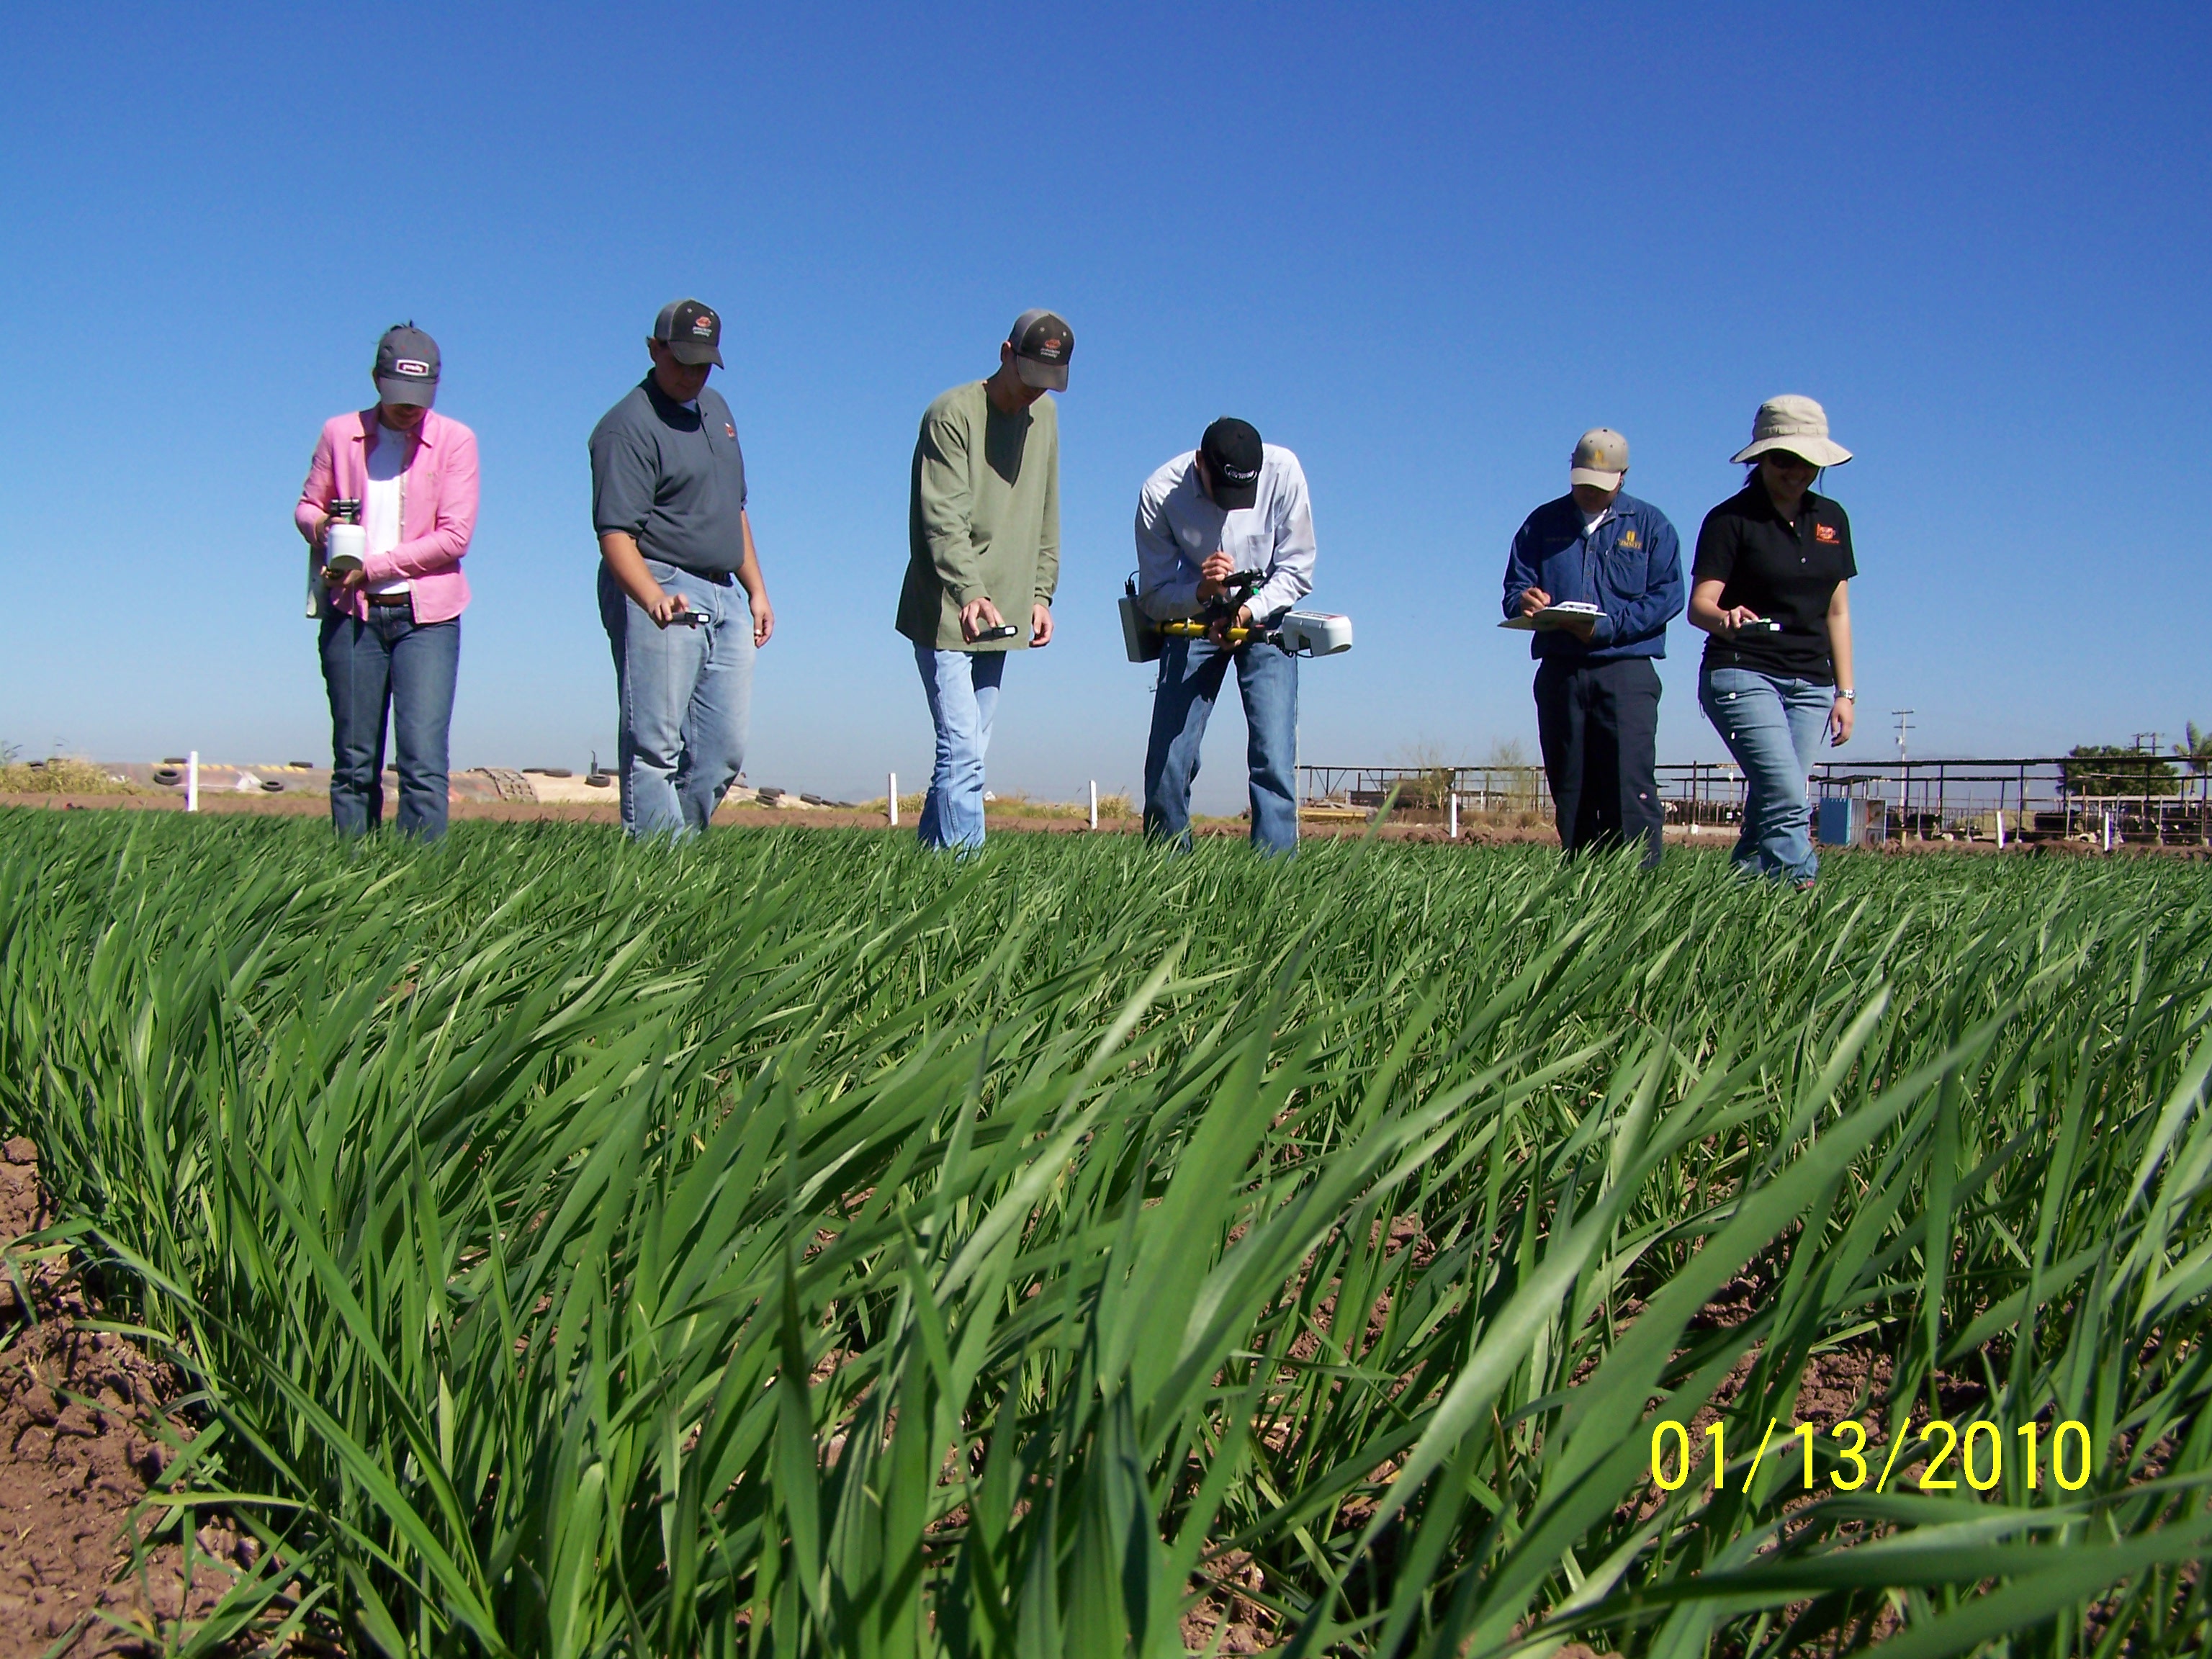

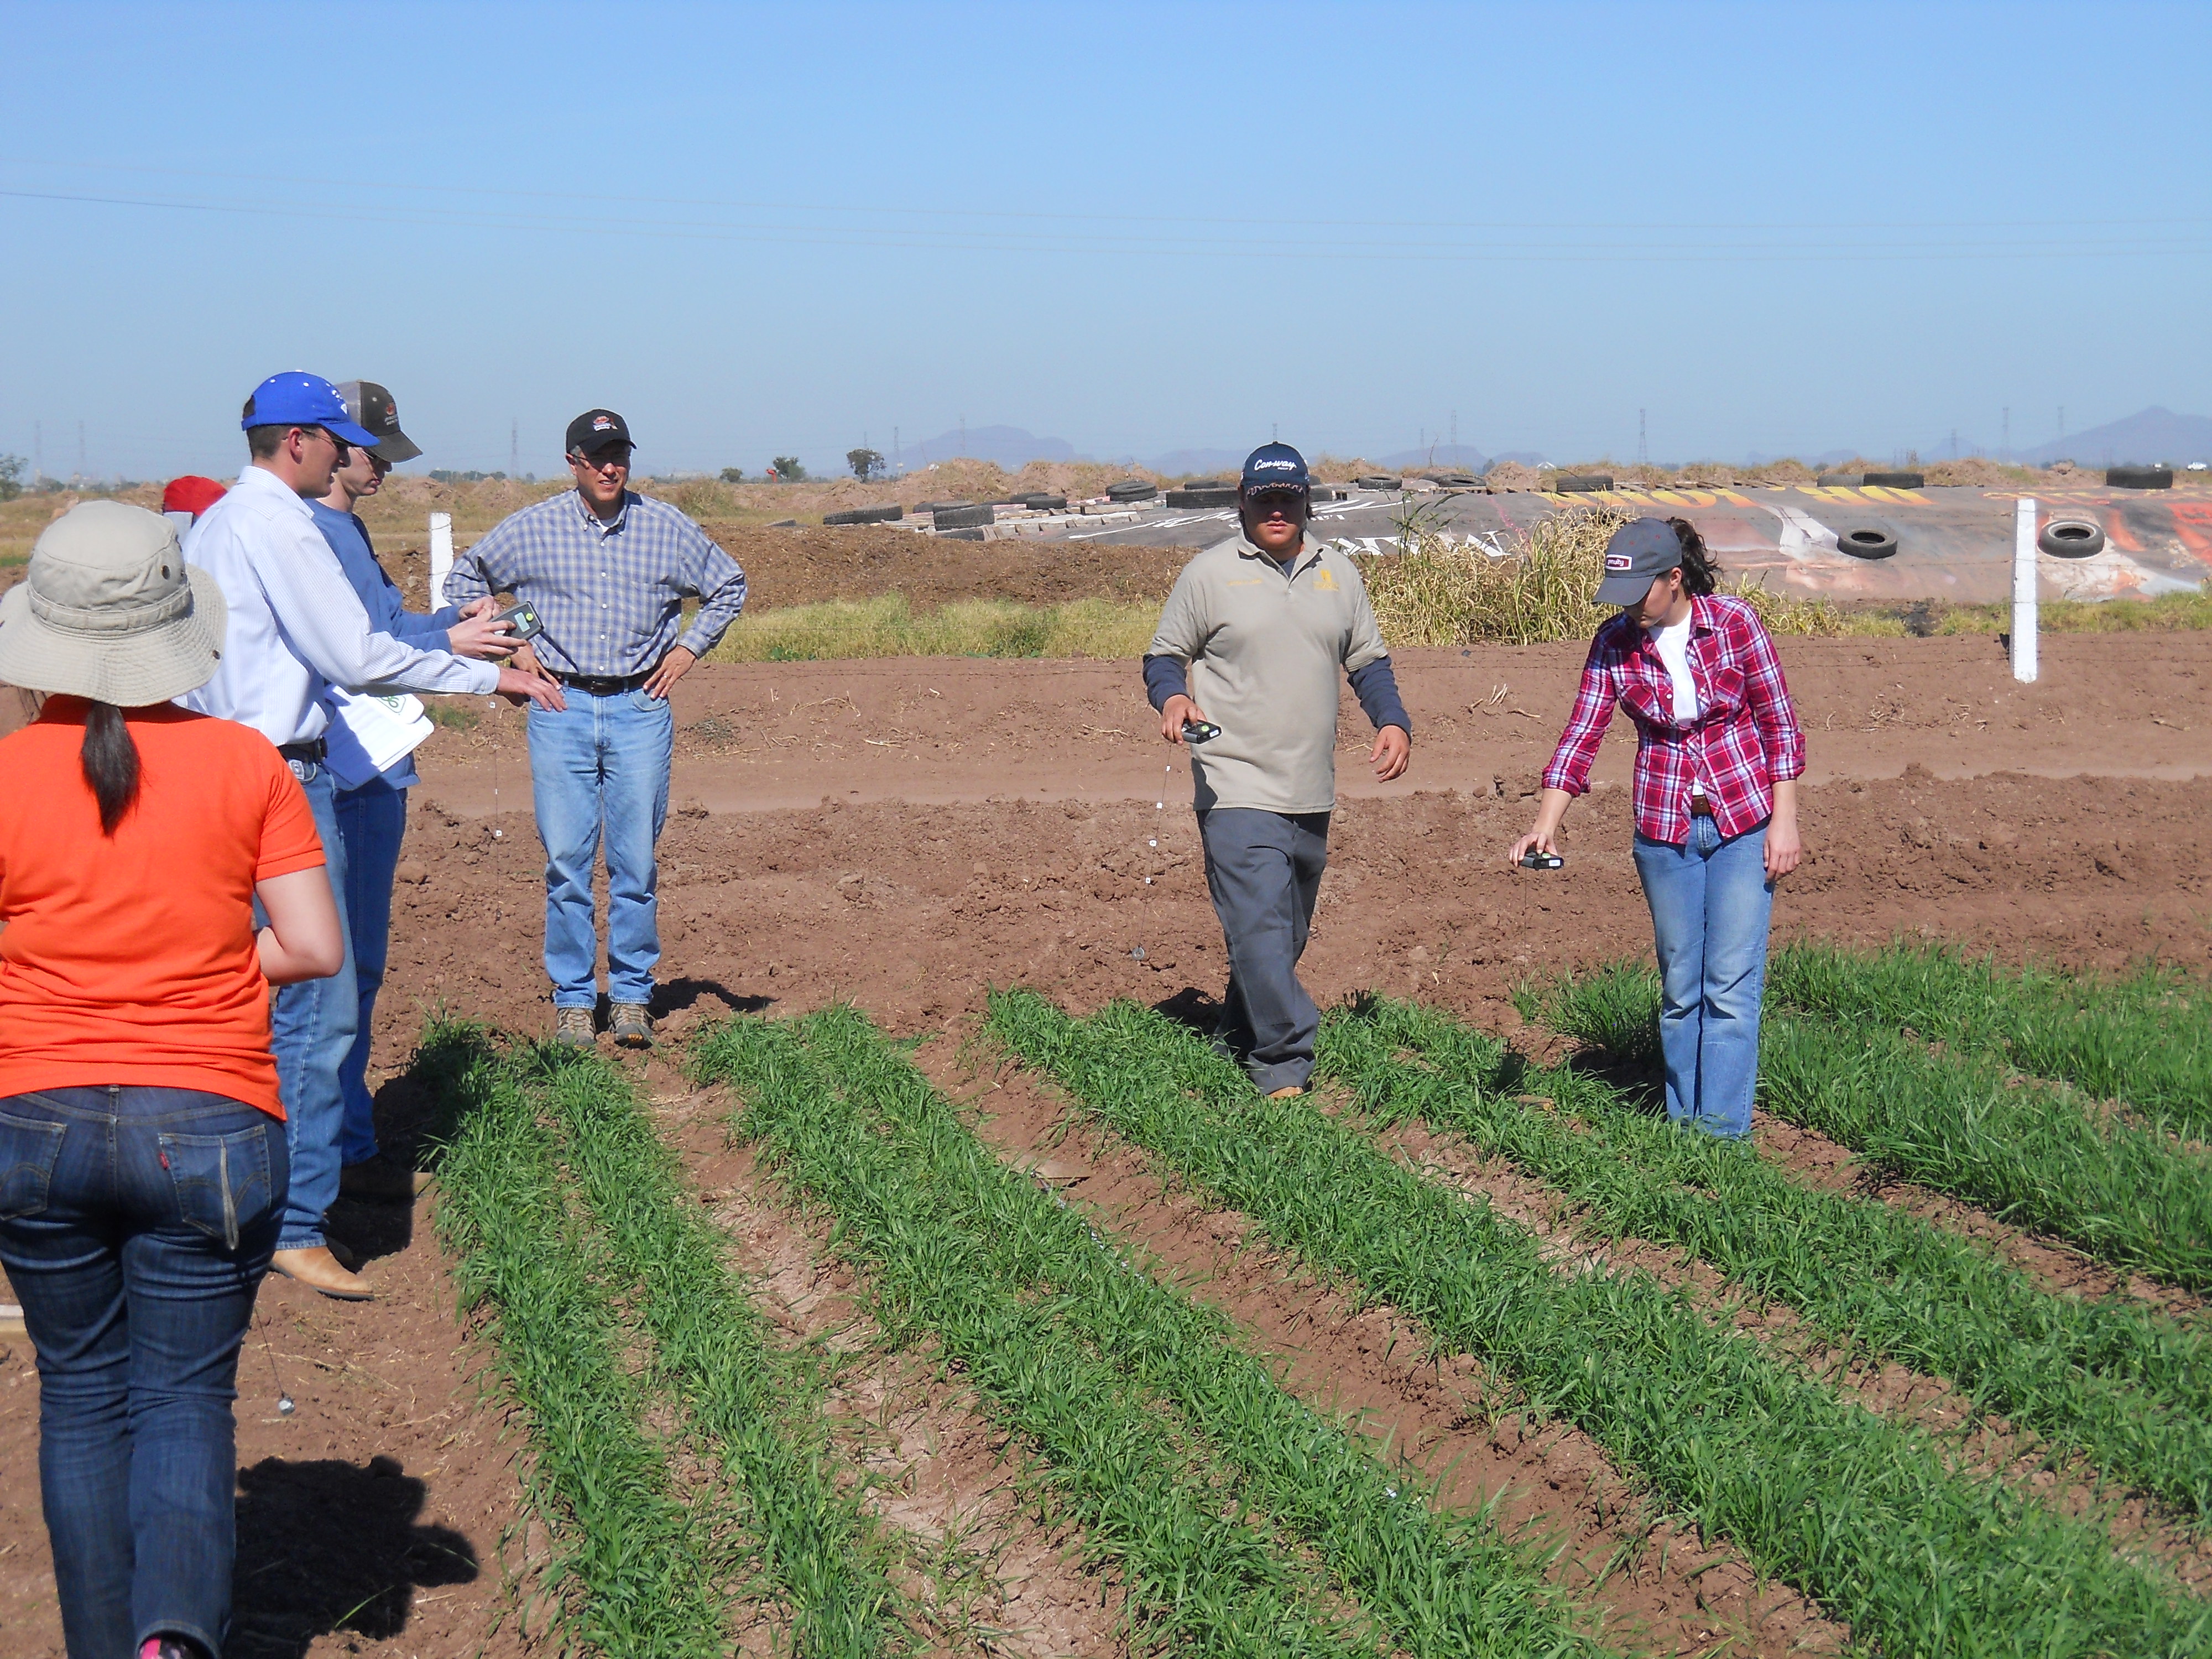
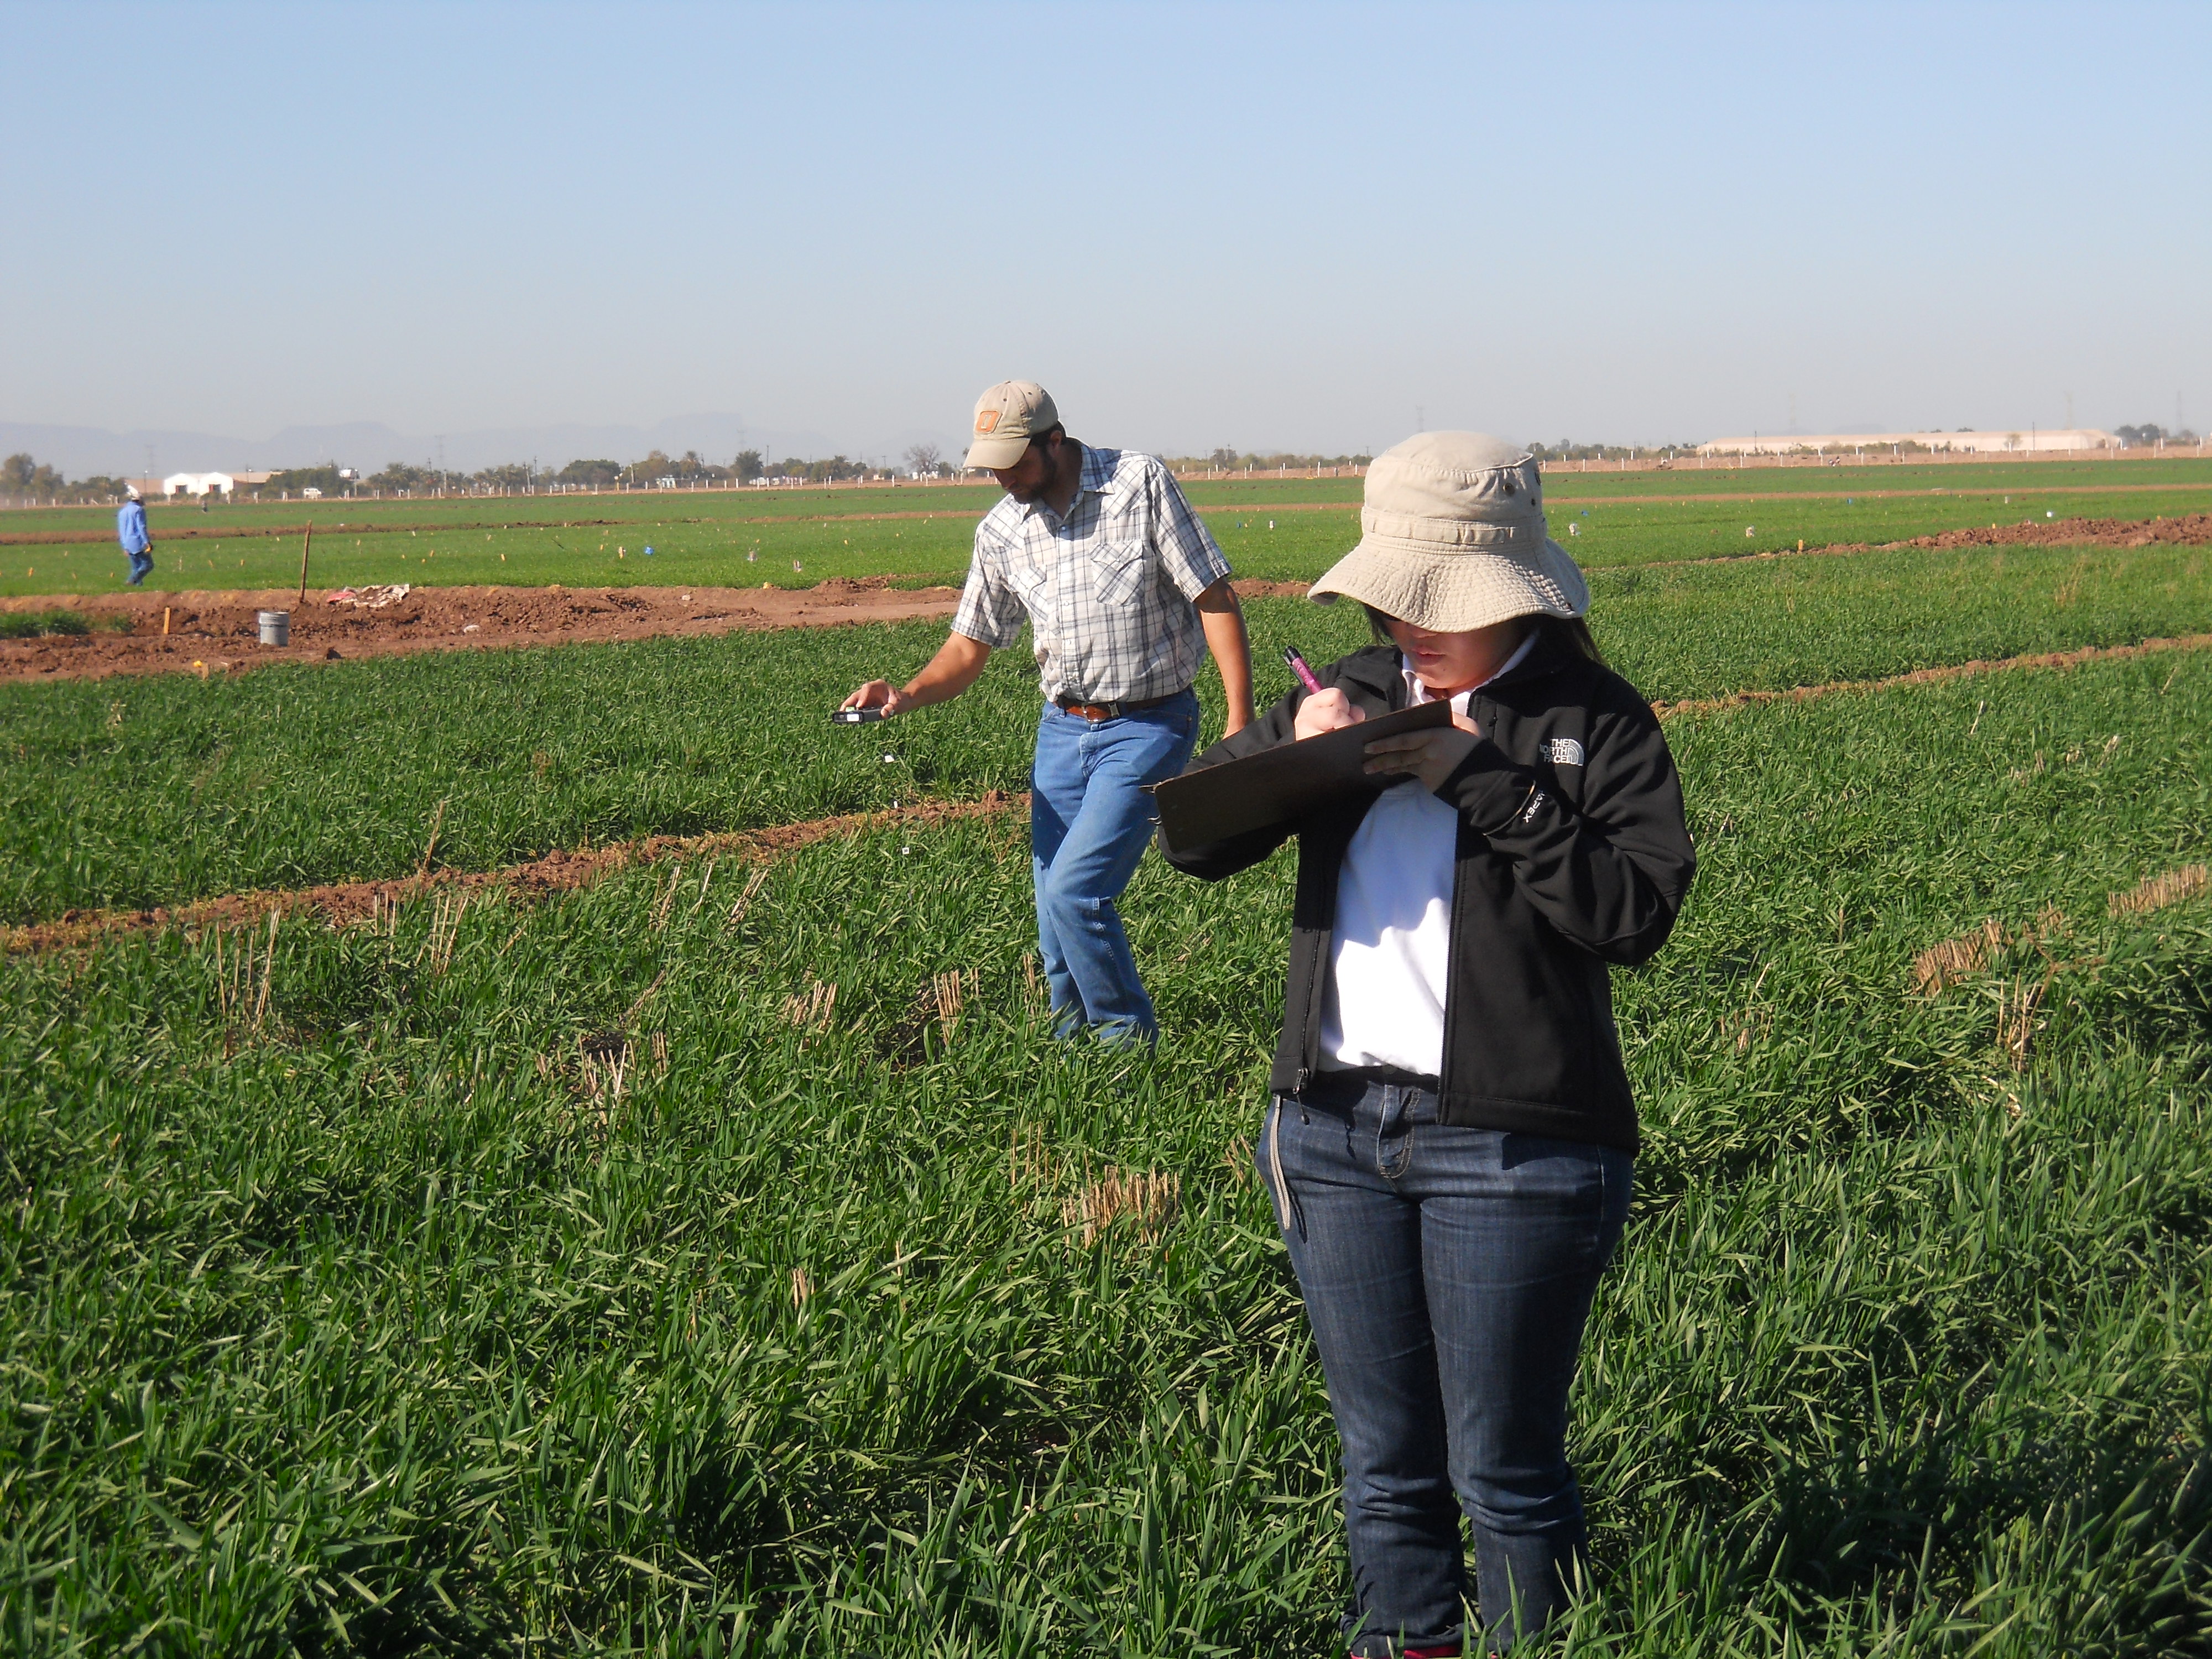
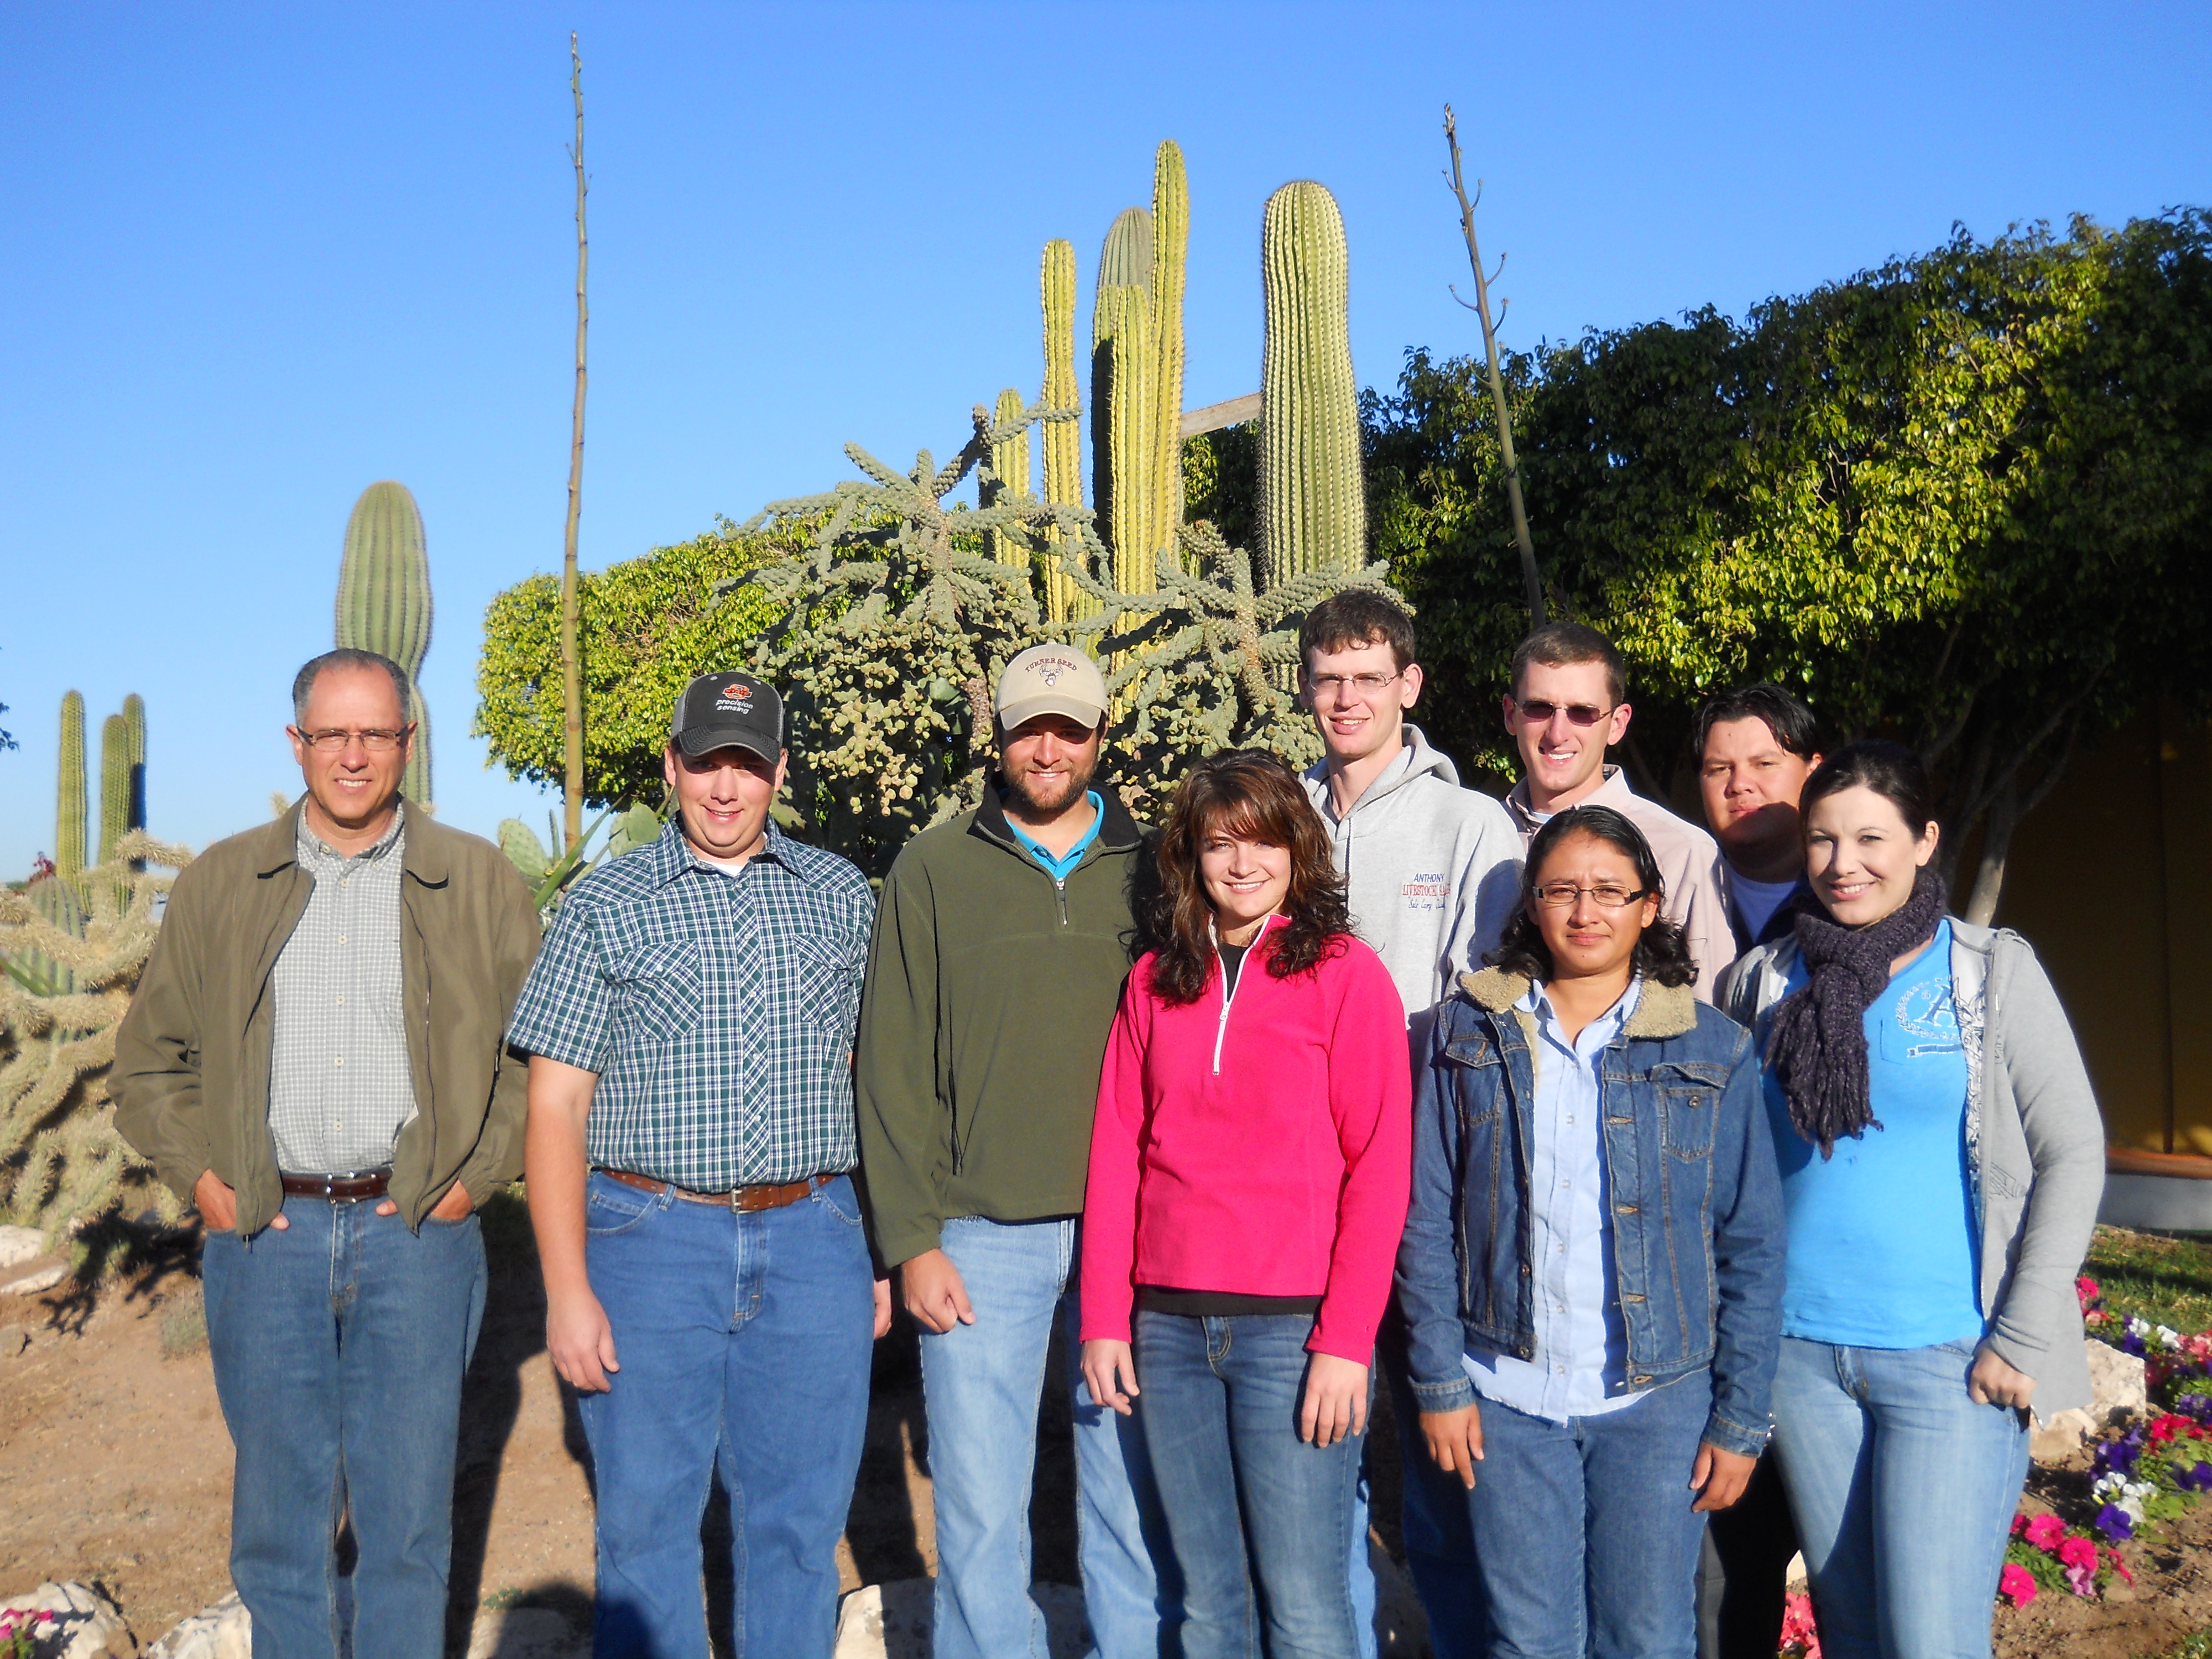
Pocket sensor training conducted by Dr. Ivan Ortiz-Monasterio and Jared Crain, at CIMMYT headquarters in El Batan, Mexico, and Ciudad Obregon, Sonora, Mexico
Oklahoma State
University
Pocket Sensor
Guidelines
1) The sensor comes pre-calibrated to a Greenseeker
sensor. (the manual below would indirectly suggest that the sensor might
not be calibrated)
2) The sensor can be calibrated to an “NDVI “ sensor
(not just a Greenseeker)
3) The existing “Greenseeker calibration must be turned
to FALSE (G, F) before re-calibrating
One thing that needs to be enforced is charging the battery of the pocket
sensor every night.
Also, before calibration, the sensors need to be fully charged.
This will ensure the sensor is operating at it's best.
Charging:
·
Attach the provided USB
cable attachment to the front side of the pocket sensor, then plug in the
USB cable directly into a USB port on a computer.
Charge for 3-4 hours.
·
Battery life is
approximately 6-10 hours, depending on operation
·
A “batt” symbol will
appear in the upper left-hand corner of the LCD screen if a low-battery
condition occurs.
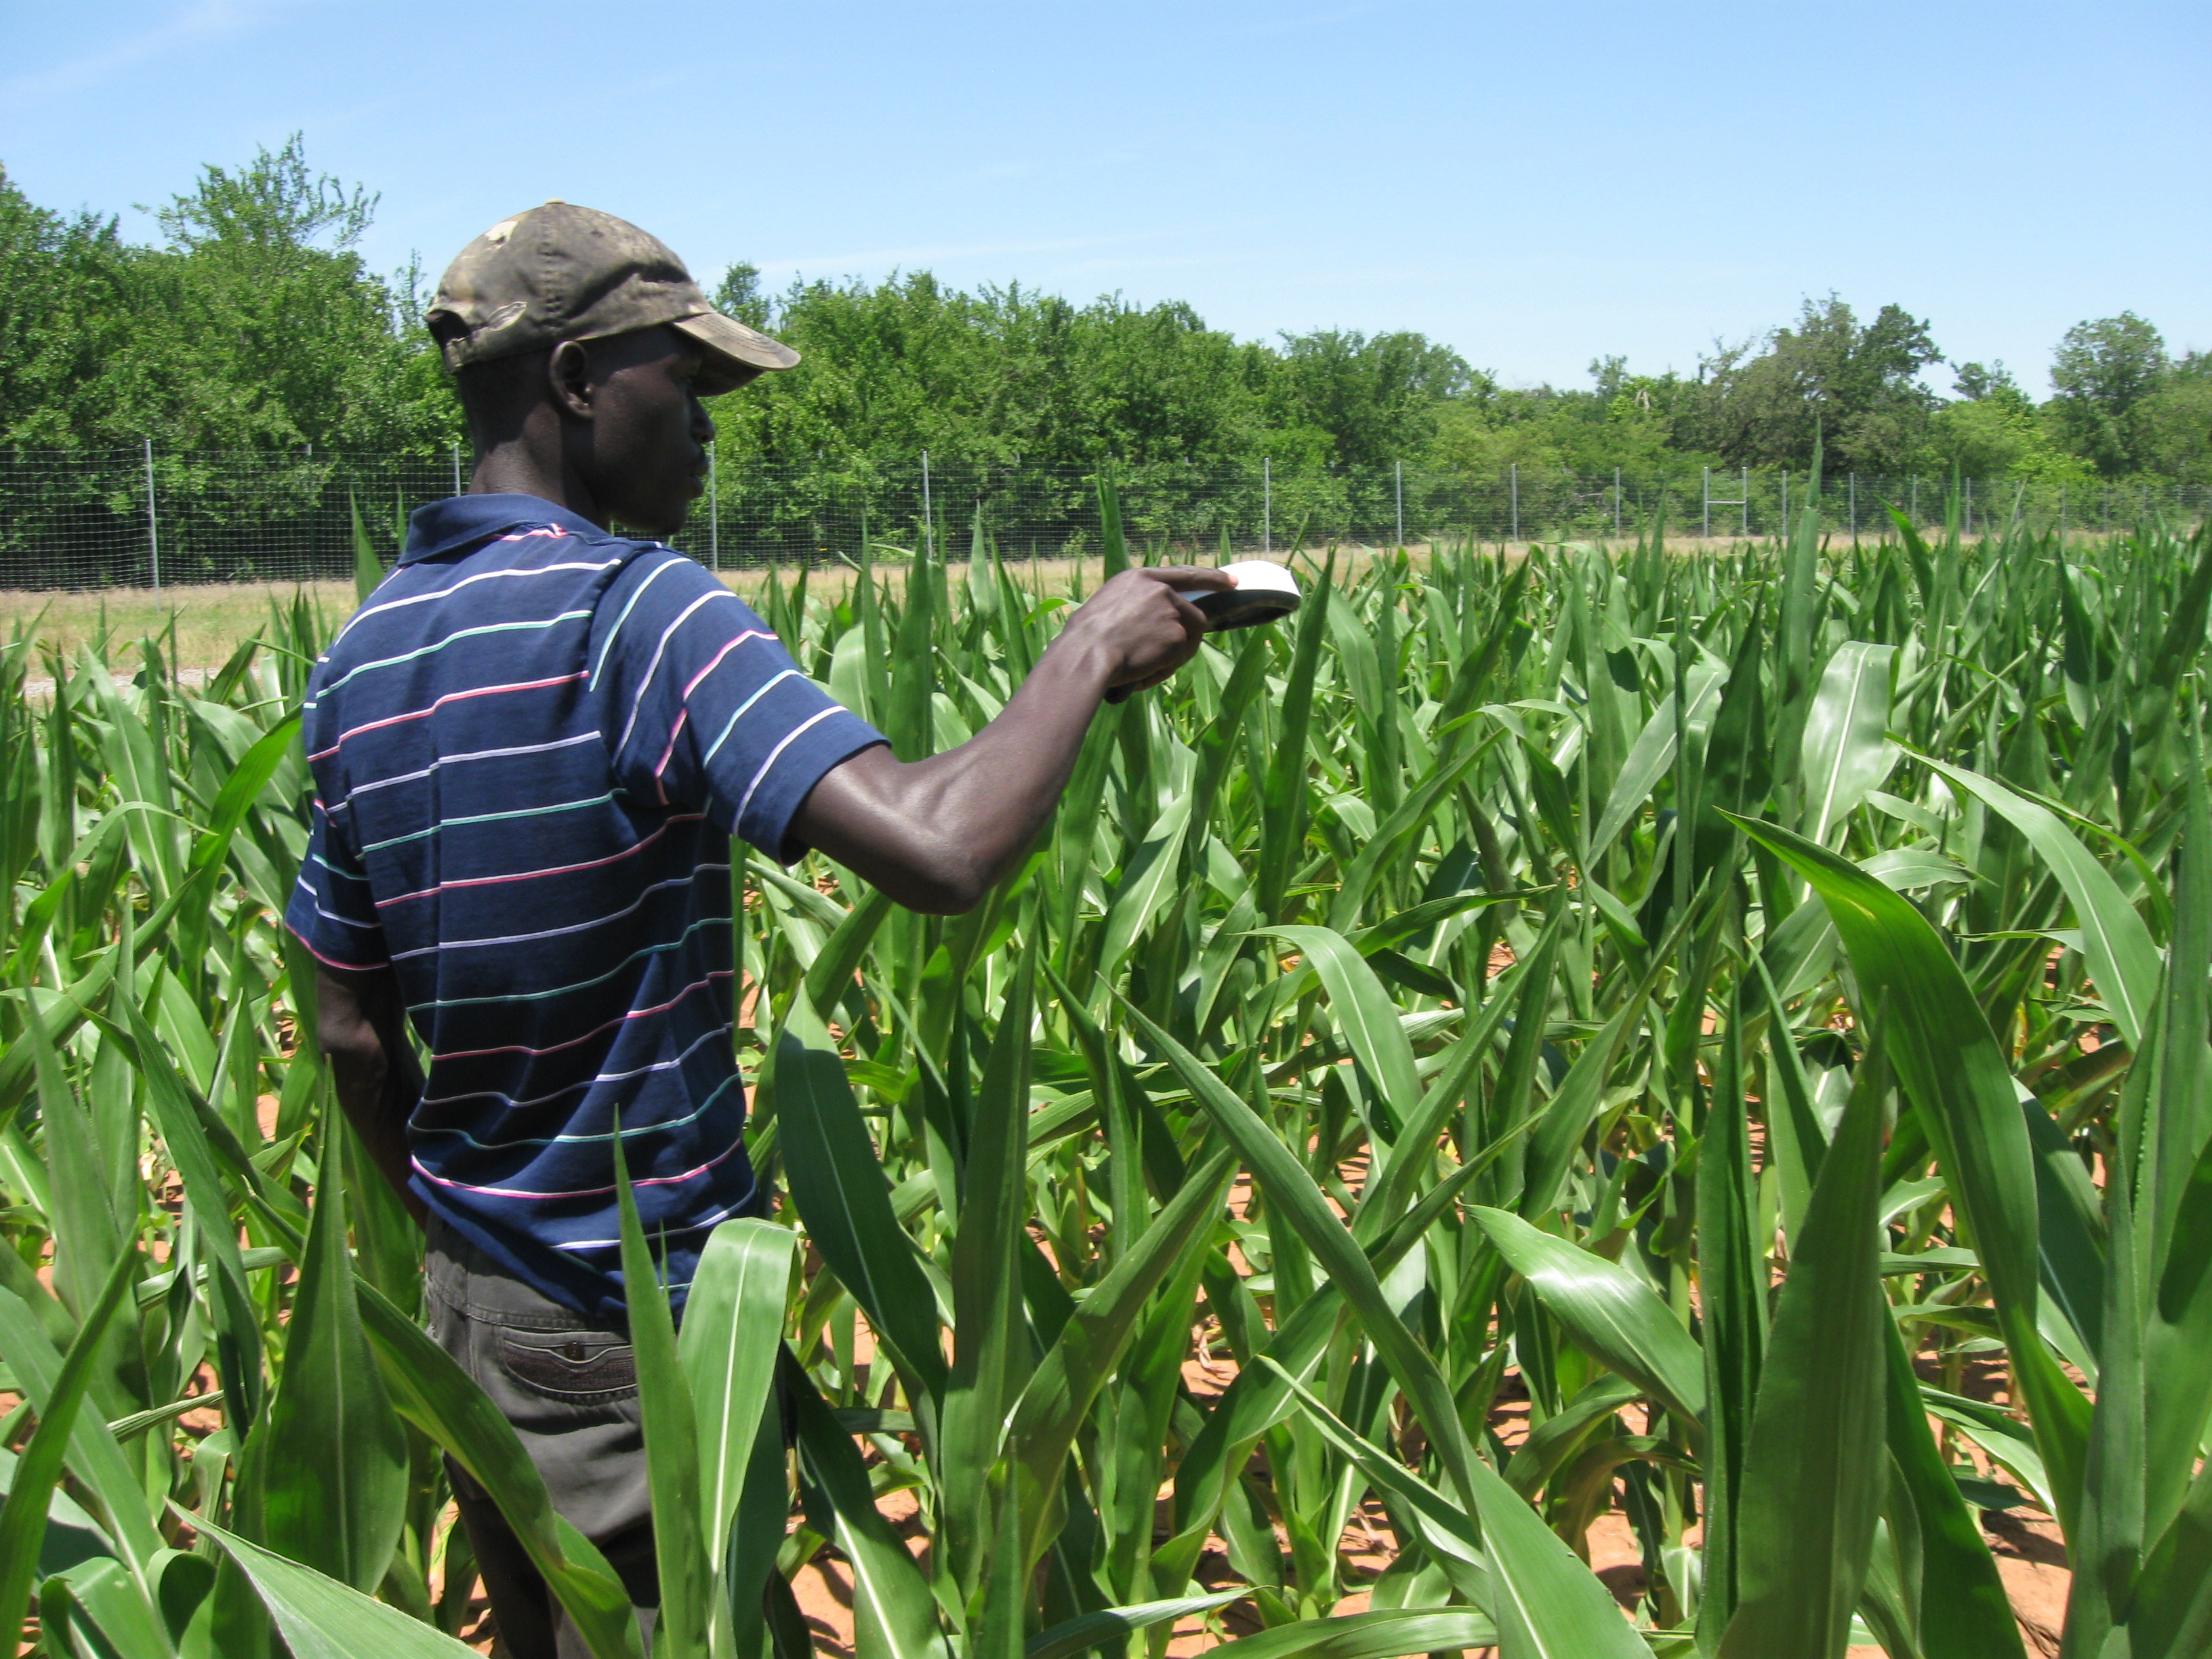
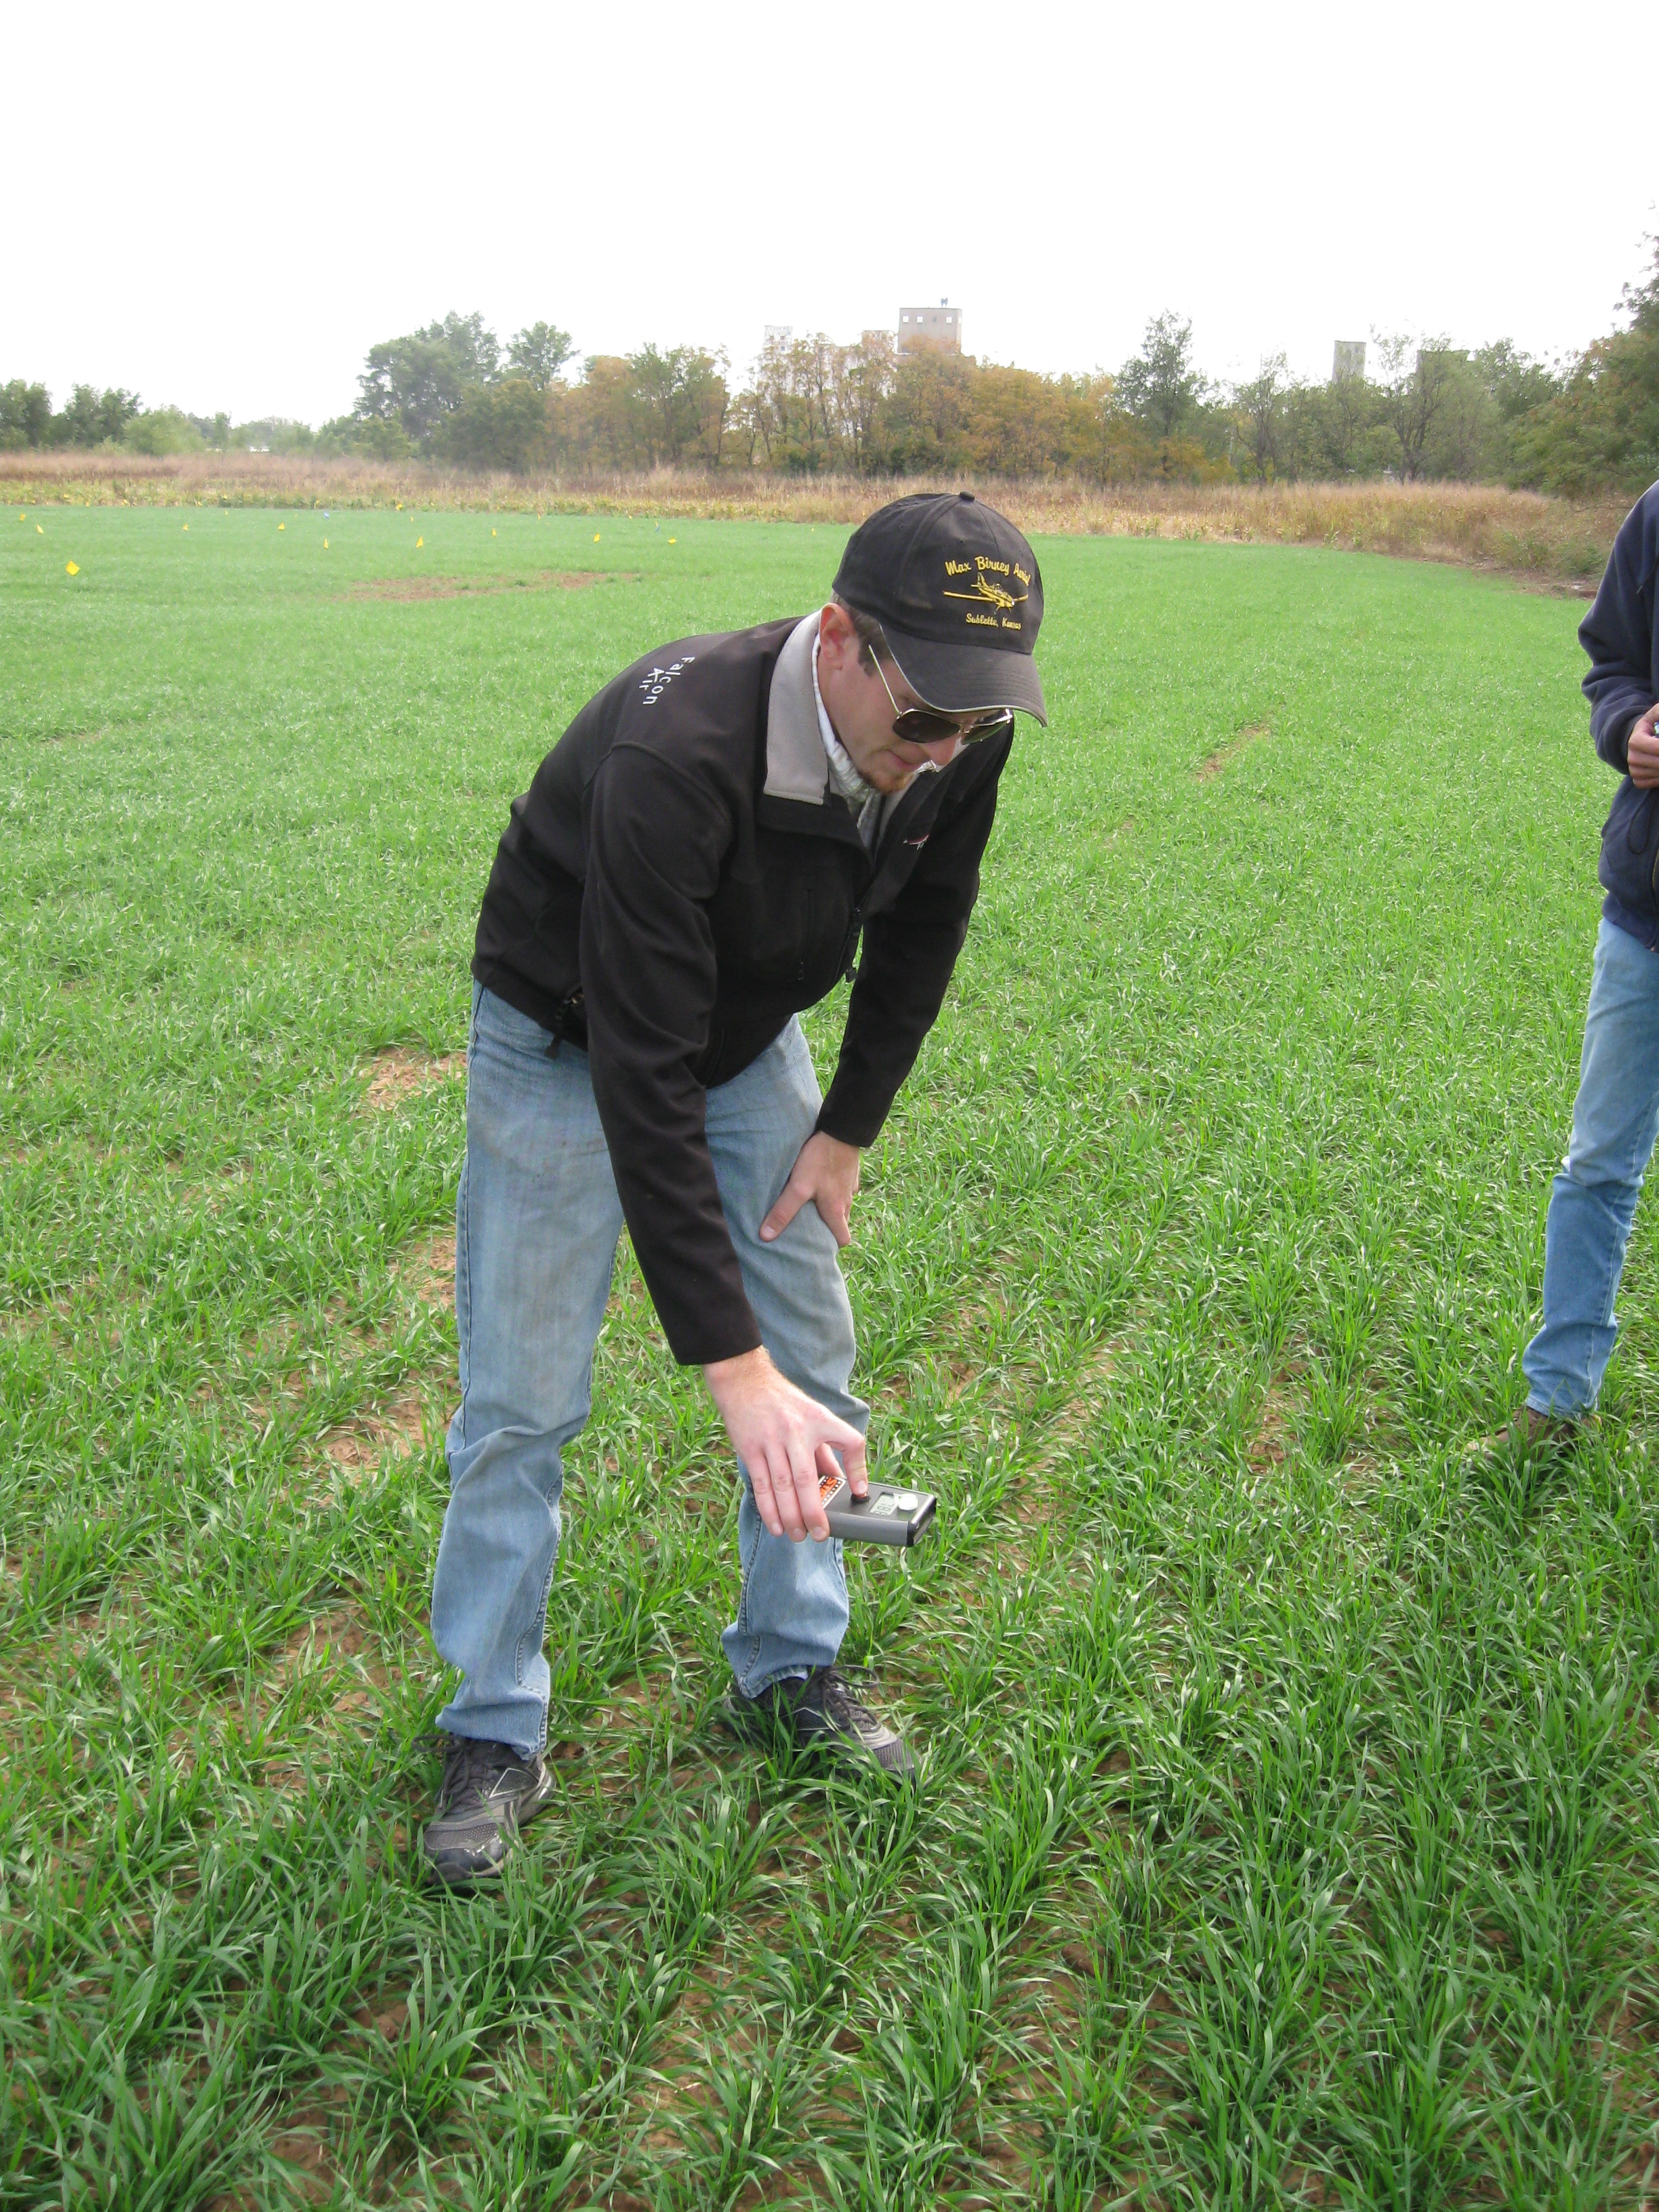
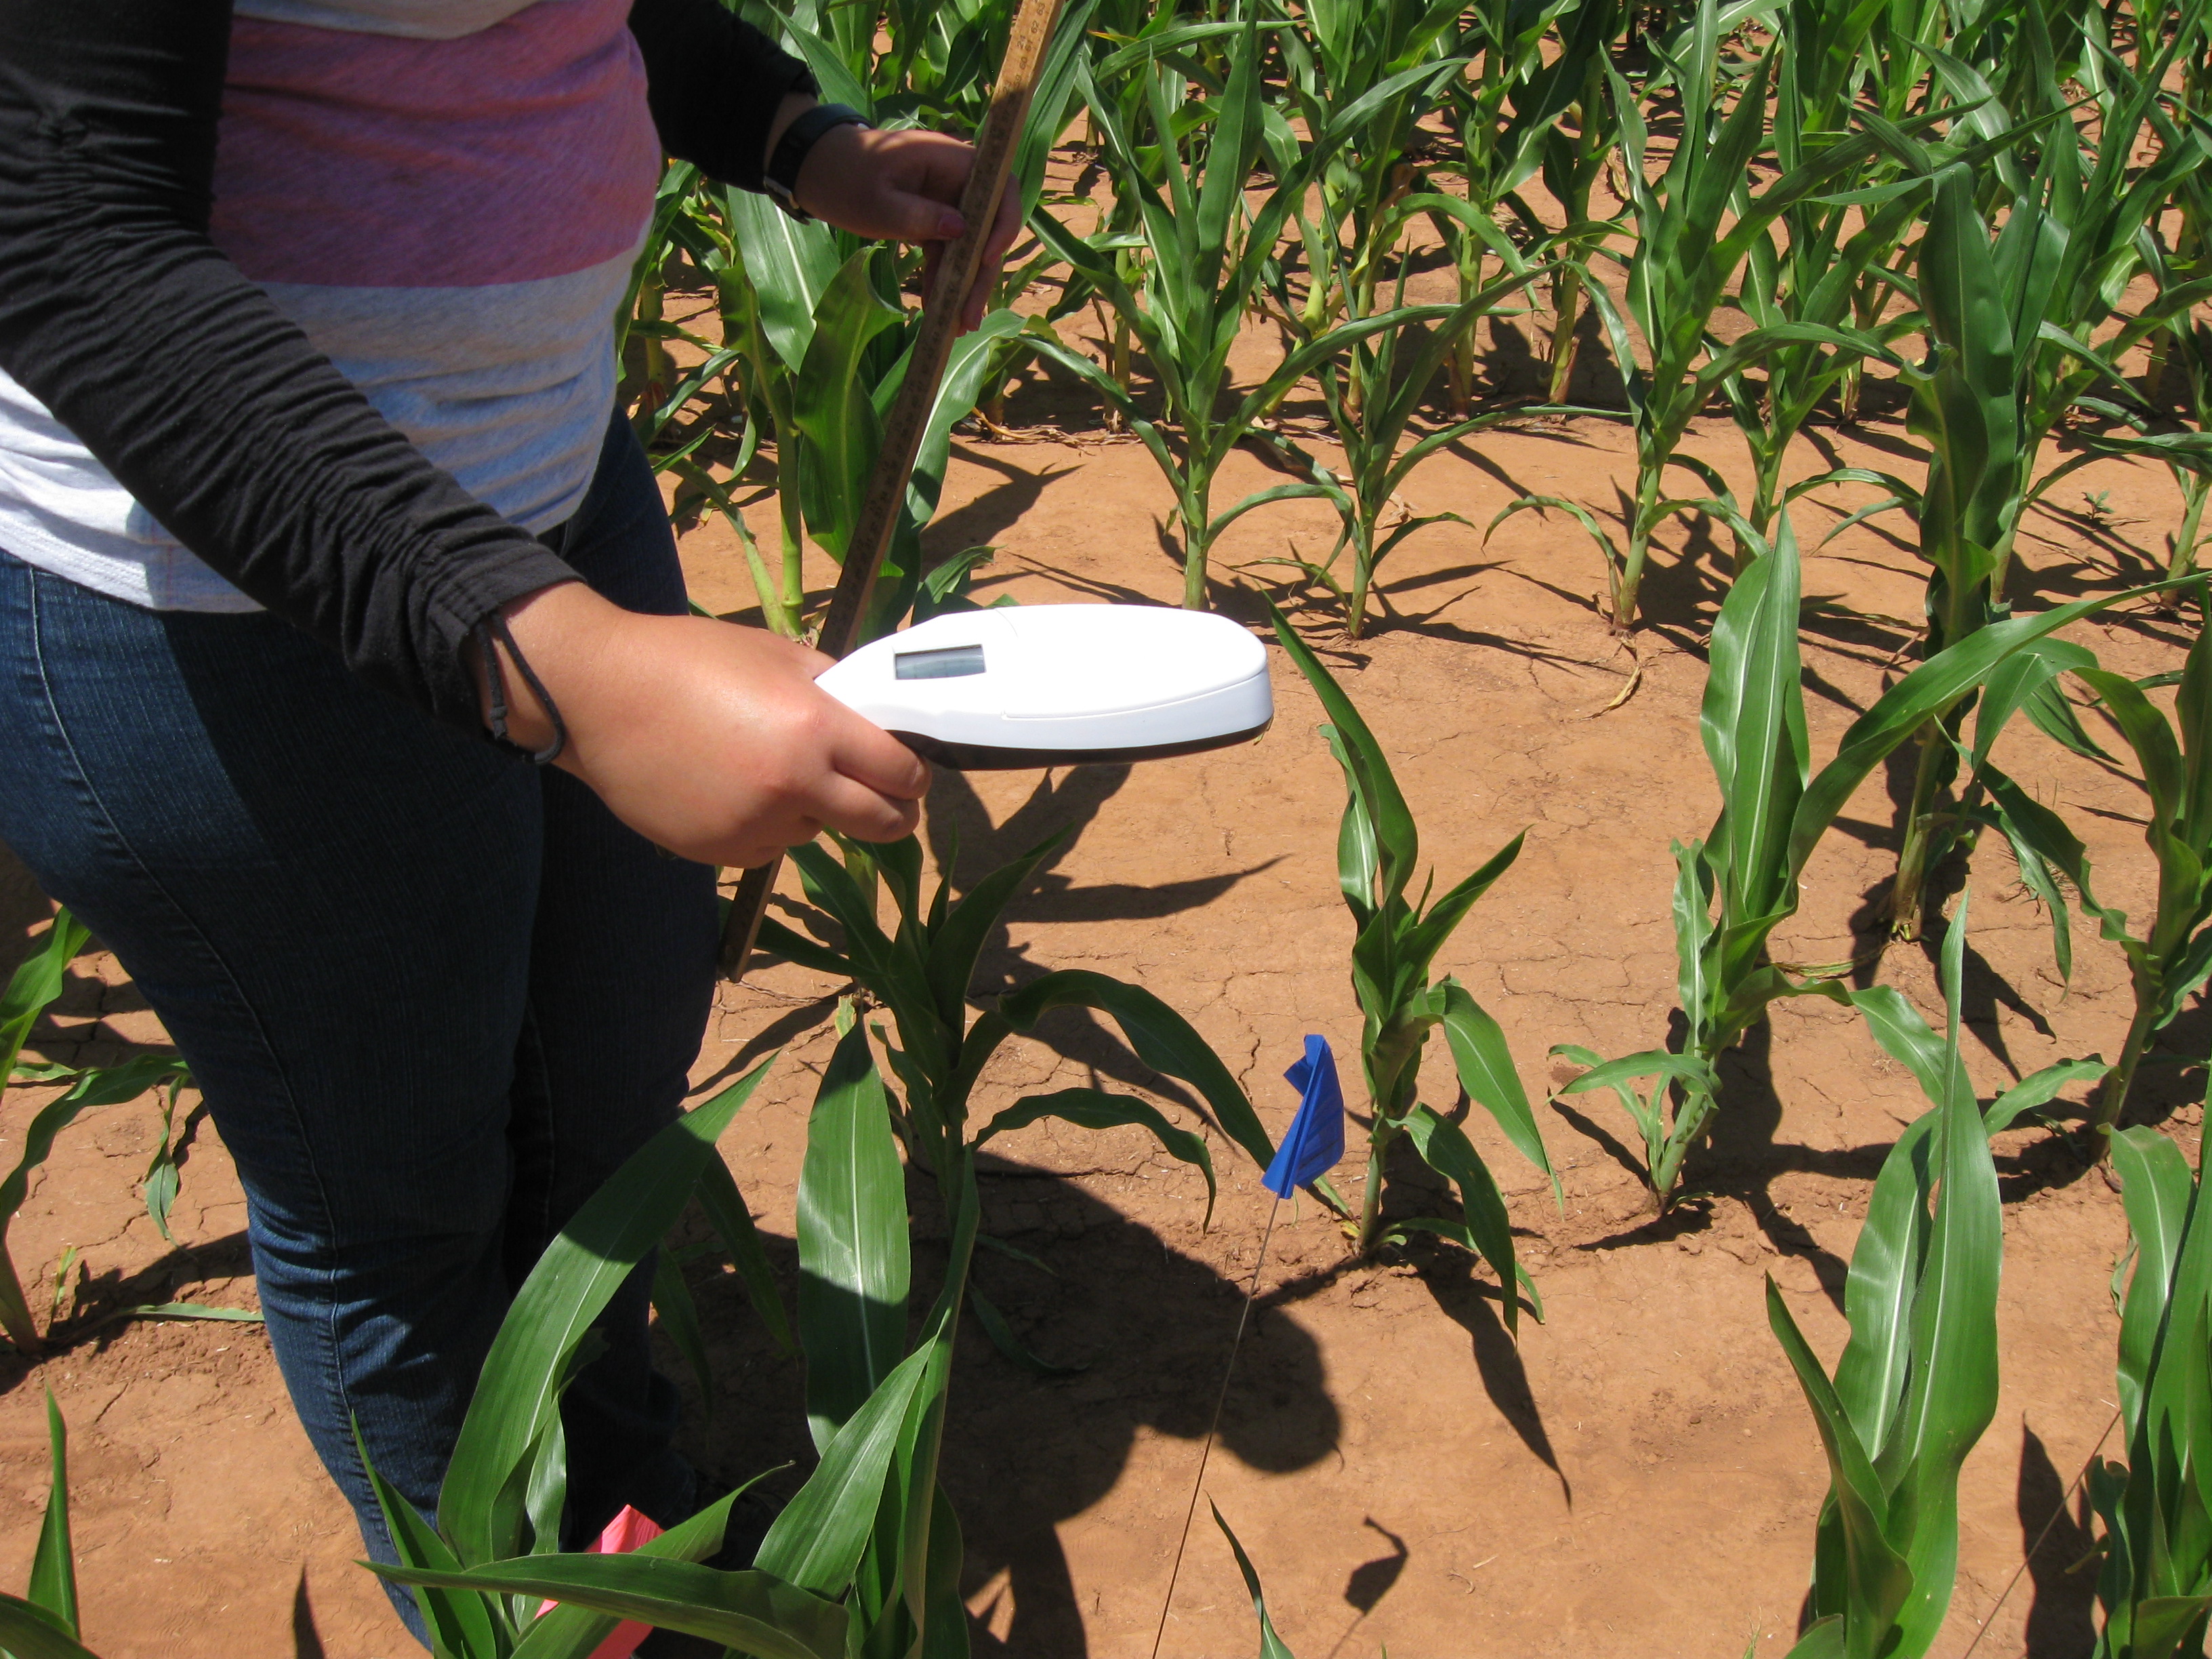
Operation
·
Care must be taken to
keep the pocket sensor level while sensing, at a height of 24”
to 30” (60-75 cm) above the crop canopy.
The target is circular with a dimension shown in Figure 1.
·
To operate, place the
pocket sensor at the appropriate height above the canopy, then
push and hold the red button.
·
While holding the red
button, walk slowly down the treatment (or strip) that you want to sense.
You will notice the NDVI value being displayed on the screen
changing once per second during operation.
·
When you are done
sensing, release the red button and note the last number displayed on the
screen. This is the average
of all readings that were taken while the button was depressed.
·
Write down or remember
this number quickly, because it will only be displayed for a few seconds
before it disappears. Ensuing
readings once the red button is pressed again start anew.
·
The pocket sensor does
not have the capability of storing data, so you must record the NDVI
values that you need after each operation.
Figure 1.
Target dimension for different sensing distances
Storage
·
Store in the cardboard
box provided.
Be very
cautious about placing the pocket sensor face down on any
surface, as this could scratch the LED lenses.
Error Messages
·
An error message may be
displayed on the screen if something is wrong.
The following messages may appear, with the correct description:
o
E01 – calculated NDVI
value is less than 0, which is invalid
o
E02 – calculated NDVI
value is greater than 1, which is invalid
Hours of Operation
·
The pocket sensor
should provide the same readings day or night, as this is an active
sensor. You will not want to
use the sensor if it is raining or in extreme heat or cold.
----------------------------------------------------------
This should already have been accomplished, but if not, re-calibration
procedures follow
Calibration Procedure
for Pocket Sensor:
1.
Before the Pocket Sensor can be calibrated, any existing calibration must
be set to 0. Do this by:
A.
Plug the pocket sensor
into a USB port on a computer, and follow the Installation instructions to
download the driver onto the pocket sensor.
The correct driver to download is the Silicon Labs CP210x USB to
UART Bridge. This can be
downloaded from
http://www.silabs.com/products/mcu/pages/usbtouartbridgevcpdrivers.aspx
and select the correct computer operating system.
B.
A terminal program must
be downloaded onto the computer to communicate with the pocket sensor.
Go to
https://sites.google.com/site/terminalbpp/
and download the terminal program available on that website.
C.
With the pocket sensor plugged
into the computer, open the terminal program.
At the top of the page, make sure the settings are as follows:
a.
Baud rate:
19,200
b.
Data bits: 8
c.
Parity:
none
d.
Stop bits:
1
e.
Handshaking:
none
D.
Select the correct COM
port by looking at the Device Manager on your computer to determine where
the Silicon Labs CP210x USB to UART Bridge is located.
E.
Hit the “Connect”
button at the top-left corner of the screen.
F.
In the bottom portion
of the screen, press “p” to
print calibration numbers and the menu options.
a.
--Caution!!!
DO NOT press “f” while on the menu page, as this will restore
the memory to the default settings, and will render the sensor unusable
until reset by an OSU Engineer!!!!
G.
Press “g” to set the
coefficients for the calibration equation.
H.
Once “g” is entered,
the terminal will display “Enter
CalNum.u8Flag.(T/F)……”
press “f”.
I.
The formula is in the
form of: y = Ax² + Bx + C.
The values A, B, and C need to display 0 for calibration
-- “Enter
CalNum.fpA….”
Enter 0 for A, then press Enter
-- “Enter
CalNum.fpB….”
Enter 0 for B, then press Enter
-- “Enter
CalNum.fpC….”
Enter 0 for C, then press Enter
J.
In the terminal program select “Disconnect” the sensor has now been set to
its original calibration, and can be calibrate with the GreenSeeker.
2.
Calibration must be
done with a Greenseeker. Take
at least 70-100 readings with both the Pocket Sensor and the Greenseeker
over different types of surfaces (bare soil, different shades of
vegetation, etc.).
Note:
Make sure that the areas sensed by
both the Greenseeker and Pocket
sensor are exactly the same.
Pick an area about 24” (60 cm) square, that is flat and
homogenous.
3.
Enter the NDVI values
of both Greenseeker and Pocket sensor into Microsoft Excel.
Place the Pocket sensor values in the left column (for the
independent, x-axis) and the Greenseeker values in the right column (for
the dependent, y-axis).
4.
Plot these values as a
scatter plot. Make sure that
Pocket sensor values are on the x-axis and Greenseeker values are on the
y-axis.
5.
On the scatter plot,
right-click on the mouse over the points, and select “Add Trendline”.
6.
On the Trendline menu,
select “Polynomial” on the Regression Type, and “2” on the Order.
Also check the boxes for “Display Equation on chart” and “Display
R-squared value on chart”.
7.
The Excel chart will
now display the calibration equation that needs to be entered into the
pocket sensor for calibration.
Entering the
Calibration Equation into the Pocket Sensor:
1.
Connect the Pocket Sensor to the computer and open the terminal program as
outlined in previous section.
2.
Press “p” to print calibration numbers and menu
options.
--Caution!!!
DO NOT press “f” while on the menu page, as this will restore
the memory to the default settings, and will render the sensor unusable
until reset by an OSU Engineer!!!!
3.
Press “g” to set the
coefficients for the calibration equation.
4.
Once “g” is entered
into the terminal, enter the values for the calibration equation.
5.
Press “t” for True when
it states “Enter
CalNum.u8Flag.(T/F)……”
6.
The formula is in the
form of: y = Ax² + Bx + C.
The values A, B, and C will then be entered into the terminal
program:
-- “Enter CalNum.fpA….”
Enter value for A, then press Enter
-- “Enter
CalNum.fpB….”
Enter value for B, then press Enter
-- “Enter
CalNum.fpC….”
Enter value for C, then press Enter
Be careful to note the sign (+ or -) for the Ax2 value.
7.
The Pocket Sensor is
now calibrated and ready for use.
Press “Disconnect” in the upper-left corner of screen to disconnect
the device.
Note:
While the Pocket sensor is plugged into the terminal program, it is
possible to capture individual sensor readings.
To do this, plug the sensor into the computer and connect to the
terminal program, and press “p” to display the sensor values.
Experiences with the
PocketSensor:
During calibration of the Pocket sensor at the CIMMYT Research
Station in El Batan, Mexico, some considerations were:
Wheat is planted on raised beds, and at the time of sensing the
wheat was headed out (Reproductive Stage).
The height of the wheat and the distance between beds allowed the
GreenSeeker to read soil background while the Pocket sensor was only able
to read the rows of wheat, the soil was to far away.
It is imperative that both the GreenSeeker footprint and Pocket
sensor be over the same targeted area to get an accurate calibration.
Note:
This may not be an issue when the wheat is vegetative and the
soil is still within range of the Pocket sensor.